There’s something timeless and deeply satisfying about growing peas in the garden. Maybe it’s the way they climb gracefully up a trellis, or the satisfying snap when you pick a crisp pod right off the vine. Whether you’re into sugar snap peas, shelling peas, or snow peas, nothing quite compares to the fresh, green sweetness of homegrown. They’re tender, fast-growing, and taste far better than anything you’ll find at the store.
One of the best things about peas is how easy they are to grow from seed. They don’t need fancy equipment or perfect conditions to thrive—just cool weather, good soil, and something to climb. In fact, peas are one of the first crops you can plant in early spring, often as soon as the soil can be worked. And in some regions, you can plant a second crop in late summer for a fall harvest. They’re quick to sprout, fast to mature, and don’t demand much once they’re established.
But like all garden crops, a good pea harvest starts with smart planting and a little planning. From choosing the right type of pea to timing your planting, prepping the soil, and keeping the vines supported and well-watered, there are a few key steps that make all the difference. Let’s walk through how to grow peas from seed to harvest—so you can enjoy a steady supply of sweet, crisp pods right from your own backyard. Whether it’s your first garden or your fiftieth, peas are a surefire win.
Start With Timing: Cool Weather Is Key
Peas are cool-season champs, and getting your timing right is one of the biggest keys to a successful harvest. These plants love to grow when the weather is mild—between 55°F and 75°F is their comfort zone. That means early spring is your prime planting window in most regions. As soon as your soil is workable and no longer frozen or waterlogged, it’s go time—usually 4 to 6 weeks before your average last frost date.
Peas don’t mind a little frost, and in fact, they prefer getting started in the cooler stretch of the season. The earlier you can safely plant them, the more time they’ll have to grow strong and start flowering before warm weather moves in. Once temperatures rise above 80°F consistently, pea plants begin to struggle, and flower production slows—or stops entirely. Prolonged heat can also cause the vines to yellow and die back prematurely, cutting your harvest short.
If you’re in a region with hot summers, make it a priority to plant early and choose fast-maturing varieties to beat the heat. For a bonus round of fresh peas, you can also sow a second crop in late summer for a fall harvest, especially if you live in an area with a long, mild autumn. Just count backward from your expected first frost date and give your peas about 60 to 70 days to mature. Fall crops often yield sweeter peas thanks to the cool temperatures returning. No matter the season, the goal is the same: get your peas up and blooming before heat stress sets in. With smart timing, you’ll enjoy vines full of flowers and crisp green pods, right when your garden’s just waking up—or winding down.
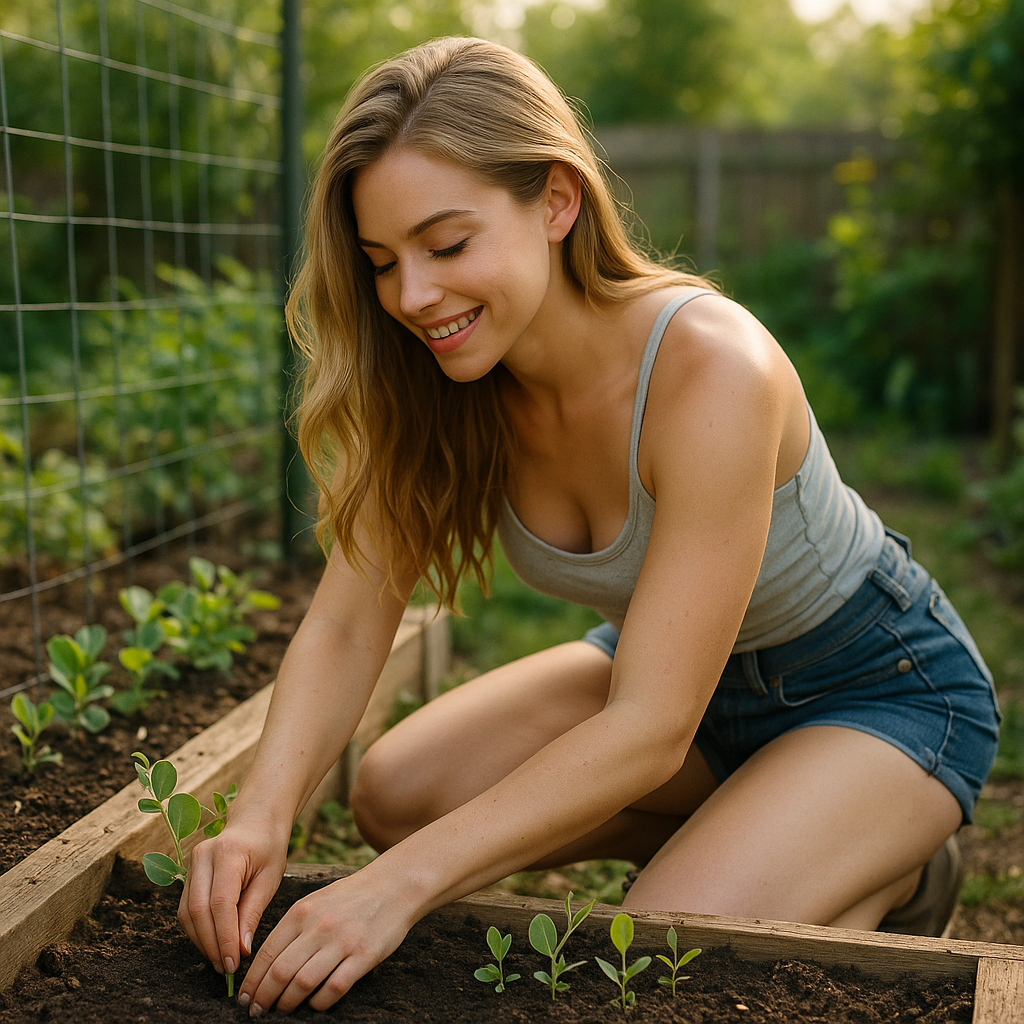
Planting the Seeds: Right in the Ground Where They’ll Stay
Peas prefer the simple life—and that means planting them right where they’ll grow. These little legumes don’t love transplanting, as their roots are delicate and don’t appreciate being disturbed. So skip the seed trays and head straight for the garden bed. As soon as your soil temperature reaches about 45°F (7°C), you’re good to start planting. If the soil is still soggy or ice-cold, give it a few days to dry and warm up—planting into wet soil leads to rot more often than growth.
Sow your seeds about 1 to 2 inches apart and an inch deep. You can plant them in tidy rows or broadcast them in blocks if space is limited—peas are flexible like that. Spacing your rows 18 to 24 inches apart works well for tall, vining varieties, especially if you’re installing a trellis or fence for them to climb. These taller types need that vertical support to reach their full potential and to make harvest easier. On the other hand, bush or dwarf peas don’t need as much elbow room and can be planted more densely—perfect for raised beds or container gardens.
A quick trick to boost germination: soak your pea seeds overnight in water before planting. This softens the seed coat and helps them sprout faster, especially in cooler soils. Just don’t let them sit too long or they may rot. You want them plump, not mushy. Once planted, give the soil a gentle watering, and then step back—peas don’t like to be fussed over. With a little patience and a few sunny days, you’ll start to see those first green shoots popping up. That’s the beauty of growing peas: they’re low-maintenance, fast to sprout, and totally beginner-friendly.
Support Your Peas—They’ll Thank You
Even the most compact pea plants appreciate a little help standing tall. While bush varieties tend to stay tidy and low-growing, they still benefit from a bit of support to keep the plants upright, especially when they’re loaded with pods. But if you’re growing climbing peas—like classic sugar snaps, snow peas, or tall shelling types—you’ll definitely need to provide something for them to latch onto.
The good news? Pea vines aren’t picky. You can build a simple trellis from chicken wire, garden twine strung between stakes, bamboo teepees, or even repurposed tomato cages. Whatever you use, the key is to install it right when you plant your seeds. That way, you’re not trying to weave delicate tendrils through a structure later—or worse, damaging the roots by adding supports once the vines are already growing.
Climbing upward has real benefits. Vertical growth means better air circulation, which helps prevent fungal diseases like powdery mildew—something peas are prone to in damp, crowded conditions. It also saves space in small gardens and makes harvesting easier, since the pods are easier to spot and snip when they’re hanging at eye level instead of hiding near the soil.
Plus, a row of green vines reaching up toward the sun? It just looks great. Whether you go rustic with sticks and string or sleek with a metal panel trellis, giving your peas room to climb is one of those small steps that makes a big difference in how your crop grows and performs.
Water and Soil: Keep It Consistent and Light
Peas are one of those crops that thrive in humble conditions—as long as the soil is just right. They do best in loose, well-draining soil with a neutral pH between 6.0 and 7.5. If your garden soil is compacted or heavy in clay, take the time to loosen it up with compost or aged organic matter before planting. This gives their roots room to spread and makes it easier for those delicate seedlings to push through.
Moisture is key, especially during flowering and pod development. Peas aren’t drought-tolerant, but they don’t like soggy conditions either. The goal is to keep the soil consistently moist without letting it get waterlogged. When the top inch of soil feels dry, it’s time to water. Always aim to water at the base of the plant, not over the leaves—wet foliage encourages disease, and peas can be a little fussy about that.
Here’s a common rookie mistake to avoid: adding too much nitrogen. Peas are legumes, and they have a superpower—they fix their own nitrogen through a symbiotic relationship with soil bacteria. So, if you dump a high-nitrogen fertilizer into the soil, you’ll get beautiful, lush vines… with hardly any flowers or pods. Not what you want.
If your soil needs a boost, a balanced fertilizer or compost will do the trick. Compost adds slow-release nutrients and improves texture without overwhelming the plant. Think of it as setting the stage—not stealing the show. With the right soil and a light hand on amendments, your peas will do what they’re meant to do: grow strong, flower early, and fill your basket with sweet, crunchy pods.
Watch for Pests and Problems—But Don’t Worry Too Much
Peas really are some of the easiest garden crops to care for—but that doesn’t mean they’re immune to trouble. Once your plants are up and growing, the key is staying just one step ahead of common pests and diseases.
Aphids are the usual suspects, often gathering on new growth and undersides of leaves. They’re tiny, but they multiply fast. The good news? A strong spray of water from the hose or a misting of neem oil or insecticidal soap usually knocks them back without any fuss. Just be sure to spray in the early morning or evening when the sun won’t scorch the wet leaves.
Pea weevils can also be an issue in some areas. They lay eggs on the plant, and their larvae nibble away at the leaves and pods. Again, neem oil or manual removal early in the season can help prevent an infestation from taking hold.
Then there’s powdery mildew—that dusty white coating that shows up on leaves, especially during warm, humid stretches in late spring. It’s not usually fatal, but it can stress your plants and reduce harvest if left unchecked. Good airflow is your first line of defense, so don’t overcrowd your rows, avoid overhead watering, and keep weeds in check to promote circulation.
The beauty of peas is that once they’re established, they mostly want to be left alone. Keep an eye out for signs of pests or mildew, but with just a little attention, your plants will stay healthy and productive through the season. And honestly, watching those vines climb and flowers turn into pods? That’s the kind of garden magic that keeps you coming back.

Harvesting: Don’t Blink or You’ll Miss the Sweet Spot
Harvesting peas is one of those simple joys that rewards your patience and daily garden check-ins. When the timing’s right, those crisp, sweet pods are at their absolute best—and picking them at the perfect moment makes all the difference.
For sugar snap peas, you want plump, crunchy pods with just enough seed fill to give that satisfying bite. If the pods start to bulge too much, the texture turns starchy and less sweet. Snow peas, on the other hand, are harvested while still flat but fully grown, before the seeds begin to swell. They should snap easily and have a delicate, fresh flavor.
Shelling peas (also called English peas) are a bit different. You’re not eating the pod here, so wait until the pods feel full and firm, but still have that vivid green color. Open one to check—if the peas are round and sweet, you’re good to go.
Be gentle when picking. Pea vines are delicate, and pulling too hard can damage the plant. Use one hand to hold the vine steady and the other to snap or snip the pod off cleanly. The more you harvest, the more the plant will produce, so don’t be shy about visiting the patch daily when things are in full swing.
Miss that harvest window, and the plant will get the message that its job is done—it’ll start focusing on seed production instead of making new pods. So keep an eye out, harvest often, and enjoy every handful of homegrown goodness. There’s nothing quite like the taste of peas that go straight from vine to plate.
Wrap-Up: Peas Are the Garden’s Springtime Workhorse
There’s just something nostalgic and grounding about growing peas. Maybe it’s the old-fashioned charm, or maybe it’s the way a fresh-picked pod tastes like spring. Either way, peas are a must for any home gardener—beginner or seasoned pro.
With the right start, a bit of structure, and consistent care, you’ll be filling your basket with sweet, crunchy pods in no time. Whether you eat them right off the vine, toss them in a salad, or freeze them for later, your peas will be one of the first signs your garden is in full swing. Since you are here, you can also check out my article on how to improve clay soil on a budget.