
There’s something magical about growing corn in your own garden. Maybe it’s the way those tall green stalks tower overhead by midsummer, or the soft rustle they make when the wind sweeps through. Maybe it’s the anticipation—the way the silks start to peek out, promising something good to come. But more than anything, it’s the taste. Homegrown corn, picked and eaten the same day, has a burst of sweetness and crispness that store-bought corn can’t begin to match. Once you’ve tasted corn straight off the stalk, you’ll understand why gardeners keep coming back to grow it season after season.
And here’s the good news: you don’t need a sprawling farm or a massive garden to grow your own. With a little planning and a sunny spot, you can grow tall, healthy corn in a raised bed, in tidy rows, or even tucked into a corner of your backyard. Corn does best in blocks rather than single rows to help with pollination, which is a breeze to manage in small spaces—you just plant in short, square groupings rather than long lines.
Getting started with corn means understanding a few basics. First up: choose the right variety. Sweet corn is the most popular for home gardeners, and it comes in several types—standard (SU), sugar-enhanced (SE), and supersweet (SH2), each with different flavors and storage qualities. If you’re planting multiple types, make sure to separate them by time or distance to prevent cross-pollination, which can mess with flavor and texture. For small gardens, stick with early-maturing varieties—they tend to grow faster and don’t require as much space.
Corn loves warmth and sunshine. Wait to plant until soil temperatures are consistently above 60°F (16°C), and ideally closer to 65–70°F (18–21°C). Corn also demands rich, well-drained soil loaded with organic matter. It’s a heavy feeder, so start with a good layer of compost or aged manure and consider side-dressing with nitrogen as the plants grow. A pH between 6.0 and 6.8 is ideal, and corn benefits from consistent moisture—especially during the crucial silking and ear development stages.
When planting, sow seeds about 1 to 1½ inches deep and 8 to 10 inches apart in rows spaced 2½ to 3 feet apart. But instead of a single long row, plant in squares or blocks that are at least four rows deep. That’s because corn is wind-pollinated, and block planting helps the pollen move from tassel to silk more effectively. Without good pollination, you’ll get ears with missing kernels—a frustrating outcome after months of effort.
As your corn grows, keep weeds under control and watch for pests like corn earworms and aphids. Mulching can help conserve moisture and cut down on weeding. Around the time tassels appear, make sure the plants are well-watered—this is when the ears are forming, and stress can mean smaller or poorly filled ears. Knowing when to harvest is key. About 20 days after the silks appear, check an ear by peeling back the husk slightly and pressing a kernel with your fingernail. If the juice is milky, it’s ready. If it’s clear, give it more time. And don’t wait too long—sugar quickly turns to starch once corn matures, so timing is everything for that perfect bite.
Growing corn might take a bit more attention than some garden staples, but the payoff is huge. Few things feel as rewarding—or taste as sweet—as pulling a plump ear from the stalk, shucking it right there in the garden, and eating it minutes later. It’s a reminder of what real food tastes like—fresh, simple, and straight from the earth. So roll up your sleeves, pick a sunny patch, and let those stalks reach for the sky. Corn grown by your own two hands? That’s summer magic.
Choose the Right Variety for Your Garden
Corn comes in several types—sweet corn, popcorn, flint, dent, and ornamental—but for most home gardeners, sweet corn is the clear favorite. It’s grown for its tender, juicy kernels and sweet flavor, and when you pick it fresh and eat it within hours, it’s one of the purest garden pleasures out there. The other types have their uses—dent and flint corn are great for grinding into meal or flour, popcorn is just plain fun (especially if you grow it with kids), and ornamental corn brings rich colors to your fall decorations. But when it comes to fresh eating, nothing beats sweet corn.
Now, within sweet corn, you’ve got a few more choices to consider: standard (su), sugar-enhanced (se), and supersweet (sh2) varieties. Each one has its own personality, and knowing the difference helps you pick what fits your garden and taste best.
Standard (su) sweet corn is your classic corn—rich flavor, great texture, but it starts converting sugar to starch pretty quickly after picking. If you’re going for that nostalgic corn-on-the-cob flavor and you’re ready to eat it the same day you harvest, standard types are a solid choice. Just know you won’t want to let it sit too long.
Sugar-enhanced (se) types are a nice step up in sweetness and tend to stay crisp and sweet for a few days after harvest. They’re a bit more forgiving, especially if you can’t eat all your corn the moment it’s picked. Many gardeners find them to be the sweet spot (pun intended) between flavor and convenience.
Supersweet (sh2) corn takes the sugar content up another level. It holds its sweetness much longer after picking, which makes it great for freezing or if you plan to harvest several ears at once. The kernels tend to be firmer and the flavor is more sugary than corny, so some people love it and others prefer the more traditional taste of su or se types. Sh2 corn does need warmer soil to germinate properly—at least 65°F—so wait until things have really warmed up before planting.
Another important point: if you’re growing more than one type of sweet corn (like su and sh2), you’ll need to isolate them either by time (planting a couple weeks apart) or distance (at least 250 to 300 feet) to avoid cross-pollination. If they cross, you could end up with bland, starchy corn that’s not what you were going for.
As for maturity times, sweet corn varieties typically mature anywhere from 60 to 90 days, so pick a variety that fits your growing season. If you’re gardening in a cooler climate or have a shorter summer, choose an early-maturing variety like ‘Early Sunglow’ or ‘Precocious’. These get you corn on the table fast, and they’re less sensitive to cooler soil. If you’re lucky enough to live in a zone with long, hot summers, take advantage of it—stagger your planting every two to three weeks to enjoy a steady harvest all season long. Just remember that each planting block should be large enough to ensure good pollination (at least 4×4 plants), even if you’re staggering.
No matter what variety you choose, fresh sweet corn is a garden showstopper. It grows fast, adds drama to your garden with its towering stalks, and delivers one of the most satisfying harvests of the season. Whether you go old-school classic or modern-day supersweet, growing the right kind of corn for your garden means you’re only a few months away from that first buttery bite—and trust me, it’s worth the wait.
Planting Time: Soil Temperature Matters
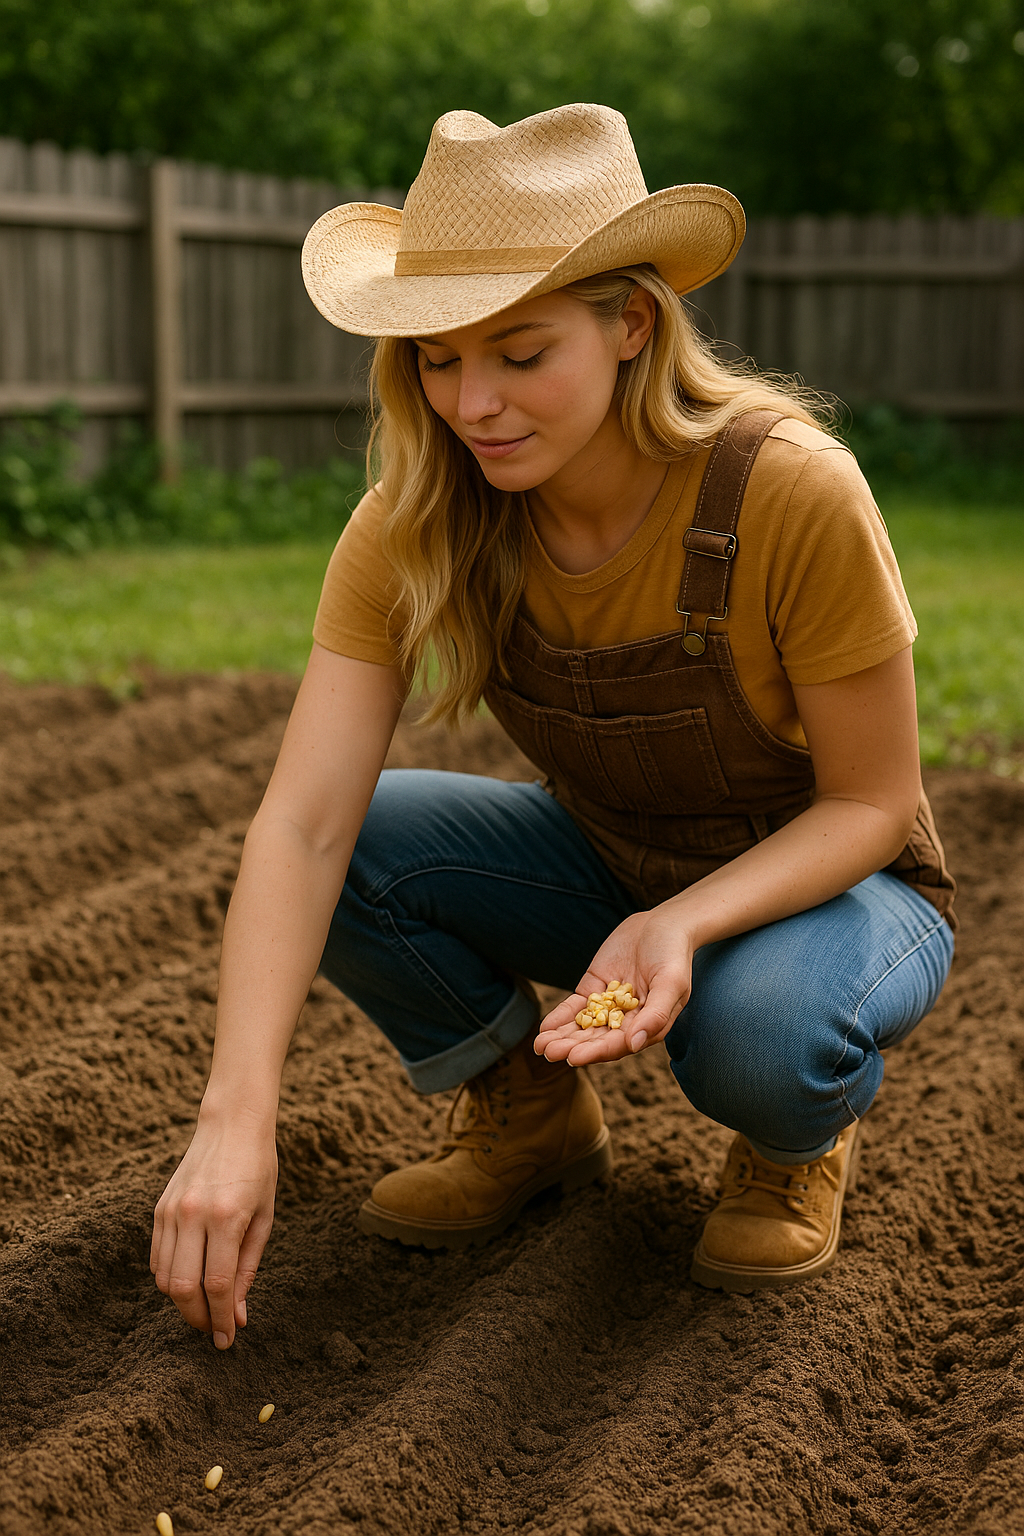
Corn is a classic warm-season crop, and when it comes to planting, timing is everything. It might be tempting to get a jump on the season, but putting corn seeds into cold, soggy soil is a quick way to end up disappointed. Corn kernels are prone to rotting in cool conditions, and even if they do germinate, they’ll grow slowly and struggle to gain momentum. To set your crop up for success, wait until the soil has warmed to at least 60°F (15.5°C) at planting depth. Even better? Hold off until it reaches 65–70°F (18–21°C)—especially if you’re planting supersweet (sh2) varieties, which need extra warmth to sprout properly.
Depending on your region, this sweet spot usually arrives 1 to 2 weeks after your last frost date. A soil thermometer is a handy tool to take the guesswork out of it. Don’t rely on air temperature alone—warm days can be deceiving if the soil’s still chilly underneath.
Once the timing is right, pick a sunny location—corn needs full sun to thrive. Aim for at least 6 to 8 hours of direct sunlight per day. More sun means more energy for those tall stalks and, ultimately, better-developed ears. Shaded corn tends to grow leggy, with weak stalks and underdeveloped ears, so be sure to pick a wide-open, south-facing spot if you can.
Now let’s talk about the foundation: soil preparation. Corn is a hungry plant. It needs a steady supply of nutrients, especially nitrogen, to support its rapid growth. Start by loosening the soil to a depth of at least 6 to 8 inches. This helps the roots expand and allows for good drainage. Next, mix in a generous amount of compost, aged manure, or a balanced organic fertilizer before planting. If your soil is heavy or clay-like, consider adding some coarse sand or leaf mold to improve texture and drainage. The ideal soil should be rich, crumbly, and well-drained, with a slightly acidic to neutral pH (around 6.0 to 6.8).
For extra feeding power, you can also add a slow-release fertilizer at planting time and plan to side-dress with nitrogen once the plants are about knee-high. Blood meal, fish emulsion, or a high-nitrogen garden fertilizer will give your corn a boost just when it needs it most—during its rapid growth and tasseling stages. Spacing is important too. Sow seeds about 1 to 1½ inches deep, spaced 8 to 10 inches apart, with rows 30 to 36 inches apart. But instead of planting in long single rows, plant in blocks (at least 3–4 short rows wide) to improve pollination. Since corn is wind-pollinated, block planting helps ensure the pollen from the tassels reaches the silks efficiently, resulting in ears with full, well-formed kernels.
With proper timing, sun, and rich soil, your corn will shoot up fast and strong. It’s one of the more rewarding crops to grow—watching it go from seed to towering stalks in a matter of weeks is a reminder of just how powerful nature can be. Get your timing and prep right, and you’ll be well on your way to a delicious harvest that tastes like summer in every bite.
Spacing for Pollination and Strong Growth
Here’s where many new gardeners go wrong: corn needs to be planted in blocks, not single long rows. It’s a common mistake, and it can make a big difference in your harvest. Corn is wind-pollinated, which means it relies on the breeze to carry pollen from the tassels (at the top of the plant) to the silks (on each ear). When corn is planted in one long row, there’s a good chance that pollen won’t reach all the silks—and that results in ears with uneven kernel development or big gaps. Not ideal when you’re dreaming of perfectly plump, golden ears.
Instead, plant your corn in short, wide blocks—think three or four rows planted side by side. This layout increases the odds that pollen will land where it needs to, especially if you’re dealing with calm days or a small garden space. The result? Better pollination, more complete ears, and a much tastier return on your effort.
When it comes to spacing, sow seeds about 1 to 1½ inches deep, placing them 8 to 12 inches apart within each row. If you’re planting a smaller, early-maturing variety, lean toward the tighter spacing. For larger, later-season varieties, give them a bit more room. Keep the rows about 24 to 30 inches apart to allow for air circulation and easy access for watering or weeding.
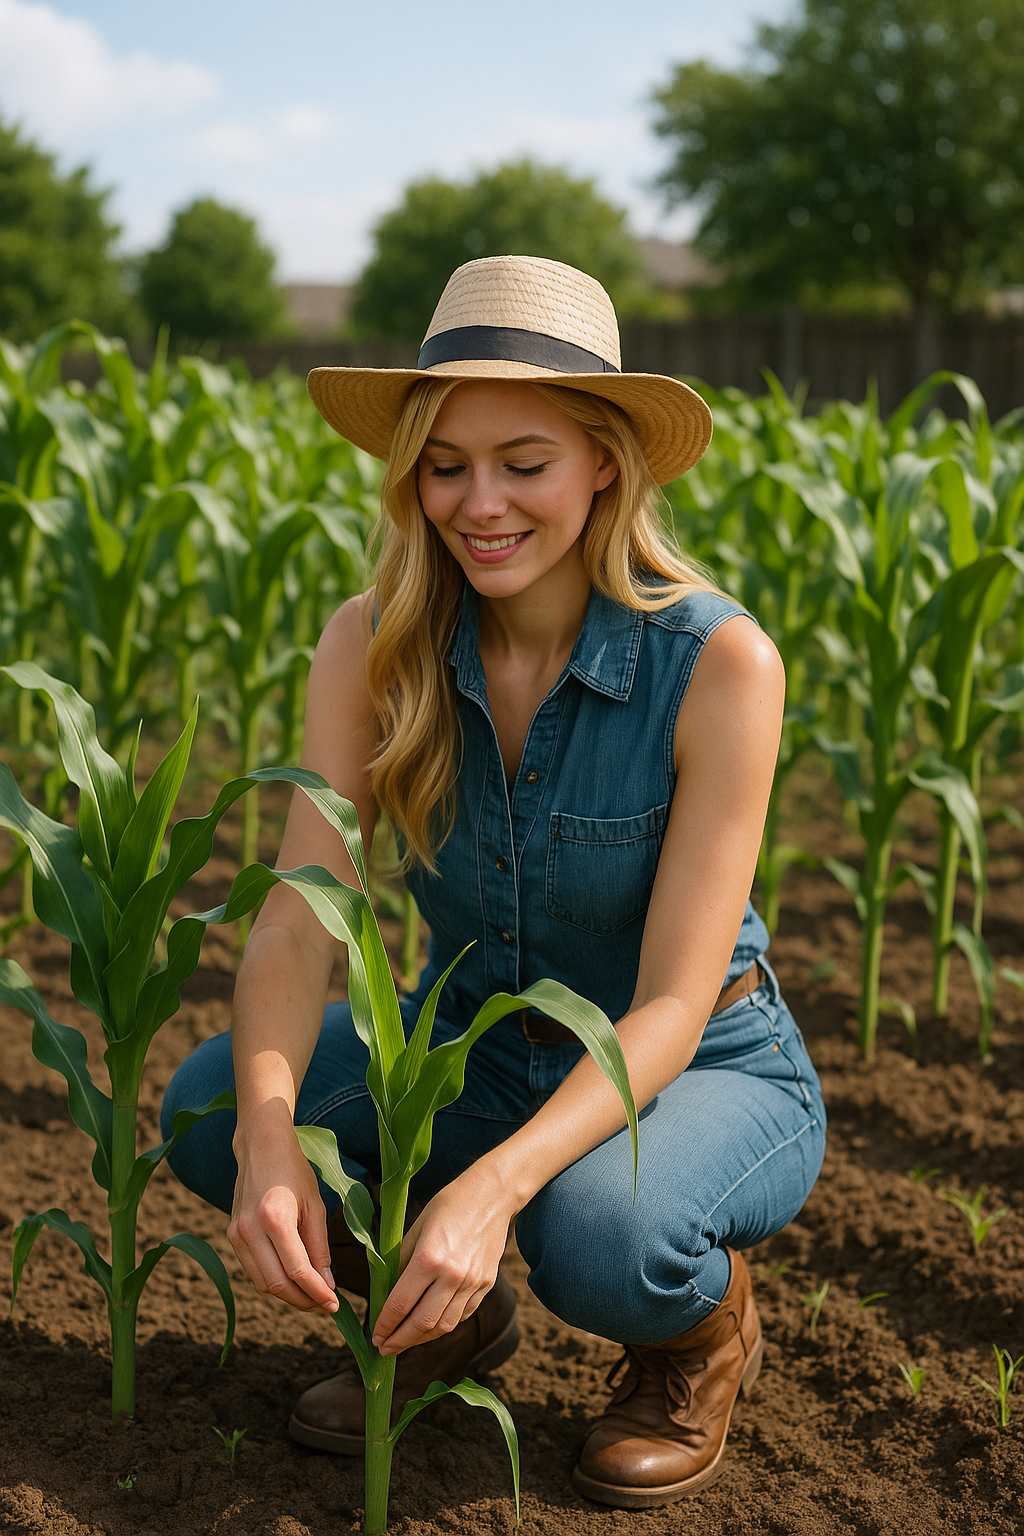
Once the seedlings pop up and are a few inches tall, go ahead and thin them—snip or gently pull out the weakest plants so the strongest ones can thrive. Don’t be afraid to be a little ruthless here. Giving your plants room to grow means sturdier stalks, bigger ears, and less stress from overcrowding.
Whether you’re growing ten stalks or a hundred, getting your corn layout right from the start is one of the most important steps to a great harvest. And once you taste those sweet, juicy kernels, you’ll be glad you gave them the space and support they needed.
Feed and Water Like You Mean It
Corn grows fast and tall—and that means it has a big appetite. These towering plants are heavy feeders, and if you want full, juicy ears at harvest time, you’ve got to keep them well-fed throughout the season. Once your seedlings are up and growing strong, it’s time to step in with some added nutrition. A side dressing of nitrogen-rich fertilizer is exactly what they need to fuel that rapid growth. You can use composted chicken manure, blood meal, feather meal, or a balanced organic fertilizer designed for leafy vegetables. Sprinkle it a few inches away from the base of the plants to avoid burning the roots, and gently scratch it into the soil.
Timing matters too. Give your corn a feeding when the plants are about 12–18 inches tall (knee-high)—this is when the real vertical sprint begins. A second feeding when the tassels appear helps push energy into ear and kernel development. Some gardeners even do a third, lighter feeding if the plants look a bit pale or stressed during silking.
But feeding is only half the equation. Watering is just as crucial, especially during the most critical stages—silking and ear development. That’s when the plant is forming kernels, and any drought stress can lead to incomplete ears or small, shriveled kernels. As a general rule, aim for about 1 inch of water per week, including rainfall. If you’re in a hot or windy climate, or your soil drains quickly, you may need to bump that up to 1½ inches or more. Deep, infrequent watering is best—this encourages deep root growth and helps the plants handle heat better.
A simple rain gauge or even an empty tuna can placed in the garden can help you monitor how much water your plants are actually getting. Water in the early morning to minimize evaporation and give the foliage time to dry, reducing the risk of fungal diseases.
To keep that moisture where it belongs—in the soil—add a layer of mulch around the base of your plants. Straw, shredded leaves, or untreated grass clippings work great. Mulch helps retain moisture, suppress weeds, and regulate soil temperature, all of which contribute to healthier, more productive corn plants. Feed it well, water it right, and your corn will reward you with tall, lush stalks and ears so sweet and crisp you’ll wonder why you ever settled for supermarket corn. This is one crop where a little extra care really does go a long way.
Watch for Pests and Keep an Eye on the Tassels
The biggest pest threat to corn—hands down—is the corn earworm. These little invaders are notorious for tunneling into the tips of your ears and feasting on the sweet kernels just as they start to mature. By the time you pull back the husk and spot the damage, the worms are already well-fed and cozy inside. Fortunately, there’s a simple and effective organic trick that can make a big difference: apply a few drops of vegetable oil or mineral oil directly into the silks at the tip of each ear, about 3 to 5 days after the silks emerge. This creates a physical barrier that deters the larvae from entering the ear and interrupts their life cycle without the need for harsh chemicals.
Besides earworms, you might also run into aphids, which tend to cluster on the undersides of leaves and tassels. These sap-suckers can weaken the plant and spread disease, but they’re usually easy to manage with a strong blast of water, a dose of neem oil, or insecticidal soap. Just make sure to spray in the early morning or late evening to avoid harming beneficial insects and pollinators. Armyworms can also be a problem, especially in midsummer. These caterpillars feed on leaves and can quickly defoliate young plants if left unchecked. Keep an eye out for chewed leaves, frass (caterpillar droppings), and the pests themselves. Regular scouting, handpicking, and biological controls like Bacillus thuringiensis (Bt) can help protect your crop naturally.
And let’s not forget the four-legged and feathered pests. Birds and raccoons have an uncanny knack for knowing exactly when your corn is ripe. Birds will peck at the kernels, while raccoons tend to go all in—often flattening entire stalks just to get a taste. If you’re gardening in a rural or suburban area, consider installing lightweight netting, row covers, or even temporary fencing around your patch as the corn nears maturity. Motion-activated sprinklers or garden lights can also help deter nighttime raids.
As with most garden pests, the best defense is a combination of vigilance and prevention. Regularly inspect your plants, respond early, and keep your growing area clean and healthy. With a little attention, you can head off most corn problems before they rob you of those sweet, golden ears you’ve worked so hard for.
When and How to Harvest Corn
Corn is ready to harvest about 20 days after the silks first appear, and this is when the magic moment happens—if you time it right. You’ll know it’s close when the silks have turned brown and dry, the ear feels plump and firm, and the husk is tightly wrapped. But the real test is what’s going on inside. Peel back the husk just a little and puncture a kernel with your fingernail. If a milky juice squirts out, that ear is ready to go. If the juice is clear, it needs a little more time. And if there’s no juice at all or the kernels feel tough, it may be overripe.
Timing is everything with corn—it can go from perfect to starchy in a matter of days, especially in hot weather. That’s why many gardeners make a habit of checking their ears daily once the silks have dried up. You don’t want to miss that peak window. For the best flavor and sweetness, pick in the early morning when the sugars are at their highest. As the day heats up, those natural sugars start converting to starch, which affects both flavor and texture. If you’re not planning to eat your corn right away, refrigerate it as soon as possible to slow down that sugar loss and keep it crisp and sweet for a few extra days.
To harvest, it’s all about technique. Hold the stalk firmly with one hand to steady it, and use your other hand to grab the ear and twist it downward. It should snap off cleanly with a satisfying little pop. Try not to yank or pull, as that can damage the stalk or other ears still developing.
There’s something truly satisfying about harvesting corn you grew yourself—maybe it’s the weight of the ear in your hand, or the moment you peel back the husk to reveal perfect rows of golden kernels. However you enjoy it—grilled, boiled, roasted, or straight off the cob—it’s a reminder of what fresh, real food is supposed to taste like.
After the Harvest: Don’t Toss the Stalks
Once you’ve harvested your corn, don’t just walk away and call it done—the stalks still have a role to play. After all the ears are picked and enjoyed, the plants begin to dry out and lose their lush green color. You can leave the stalks standing for a little while to give your garden a charming fall look—nothing says autumn quite like golden corn stalks rustling in the breeze. They make great natural decorations for porches, garden edges, or bundled into bunches for harvest-themed displays.
But when it’s time to clear things out, don’t waste those stalks—put them to work. Cut them down at the base and chop them into smaller pieces using pruners, loppers, or even a sharp shovel. Once shredded, you can work the pieces back into your garden beds or toss them in the compost pile. Corn stalks are rich in carbon, which balances out the nitrogen from green waste like kitchen scraps or fresh grass clippings. Over time, they’ll break down and become part of your soil’s organic matter, improving texture, moisture retention, and long-term fertility.
If you’re prepping your beds for a fall or winter crop, go ahead and clear the stalks early so you can amend the soil and plant something new. But if you’re putting the garden to rest for the season, those chopped corn stalks make a great “brown” layer in your compost or a top dressing to protect soil over winter. In other words, the corn may be gone, but the plant can still give back—just another way this iconic summer crop earns its place in the garden.
Final Thoughts: Growing Corn Is Easier Than You Think
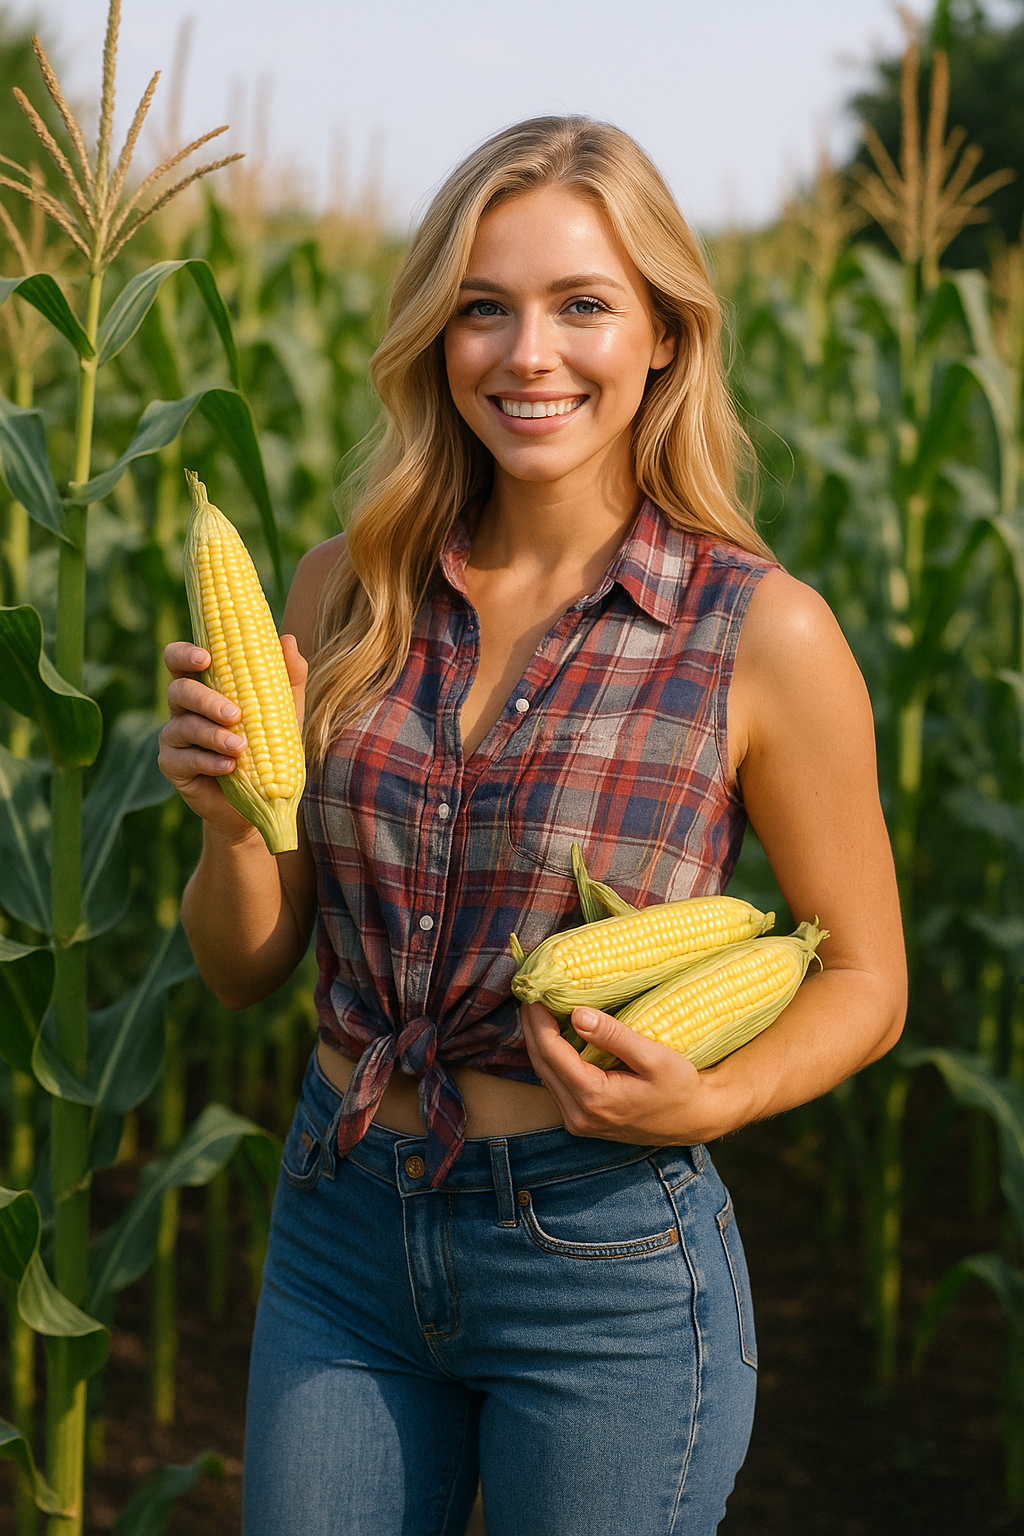
Growing corn in your own backyard isn’t just possible—it’s incredibly rewarding. The key is giving it what it needs: warmth, sun, rich soil, space for pollination, and consistent care. Once you get the hang of it, there’s nothing like peeling back those green husks and revealing rows of golden kernels that came from your own patch of earth.
Whether you’re growing for grilling, roasting, freezing, or just enjoying straight off the stalk, homegrown corn brings a slice of summer you’ll want to savor again and again. Plant it right, tend it well, and you’ll be reaping the sweet rewards come harvest time.