Brussels sprouts might get a bad rap at the dinner table, but once you’ve tasted them fresh from the garden—crispy, nutty, and just the right amount of sweet—you’ll never look at them the same way again. Forget the mushy, overcooked versions you may have suffered through as a kid. Homegrown Brussels sprouts are a game changer. They’re loaded with nutrients, full of texture and flavor, and make a satisfying addition to fall and winter meals.
These little mini cabbages grow on tall, sturdy stalks and take a bit more time than your average garden veggie. But with the right setup and a touch of patience, they’re totally beginner-friendly. The key is understanding their cool-season preference and planning your timing around it. Once you get the hang of it, Brussels sprouts are surprisingly low-maintenance and highly rewarding—especially when you’re harvesting fresh sprouts from your backyard while the grocery store’s charging top dollar for the frozen kind.
Whether you’re growing in a raised bed, a large container, or a full in-ground garden, Brussels sprouts are completely doable with just a little guidance and planning. So let’s walk through exactly how to grow Brussels sprouts from seed to harvest, without all the guesswork or frustration—just solid, step-by-step info to help you grow a better harvest, right from your own garden.
Start with the Right Timing and Variety
Timing is everything when it comes to growing Brussels sprouts. This is a cool-season crop through and through—it loves mild temperatures and actually develops its best flavor when kissed by a light frost. But unlike other fall favorites like lettuce or radishes, Brussels sprouts need a long growing season, typically 80 to 100 days from transplant to harvest, depending on the variety.
If you live in a region with mild winters, you’re in luck. You can start seeds in midsummer and transplant the seedlings outdoors in late summer or early fall. As the days shorten and temperatures drop, your plants will thrive—and you’ll be harvesting flavorful sprouts well into winter.
For gardeners in colder climates, the game plan shifts. You’ll want to start seeds indoors in late winter or early spring, then move them outside once the risk of hard frost has passed and your soil is workable—usually in early to mid-spring. The idea is to get them growing early enough so they have time to mature before the intense summer heat sets in, but late enough to avoid early spring frosts that can stress young plants.
Choosing the right variety makes a big difference, too. If you’re gardening in a short-season area, look for compact or early-maturing types like ‘Jade Cross’ or ‘Oliver’—they reach harvest stage faster and stay manageable in size. In warmer or more temperate zones, you can go for longer-season traditional varieties like ‘Long Island Improved’ or ‘Diablo’, which produce larger stalks and take their time but reward you with abundant yields. Get the timing right, and you’ll be well on your way to growing tall, productive plants that deliver baskets of delicious little sprouts when most of the garden is winding down.
Give Brussels Sprouts Full Sun and Room to Breathe
Brussels sprouts are sun-lovers, plain and simple. To grow those sturdy stalks and dense, flavorful sprouts, they need a solid 6 to 8 hours of direct sunlight each day. Less than that, and your plants might get leggy, underperform, or produce loose, airy sprouts that don’t pack the same punch. So when you’re picking a planting spot, go for a wide-open area that stays sunny from morning till afternoon.
But sunlight’s just one part of the equation—airflow is equally important. Brussels sprouts are prone to fungal diseases like downy mildew, especially in damp or humid conditions. Planting in an open, well-ventilated part of the garden helps keep the foliage dry and reduces disease risk. Avoid shady corners or tight, crowded beds. Good airflow = healthier plants and less hassle.
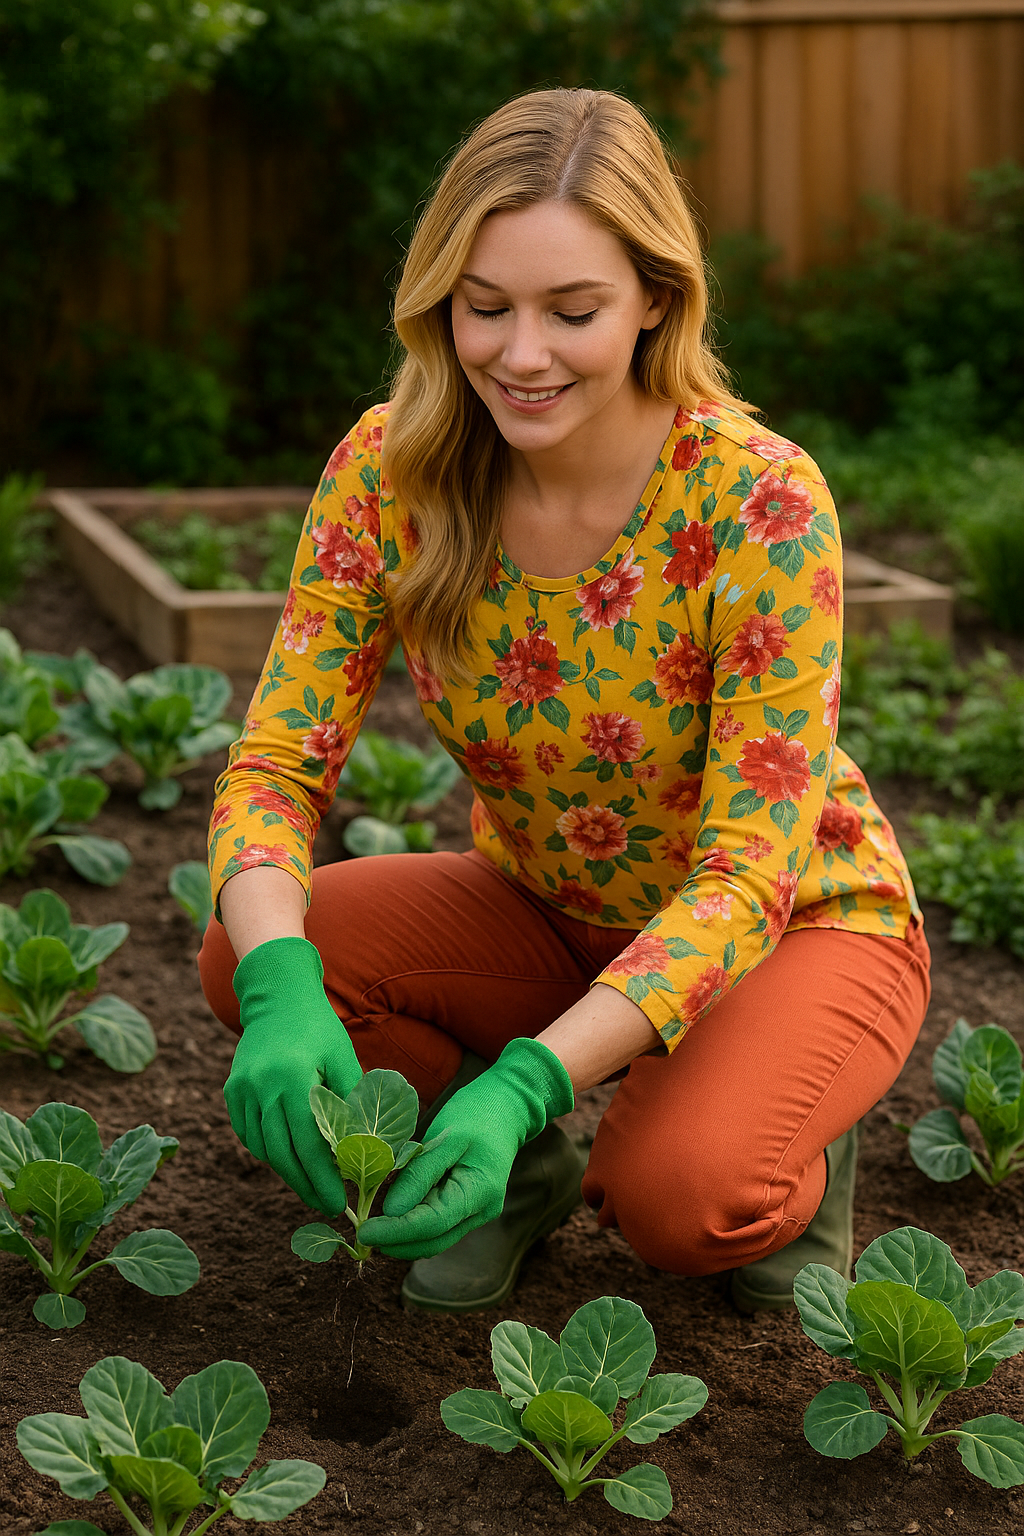
And then there’s spacing, which a lot of new gardeners tend to underestimate. These aren’t petite little herbs—they’re big, leafy, vertical plants that can easily grow 2 to 3 feet tall and about 2 feet wide. You want to space each plant 18 to 24 inches apart, in rows about 30 inches apart. That gives them room to stretch out without competing for light and nutrients, and it also makes it easier for you to walk through, water, weed, or harvest down the line.
It might look like overkill when the seedlings are still small, but give it a few weeks and you’ll see why that breathing room matters. The reward? Stalks loaded with evenly sized, tightly wrapped sprouts that are easier to harvest—and way more satisfying on your plate.
Feed the Soil Before You Feed the Plants
Brussels sprouts are serious eaters. If you want strong stalks and tightly packed sprouts, you’ve got to start with nutrient-rich soil and keep the buffet going throughout the season. These plants are in the brassica family—like cabbage and broccoli—which means they have big appetites, especially for nitrogen early on and potassium later as the sprouts start forming.
Before you plant, load up your soil with compost or well-rotted manure. This gives your sprouts a rich foundation full of slow-release nutrients and organic matter that helps retain moisture while still draining well. They don’t like soggy roots, so make sure your soil is loose and well-aerated. If you’re working with heavy clay, amend with compost and a bit of sand or perlite to improve drainage. Aim for a soil pH between 6.5 and 7.0—slightly acidic to neutral. This sweet spot helps the plants take up nutrients efficiently and makes them more resilient to pests and disease.
As your Brussels sprouts grow, they’ll need a steady flow of nutrients to support that big leafy canopy and the development of sprouts up the stalk. Side-dress them with a layer of compost every 3 to 4 weeks, or use an organic fertilizer that’s balanced or slightly higher in nitrogen during the early stages. Once they start forming sprouts, shift to a lower-nitrogen, higher-potassium feed to support tight, dense growth and overall plant strength.
Keep an eye on your plants—yellowing leaves or slowed growth are often signs they’re running low on nutrients. Don’t ignore the signals; a timely feeding can turn things around fast. A well-fed Brussels sprout plant is a powerhouse, and once it hits its stride, it’ll reward you with a stalk full of flavorful mini-cabbages that are as satisfying to grow as they are to eat.
Keep the Water Coming—Consistently
Consistent moisture is key if you want Brussels sprouts that are tight, tender, and packed with flavor—not loose, bitter, or stunted. These plants put in a long season of steady growth, and dry spells at the wrong time can throw them off track in a hurry. The goal is to keep the soil evenly moist at all times—never waterlogged, but definitely never bone dry.
Give your plants a deep soak once or twice a week, depending on your weather and soil type. In sandy soil or during hot spells, you may need to water more often. Shallow, frequent watering doesn’t cut it—it only wets the topsoil and encourages shallow roots. Deep watering encourages the roots to grow down where the soil stays cooler and moisture lasts longer, giving your plants more resilience in tough weather.
To help lock in that moisture, mulch is your best friend. A thick layer—about 2 to 3 inches—of straw, shredded leaves, grass clippings, or compost around the base of each plant helps reduce evaporation, keeps the soil temperature steady, and cuts down on watering needs. Mulch also does double duty by suppressing weeds, which can otherwise compete with your Brussels sprouts for water and nutrients.
The trick is to water regularly and mulch early, before the summer heat sets in. With a well-hydrated root zone and fewer weeds to steal the show, your Brussels sprouts can focus on what they do best—growing big, leafy stalks full of delicious, compact sprouts you’ll be proud to harvest.
Watch the Stalk, Not Just the Leaves
One thing that often confuses new growers is figuring out exactly when Brussels sprouts start doing their thing. Unlike other vegetables that show their fruit front and center, sprouts form a little more discreetly—tucked into the leaf axils where each leaf meets the main stem. If you look closely, you’ll spot tiny green nubs forming in a spiral pattern all the way up the stalk, starting from the base and working their way up as the plant matures.
These little baby sprouts will gradually swell over time, and that’s your cue the plant is entering the final stretch of its growing cycle. Don’t rush it—they need a few weeks to fill out. In fact, cool weather is their best friend, especially if it dips into the 40s or even upper 30s at night. A light frost won’t hurt them—instead, it actually sweetens the flavor and improves texture.
Once your plant reaches about 24 to 30 inches tall, it’s time for a clever little trick: pinch off the top few inches of the stalk. This is called “topping,” and it works wonders for harvest quality. By removing the growing tip, you signal the plant to stop investing energy into height and instead focus that energy on bulking up the sprouts that have already formed. This results in more uniform sprouts that mature around the same time—making harvesting easier and the overall yield more impressive.
Topping is especially useful late in the season when you’re racing against frost or shorter daylight hours. Just make sure you wait until there are already several visible sprouts forming up the stalk. With a little patience and timely topping, you’ll go from tiny green buttons to plump, tasty Brussels sprouts ready for the dinner table.
Harvest Smart and Harvest Often
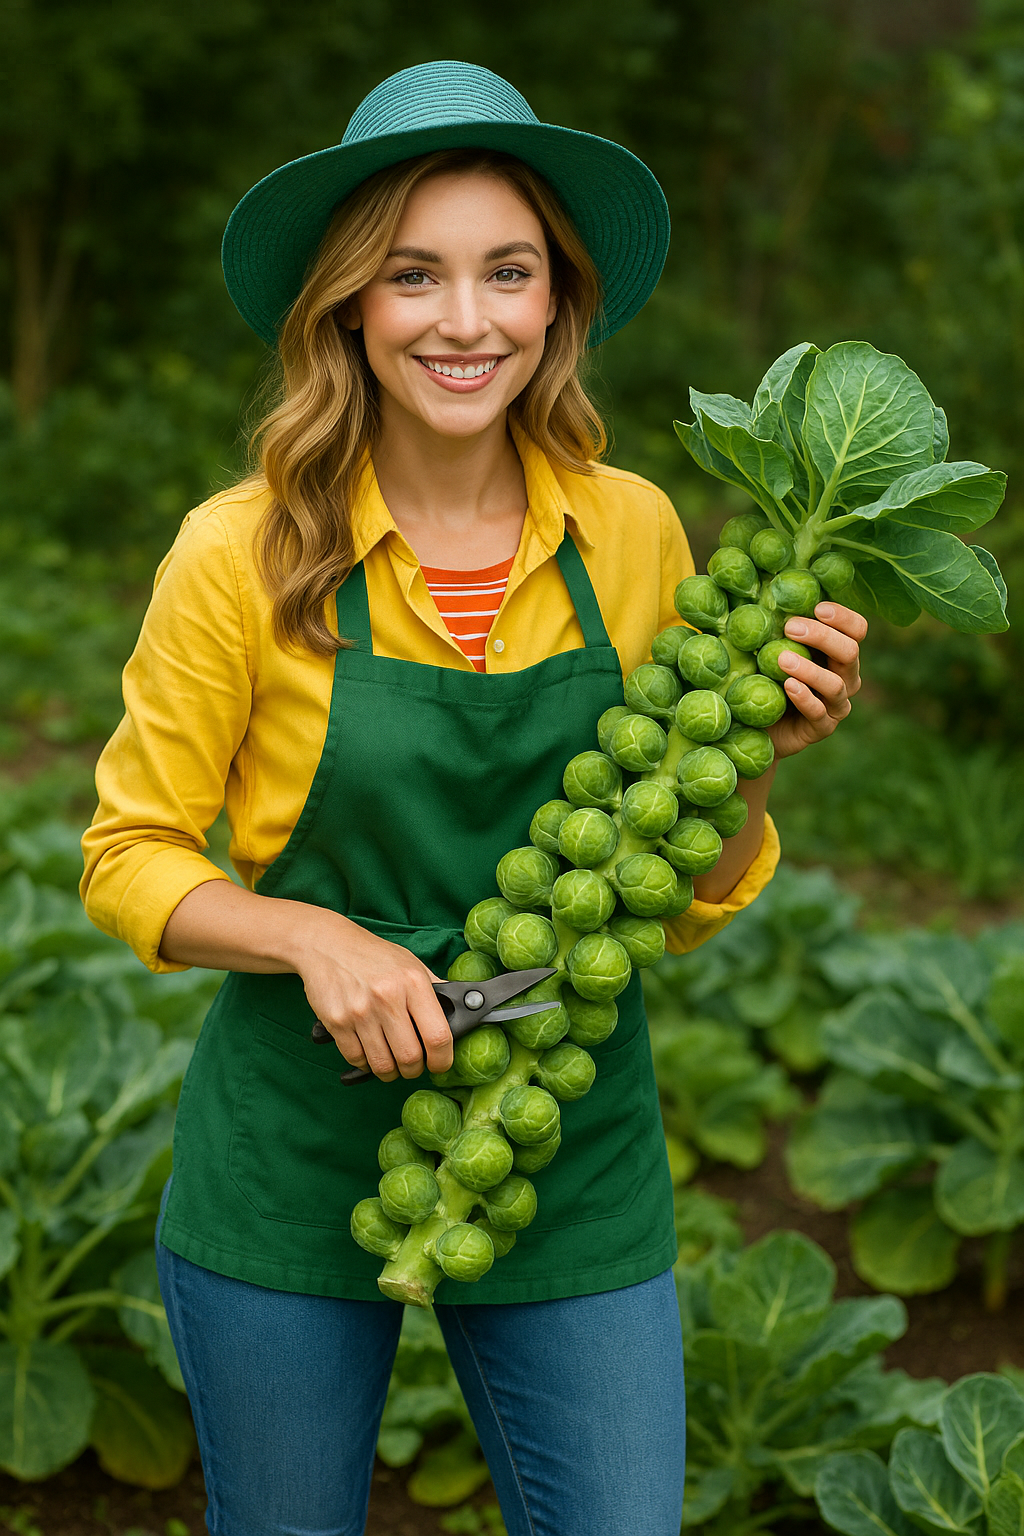
Timing your harvest just right makes all the difference when it comes to Brussels sprouts. You’re aiming for sprouts that are 1 to 2 inches in diameter, firm, and tight—like mini cabbages. Once they get much bigger than that, they tend to turn woody, loose, or bitter, which is not what you want after all that patient growing.
Sprouts mature from the bottom of the stalk upward, so begin your harvest down low and work your way up over time. The top sprouts will keep developing while you harvest from below, giving you a nice extended harvest window. This means you don’t have to take the whole plant down at once—you can pick a few at a time, which is perfect for fresh meals every few days.
To harvest, you can either twist the sprout off gently by hand or use a sharp knife to cut it cleanly at the base. If you’re harvesting frequently, twisting is often faster. But for a more final, clean harvest—especially if the stalk is loaded—cutting might be your go-to method.
If your growing season is wrapping up or you’ve got most of the stalk filled out with ready-to-pick sprouts, you can also cut the entire stalk at the base and harvest all the sprouts at once. This is handy if a cold snap is on the horizon or you’re ready to clear space for winter crops.
Either way, don’t wait too long. Frequent picking encourages the upper sprouts to mature faster and helps maintain overall quality. Fresh from the garden, these little brassicas are packed with flavor—nutty, sweet, and totally different from anything you’ve ever tasted from the freezer aisle.
Pest Patrol: Stay Ahead of Cabbage Worms
Brussels sprouts may be tough and hardy, but pests see them as a five-star meal. Since they’re part of the brassica family—right alongside cabbage, kale, and broccoli—they’re prime targets for all the usual suspects: cabbage worms, aphids, and flea beetles. Left unchecked, these pests can do serious damage to your foliage and sprouts, reducing both yield and quality.
Early protection is your best defense. When your plants are still young and tender, a simple row cover can make a huge difference. It acts like a protective barrier against flying insects that want to lay eggs—especially cabbage moths. Once the plants are established, you can remove the cover to allow airflow and pollinator access, but by then, they’ll be tougher and better able to handle some pressure.
Make it a habit to check your plants once a week—lift the leaves, check the undersides, and look for small green worms or clusters of aphids. If you see cabbage worms (the little green caterpillars), hand-picking them is effective, or you can go with an organic pesticide like BT (Bacillus thuringiensis), which targets caterpillars specifically and is safe for beneficial insects.
Aphids can usually be knocked off with a blast of water, or controlled with neem oil or insecticidal soap. Flea beetles are trickier but can often be kept at bay with mulch and sticky traps, and healthy soil packed with organic matter can help the plant recover faster if it does get nibbled.
The bottom line? A healthy Brussels sprout plant can handle a little pest pressure, but staying proactive will keep problems from spiraling out of control. A few minutes each week with your eyes on the garden can save you from a full-blown infestation—and keep your harvest crisp, clean, and worm-free.
Wrap-Up: Homegrown Sprouts Are Worth It
Yes, Brussels sprouts take some time—but they’re not difficult when you follow a few key steps. With rich soil, regular water, and a sunny spot, you’ll be well on your way to growing flavorful, nutritious sprouts that make even the most skeptical eater give them another chance.
So grab a packet of seeds, map out a little corner of your garden, and get growing. When that first frost hits and your sprouts sweeten up just right, you’ll be glad you di