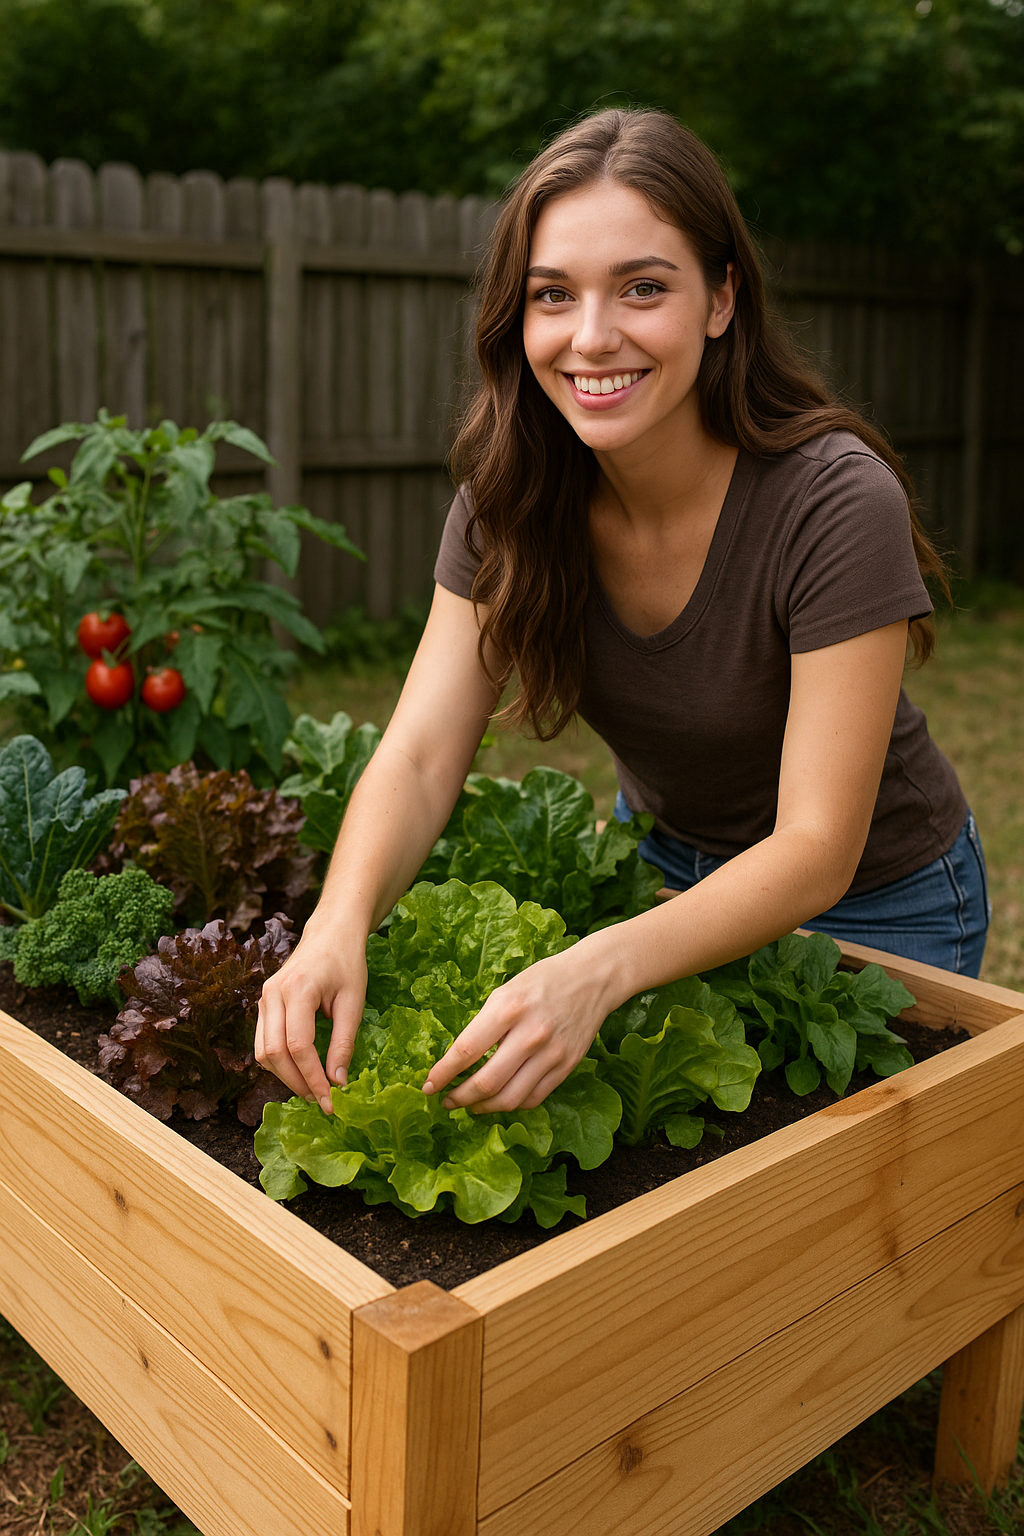
Starting a raised bed garden feels a lot like opening a fresh notebook—you’ve got that hopeful, can-do attitude, and you’re ready to dig in (literally). It’s a clean slate, full of promise and potential. The wood is cut, the screws are in, the soil smells rich, and your imagination runs wild with images of juicy tomatoes, crisp lettuce, and maybe even a few herbs ready to be snipped fresh for dinner. Raised beds are a great way to take control of your growing space, especially if you’re dealing with poor soil, limited yard space, or just want to keep things tidy and manageable.
But just like any DIY project, there are a few pitfalls that can trip up beginners—things you wouldn’t think about until you’ve already planted your first crop and find yourself scratching your head, wondering why things aren’t growing like you expected. Don’t worry—we’ve all been there. The good news is that most raised bed gardening mistakes are totally preventable. With a little upfront knowledge and a willingness to learn as you go, you can sidestep the setbacks and start off strong. Whether you’re working with a couple of 2×6 boards and a drill, or you bought a prefab kit off the shelf, getting the fundamentals right from the start makes all the difference.
Raised beds offer tons of benefits—better drainage, fewer weeds, easier access—but they’re not exactly “set it and forget it.” A successful garden still needs thoughtful planning, the right materials, and a little ongoing care. If you’re new to gardening in raised beds, learning from a few common missteps can save you time, money, and frustration. There’s no shame in making mistakes, but it’s always better to learn from someone else’s than your own—especially when those mistakes can affect your harvest or your budget. So, whether you’re building your very first bed this weekend or already have a couple tucked into your yard, let’s walk through the top 10 mistakes beginner gardeners make and how to avoid them, one shovel-full at a time.
1. Choosing the Wrong Spot
Where you place your raised bed is just as important as what you grow in it—maybe even more so. One of the most common mistakes beginners make is picking a spot based on how it looks, not how it functions. That little corner under the big oak tree might seem charming and cozy, but if it only gets a couple hours of filtered light, your vegetables are going to struggle. Most edible plants—especially sun lovers like tomatoes, peppers, cucumbers, and squash—need a solid 6 to 8 hours of direct sunlight each day to really thrive. That’s not dappled light or “kind of sunny in the afternoon”—we’re talking full, bold, let-the-sunshine-in kind of exposure.
If your raised bed is tucked behind a shed, shaded by a fence, or sitting too close to tall shrubs or trees, your plants might end up pale, leggy, and unproductive. It’s like trying to run a marathon on two hours of sleep—technically possible, but not going to end well. Shade also creates cooler, damp conditions that can invite pests and slow down growth. And if you’re planning to grow heat-loving crops, forget it—they need that sun to develop flavor and size.
Before you grab your shovel or screw gun, take a couple of days to scout your yard. Watch where the sun hits in the morning, midday, and afternoon. Snap a few photos or sketch a quick map if it helps. A simple trick is to place something like a cardboard box in your potential bed area and check on it throughout the day to see how much sun it gets. Apps or tools can help with this too, but your eyes and a little patience work just fine. A little sunlight recon now will save you a lot of disappointment later on. Get the location right, and your plants will thank you with strong stems, vibrant leaves, and a harvest that makes the effort worth it.
2. Using the Wrong Materials
It’s tempting to use whatever wood scraps you’ve got lying around, but not all materials are garden-friendly. Pressure-treated wood used to contain harmful chemicals (like arsenic), which made it a no-go for edible gardens. These days, most pressure-treated lumber is safer, but many folks still prefer using cedar, redwood, or other naturally rot-resistant woods to be on the safe side. Avoid old pallets unless you’re 100% sure they’re untreated and safe for garden use.
3. Building Beds That Are Too Wide
This is a classic rookie mistake that’s surprisingly easy to make—and just as easy to avoid once you stop and think it through. When you’re building your raised bed, it’s tempting to go big. You figure, “Hey, more space equals more plants, right?” And while that’s technically true, what often gets overlooked is how you’re going to reach those plants once they start growing. If your raised bed is too wide, you’ll find yourself leaning, stretching, and eventually stepping into the bed to get to the middle. And the moment you step into the bed, you’re defeating one of the biggest benefits of raised bed gardening: keeping your soil light, fluffy, and uncompacted.
Plants love loose, aerated soil. Their roots need room to stretch out and access water, nutrients, and oxygen. But when you step in the bed—even just once—you compress the soil beneath your feet. That might not sound like a big deal, but even minor compaction can make it significantly harder for roots to grow. It can also affect drainage and lead to water pooling in the compacted areas. Plus, wet soil compacts even faster, so stepping in after a rain can cause even more damage.
To avoid this, think ergonomically. If your raised bed is accessible from both sides, the ideal width is no more than 4 feet. That way, you can reach comfortably to the center without overextending or trampling your precious soil. For kids or folks with limited mobility, even 3 feet might be a better fit. If your bed is placed against a wall, fence, or any structure that blocks access from one side, stick to a maximum width of 2 to 3 feet. That gives you full reach without the need for acrobatics.
You also want to consider your arm span and any tools you regularly use. A standard garden trowel or small cultivator only gives you so much reach. If you’re having to lean over too far, you’ll tire out your back, and gardening won’t be as enjoyable. Remember, raised beds are supposed to make gardening easier—not turn it into a balancing act.
4. Neglecting Drainage Needs
A raised bed with poor drainage is like a bathtub with no drain—eventually, you’re going to have a soggy, root-rotting mess that’s no fun to deal with. One of the biggest perks of using raised beds is that they naturally offer better drainage than planting straight in the ground. But that benefit disappears real quick if you don’t set things up properly from the bottom up. If water can’t escape after heavy rain or watering, it’s going to sit there, turning your carefully prepared soil into a swampy, compacted mess—and most garden plants absolutely hate having “wet feet.”
This issue tends to sneak up on beginners who build their beds on clay-heavy soil or line the bottom with plastic to block weeds. While that might seem like a good idea at first, plastic liners often trap water instead of letting it pass through. Unless you’ve poked a bunch of drainage holes in them—and even then it’s hit or miss—you’re basically setting your raised bed up to be a planter with no outlet. That means saturated soil, drowning roots, and a breeding ground for mold, mildew, and root rot.
Instead, let your raised bed do what it’s meant to: breathe and drain naturally. If you’re working with deep beds, it can help to add a layer of coarse organic material like sticks, bark, or chunky mulch at the bottom before you add your soil mix. Some folks use gravel, though keep in mind that unless it’s part of a full drainage system, gravel alone won’t solve poor soil drainage. The key is to use a well-balanced soil mix that holds moisture but also lets excess water escape. And make sure the ground underneath your raised bed isn’t totally compacted—if it is, loosen it up a bit with a garden fork or shovel so water has somewhere to go.
Good drainage is one of those behind-the-scenes things that makes your garden run smoothly. When it’s working well, you won’t even notice it. But when it’s not, it’ll cause all kinds of headaches that are hard to fix once your plants are in the ground. So take the time to get your base right—it’s a small step that pays off big time down the road.
5. Filling It with the Wrong Soil Mix
This one can sneak up on you. Filling a raised bed with straight garden soil, or worse—heavy clay soil from your yard—is asking for trouble. Plants love light, fluffy soil that holds moisture but drains well. A good raised bed mix might include a blend of compost, topsoil, peat moss or coconut coir, and a little perlite or coarse sand. Don’t skimp on the compost—that’s where your plants get a lot of their nutrition. If you want to keep things budget-friendly, you can make your own mix over time with homemade compost and organic material.
6. Skipping the Weed Barrier (or Using the Wrong One)
Ever see grass and weeds sneak up into your raised bed like uninvited guests at a backyard BBQ? One day everything looks clean and tidy, and the next—bam—you’ve got crabgrass poking through your carrots and dandelions cozying up next to your lettuce. That’s usually because you didn’t put down a proper barrier at the bottom of your bed before filling it with soil. It might seem like an optional step, but it can save you a ton of headaches down the line.
The goal here is to slow weeds way down—not necessarily block them forever, but give your veggies a good head start without having to compete with aggressive root systems trying to push up from underneath. A lot of gardeners use landscape fabric, which is designed to allow water to pass through while blocking light and limiting weed growth. Others swear by a more budget-friendly and eco-conscious option: cardboard or several layers of newspaper. Both break down slowly over time and help smother weeds while still letting moisture move through to the ground.
What you don’t want to do is use plastic. It might seem like a solid barrier, but plastic doesn’t let water drain or air circulate. That creates a soggy, anaerobic layer underneath your soil—basically, a swamp—and that’s bad news for root health and soil microbes. Raised beds are supposed to be well-draining and full of life. Plastic suffocates that system and leads to compacted, funky-smelling conditions you’ll end up battling all season.
7. Planting Too Much Too Close Together
In the excitement of getting everything planted, it’s easy to treat your raised bed like a salad bar—just one more tomato here, maybe a row of carrots squeezed in over there, and hey, why not tuck in some basil between them? We’ve all done it. When your plants are young and tiny, the empty space between them can feel like wasted real estate. But here’s the truth: overcrowding your raised bed is one of the fastest ways to end up with stressed-out plants that can’t perform at their best.
When plants are packed in too tightly, they have to compete for everything—sunlight, water, nutrients, and root space. It’s like trying to grow a family in a studio apartment—cramped and exhausting. Poor airflow becomes a big issue, especially for leafy greens and fruiting plants. Without enough space between them, the air can’t circulate properly, which makes it easier for fungal diseases like powdery mildew or blight to move in. On top of that, you’ll probably see stunted growth, yellowing leaves, and lower yields.
That’s why it’s so important to check spacing requirements on seed packets or plant tags. Those little numbers aren’t just suggestions—they’re based on how much room the mature plant will actually need to grow strong and healthy. A tomato plant might look harmless when it’s six inches tall, but by midsummer it’ll be sprawling and hungry, and if it’s rubbing elbows with a pepper plant two inches away, neither of them will be happy.
If you’re not sure about spacing, err on the side of generosity. When in doubt, space them out—you can always tuck a few fast-growing crops like radishes or lettuce in the gaps early on, then pull them before your larger plants fill in. It’s a lot easier to add more plants later than it is to thin out your precious seedlings or rip out sickly, overcrowded plants mid-season. Trust me, watching a garden you worked so hard to plant turn into a jungle of tangled, underperforming stems is a tough pill to swallow.
8. Ignoring Watering Needs
Here’s the truth: raised beds dry out faster than ground-level gardens. They’re elevated and have better drainage, which means you might need to water more often—especially in hot or windy conditions. New gardeners often underwater raised beds because the top layer looks damp. Stick your finger a couple inches into the soil to see if it’s dry underneath. Consider installing drip irrigation or soaker hoses to keep things consistent and conserve water.
9. Not Mulching the Surface
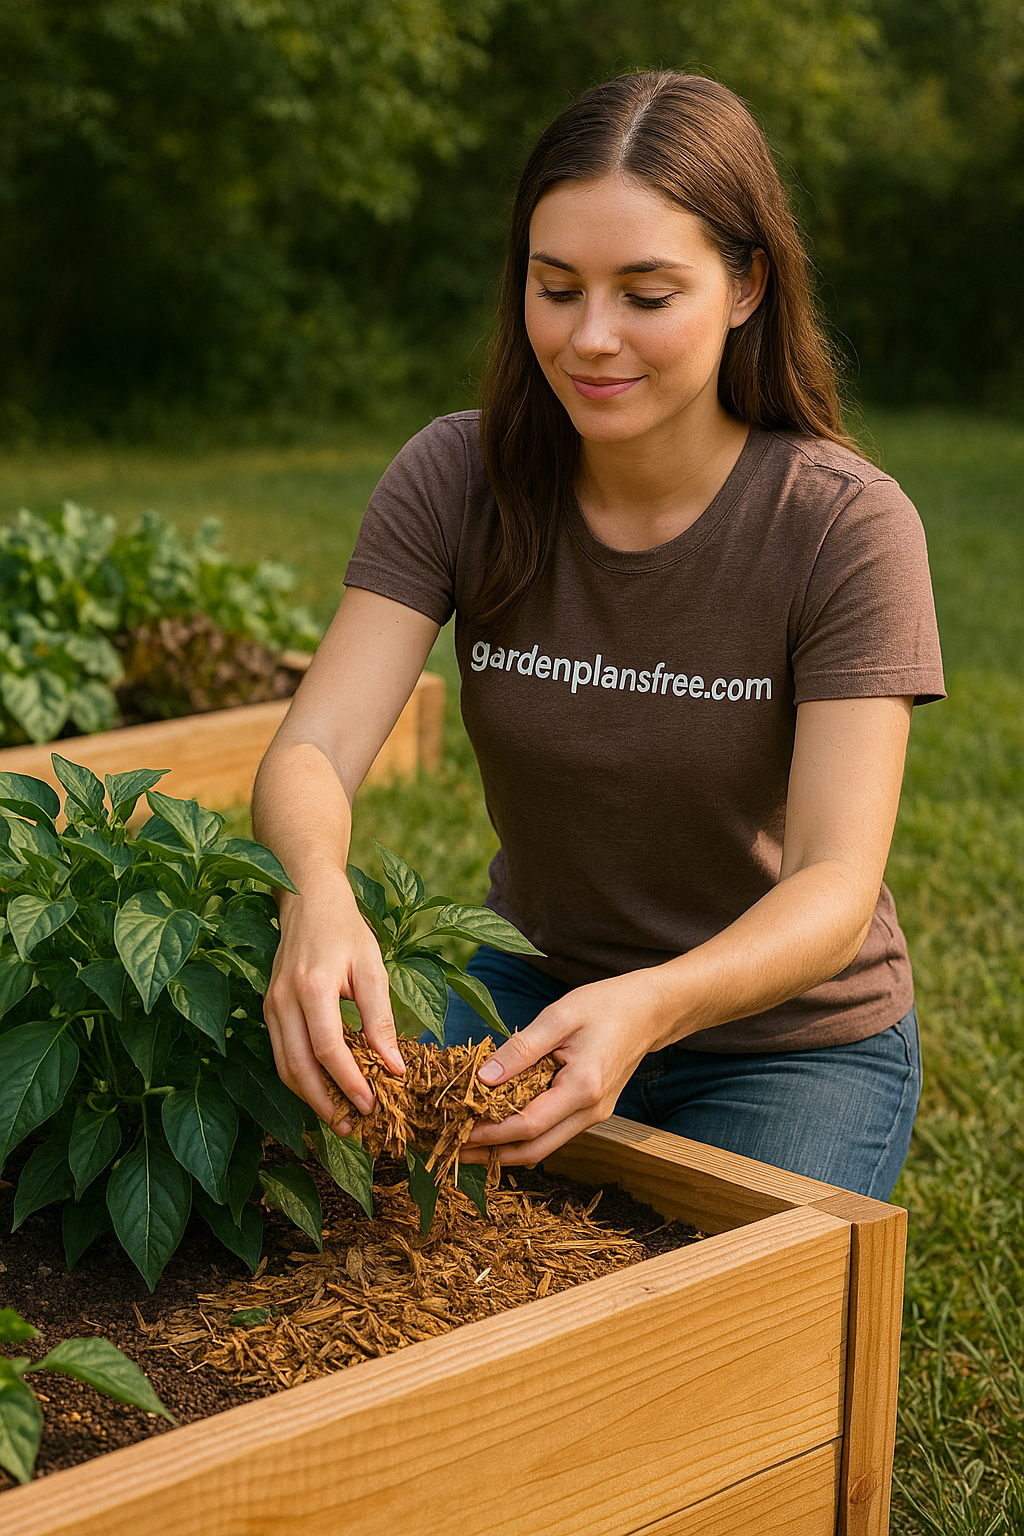
Once your plants are in and growing, it’s tempting to call it done. You’ve built the bed, filled it with good soil, planted your veggies, and maybe even installed a drip line. At that point, it’s easy to take a step back and pat yourself on the back—and hey, you deserve it! But don’t skip one of the most underrated yet powerful steps in raised bed gardening: mulching. Think of mulch as a cozy, protective blanket for your soil. It does a lot more than just make your garden look tidy—it plays a big role in keeping your garden healthy and productive.
Mulch helps retain moisture, which is especially important in raised beds where soil tends to dry out faster than in-ground gardens. On hot summer days, that topsoil can bake under the sun, causing water to evaporate quickly and leaving your plants thirsty. A nice layer of mulch slows evaporation, helping you conserve water and reduce how often you need to pull out the hose. It also regulates soil temperature, keeping roots cooler in the heat and providing a little insulation during cooler nights. That consistency is something your plants will quietly thank you for with stronger, more resilient growth.
Weed control is another big win. Mulch smothers weed seeds before they get a chance to sprout, which means less time spent yanking out unwanted greenery. And if you’re mulching with organic materials, like straw, shredded leaves, or untreated grass clippings, you’re not just covering the soil—you’re feeding it. Over time, that mulch breaks down and adds organic matter right back into the soil, improving its structure and fertility with each season. It’s like giving your garden a steady stream of slow-release compost.
Just be mindful of what type of mulch you use, especially in a food garden. Skip anything dyed, treated with chemicals, or made from questionable wood sources. You want clean, natural materials that will break down safely and benefit your soil—not something that might leach unwanted substances into your veggies. A couple inches of mulch on top—2 to 3 inches is usually perfect—is all you need to protect your plants and help your soil stay in great shape.
10. Forgetting to Plan for the Long Term
A raised bed isn’t a one-season wonder—it’s an investment in your garden’s future. It might look like just a box of dirt right now, but if you treat it right, it’ll serve you for years to come. The thing is, a lot of beginners get so focused on the excitement of planting their first crops that they forget to think long-term. What happens when you want to expand next year? Do you have space for more beds, or access to run irrigation lines if needed? Will your materials hold up through multiple seasons of rain, snow, and sun?
Durability matters. If your bed starts falling apart after the first year, you’ll be rebuilding instead of growing. Cedar and redwood hold up well to the elements, while untreated pine might only last a few seasons. Accessibility is also key—make sure you can easily reach all parts of the bed without stepping inside. That makes weeding, watering, and harvesting a whole lot more enjoyable.
And don’t forget about crop rotation. If you plan to grow vegetables season after season, rotating plant families helps prevent soil-borne diseases and pest buildup. That’s tough to do in a single, crowded box. So give yourself space—not just physically, but mentally and logistically. Start with one or two manageable beds, learn how they perform through the seasons, and build from there. It’s okay to grow slowly. In fact, giving yourself room to grow—literally and figuratively—is one of the smartest things you can do as a gardener.
Final Thoughts
Raised bed gardening is one of the best ways to jump into growing your own food—even if you’ve only got a small backyard or patio. By avoiding these beginner mistakes, you’ll set yourself up for a garden that’s productive, healthy, and a whole lot of fun. Like most DIY projects, you learn as you go. And trust me, the first tomato or pepper you harvest from your own raised bed is going to taste like victory. So grab your gloves, build that bed, and keep learning. Gardening’s not about perfection—it’s about progress and the joy of growing something real. Since you are here, you should also take a look over my plans on how to build a waist high garden bed plans!