If you’ve ever tossed the end of a green onion or the base of a head of lettuce in the trash, you might’ve thrown away more than just scraps—you tossed out free vegetables. That’s right. A surprising number of everyday kitchen ingredients can actually be regrown into fresh food with nothing more than water, sunlight, and a little patience. No fancy equipment. No expensive setup. Just good old-fashioned DIY gardening from what you already have at home.
Growing food from kitchen scraps is not only budget-friendly—it’s also a great way to reduce waste and get more out of the groceries you’re already buying. Whether you’re working with a sunny windowsill, a raised bed, or just a few containers on the porch, these veggie regrowers are the definition of low-maintenance. You don’t need a green thumb—just a little curiosity and a few kitchen castoffs.
Some of the best vegetables for regrowing include green onions, lettuce, celery, potatoes, and even garlic. These plants bounce back fast and don’t require much space. For most of them, all you need to do is place the scrap in a shallow dish of water and let nature do its thing. Once roots or new growth begin to appear, you can transplant them into soil to keep the harvest going. This kind of gardening is a great entry point for beginners, a fun science project for kids, and a surprisingly productive habit for seasoned gardeners looking to make the most of every bit of produce. It’s sustainable, satisfying, and honestly kind of magical to see a “throwaway” piece of food turn into a thriving plant.
So the next time you’re about to toss those trimmings, pause for a moment. You might be holding tomorrow’s harvest. Let’s dig in and explore the top vegetables you can regrow from kitchen scraps—because growing your own food doesn’t have to start with a seed packet. Sometimes, it starts with dinner prep.
Green Onions: The Gateway Veggie to Regrowing
Green onions are basically the MVPs of the regrowing world. They’re fast, forgiving, and endlessly useful in the kitchen. If you’re new to the idea of turning scraps into something edible, this is the perfect place to begin. After you’ve chopped off the green tops for cooking, don’t toss the root ends. Leave about two inches of the white base and drop them in a glass of water with the roots facing down.
Set that glass on a sunny windowsill and watch what happens. In just a few days, you’ll see bright green shoots reaching upward, and by the end of the week, you’ll have fresh growth you can actually harvest. The best part? You can keep trimming and regrowing those tops several times over. Just remember to change the water every couple of days to keep things fresh and avoid any funky smells.
Once the roots get a little more established, you can even transplant your green onions into a container or garden bed for longer-term production. They’re hardy, low-fuss, and keep producing long after most herbs would’ve given up. It’s one of the easiest wins you’ll get in the garden—and it all starts with a scrap you used to toss out.
Romaine Lettuce: Salad That Keeps on Giving
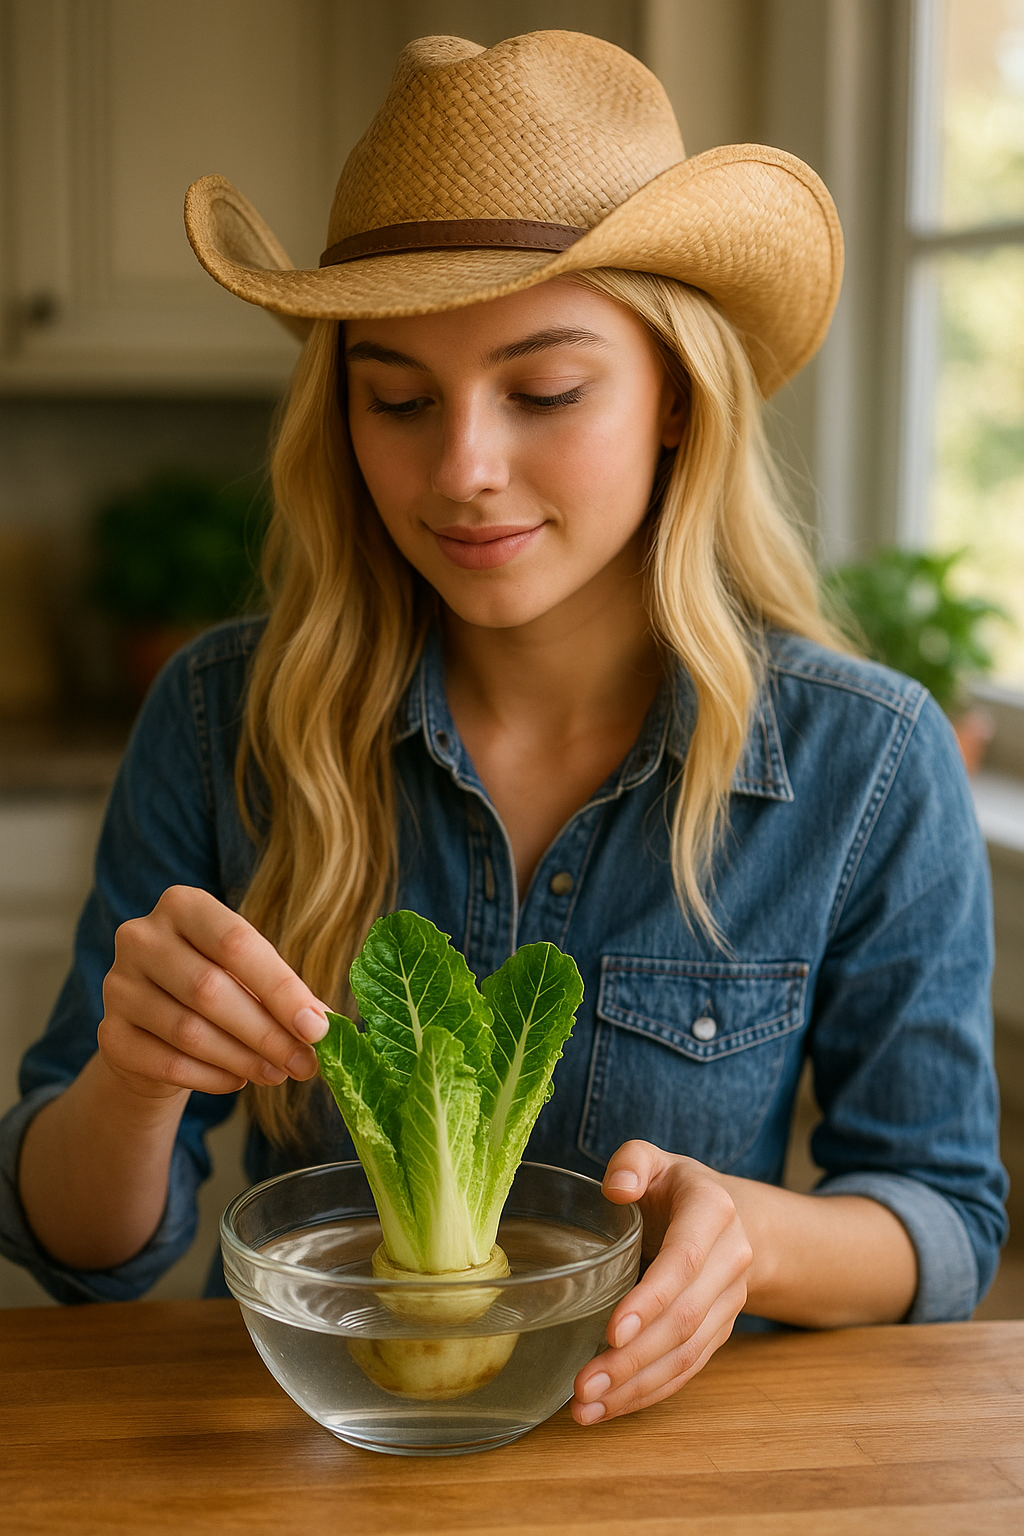
That leftover romaine lettuce core? It’s more valuable than you think. Instead of tossing it in the compost bin, you can turn it into a second harvest of crisp, fresh greens with almost no effort. Just place the base of the romaine—cut to about 2 inches tall—into a shallow dish with a bit of water, enough to cover the bottom but not submerge the entire piece. Set the dish in a spot with bright, indirect light, like a kitchen windowsill, and keep an eye on the water level.
In just a few days, you’ll notice tiny leaves unfurling from the center. They grow quickly and, while they won’t produce a full-size head like the one you bought, the regrowth is perfect for a handful of tender leaves to toss on a sandwich or into a lunch wrap. After about a week or so, if you want to keep it going longer, transplant the core into a container or garden bed with well-drained soil. The plant will continue to put out small harvests, and you’ll get way more mileage out of a single grocery run.
It’s a great way to make use of scraps, grow your own food indoors, and get a taste of gardening without having to dig in the dirt—at least at first.
Celery: Regrow Crisp Stalks from the Core
Celery is one of those vegetables that seems like it shouldn’t regrow—but it absolutely does. Just like with romaine, all you need is the base. After you’ve sliced off the stalks for your soup or snack plate, save the bottom two inches and stand it upright in a shallow dish of water. Make sure the cut side is facing up and the root end is sitting in just enough water to stay moist, not submerged.
Put the dish in a sunny window and let nature do its thing. Within a few days, you’ll notice tiny pale leaves emerging from the center. A week in, you’ll see small stalks beginning to form. That’s your cue to transplant. Move your celery start to a garden bed or deep container filled with rich, well-draining soil. Celery is a thirsty plant and does best in cooler weather, so keep it well-watered and out of the hottest afternoon sun.
With the right care, your regrown celery will reward you with a fresh round of stalks and leafy tops perfect for cooking or garnishing. It’s a great way to stretch your groceries and add a touch of green to your kitchen garden—starting from what most people throw away.
Garlic: One Clove Becomes One Whole Bulb
That slightly sprouting garlic clove sitting on your counter is practically begging for a second chance. Instead of tossing it, plant it—and let it reward you with a full head of homegrown garlic down the line. Garlic is one of the easiest and most satisfying kitchen scraps to regrow, especially for those willing to play the long game. Just take a clove (make sure it’s firm and healthy-looking), and plant it pointy end up about two inches deep in a pot or directly into your garden soil.
Garlic doesn’t ask for much—just well-drained soil, full sun, and time. Over the next few weeks, you’ll see green shoots rising above the soil, which you can snip and use like garlic chives. Meanwhile, underground, the magic is happening: that single clove will slowly multiply into a full bulb packed with flavor. Keep the soil evenly moist but not soggy, and be patient. Garlic typically takes about eight to nine months to mature fully, but it’s absolutely worth the wait.
If you’re in a colder climate, hardneck garlic is your best bet—it tolerates winter temps and even benefits from a cold period to form big, flavorful cloves. In warmer areas, softneck garlic varieties grow more reliably and store longer once harvested. Either way, you’re turning a would-be waste item into one of the most versatile staples in the kitchen—and getting bragging rights while you’re at it.
Potatoes: Sprouting Eyes Mean Free Starts
Those spud “eyes” might look like a sign your potato’s gone bad, but they’re actually your invitation to grow more. If you’ve got a potato starting to sprout, you’re already halfway to your own backyard harvest. Just cut the potato into a few chunks, making sure each piece has at least one or two eyes. Let the pieces sit out for 24 hours in a cool, dry place—this helps the cut surfaces callous over, which protects them from rotting in the soil.
Once they’ve dried out a bit, plant the chunks about four inches deep in well-draining soil, with the eyes facing up. As long as the soil stays moist (but not soggy) and gets a good amount of sun, green shoots will start popping up in a couple of weeks. From there, it’s just a matter of time and a little patience.
As the plants grow taller, mound soil around the stems every so often to encourage more tuber production and keep the developing potatoes covered. In a few months, once the foliage starts to die back, it’s harvest time—grab a fork and dig in like you’re hunting for buried treasure.
This regrow trick works best with organic potatoes, since many conventionally grown ones are treated with sprout inhibitors that slow down or prevent eye development. But if you’ve got a sprouting spud and some dirt, you’re already well on your way to growing your own.
Leeks: Like Green Onions, But Bigger
Leeks are like the laid-back cousin of green onions—same regrow method, just a little slower on the follow-through. After using the top portion in your kitchen, save the bottom two inches of the white stalk with the roots intact. Place it upright in a glass with just enough water to cover the roots and set it in a sunny window.
Within a week or two, you’ll notice green shoots emerging from the center, and new roots growing below. Once the roots look strong and the top growth is a few inches tall, it’s time to transplant it into soil. Whether you pop it into a raised bed or a container, make sure the soil is loose and well-draining. Leeks like consistent moisture and will appreciate a bit of mulch around the base to help retain it.
They do take longer to mature than green onions, often several months, but they’re worth the wait—especially when they flavor a winter soup or homemade broth. And the best part? You stretched one leek into a second harvest, with nothing more than a glass of water and a little garden patience.
Basil: From Clipping to Full Plant
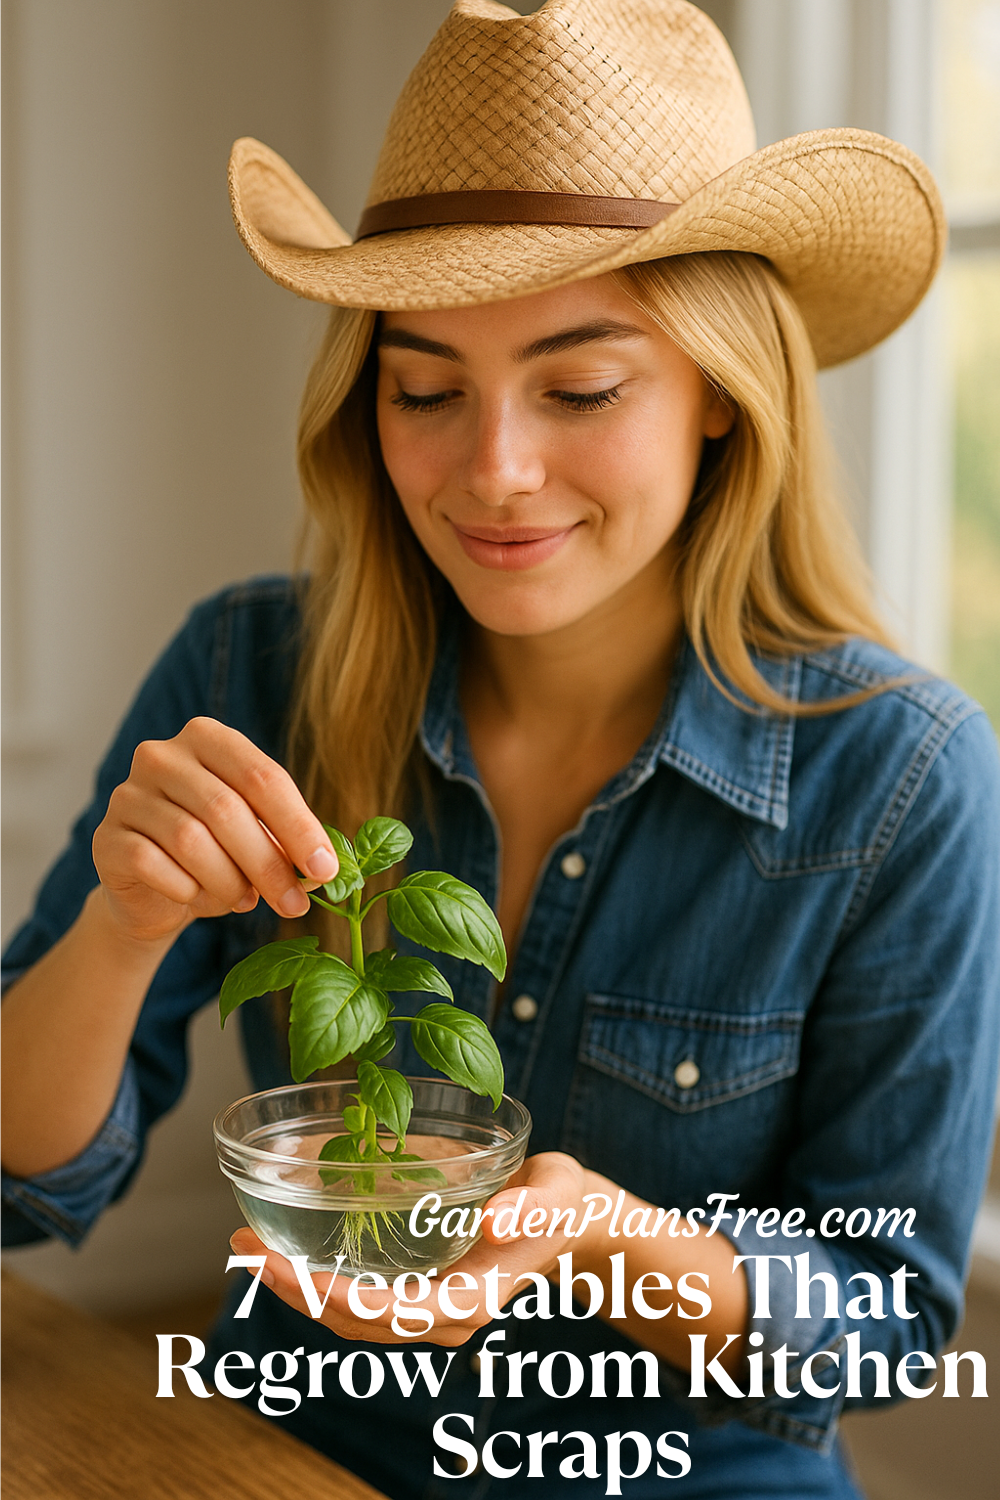
Basil might just be the MVP of kitchen scrap gardening. If you’ve ever hesitated to buy a bundle because of the price—or because it wilts before you can use it all—here’s your solution. Take a healthy, non-flowering stem about 4 to 6 inches long, and snip it just below a leaf node (that’s where new roots will sprout). Remove the lower leaves so none are sitting in the water, then place the stem in a glass on a sunny windowsill.
In about a week, you’ll see roots starting to form at the nodes. Once those roots hit around two inches long, your cutting is ready for soil. Transfer it into a pot with good drainage or directly into a warm garden bed. Basil loves sunshine—at least six hours a day—and appreciates slightly moist, well-drained soil.
The best part? Once established, your basil will keep growing and giving. Pinch off the top leaves regularly to encourage bushy growth, and you’ll have fresh pesto, caprese salad toppings, or garnish for your favorite dishes right at your fingertips. One sprig, one glass of water, and a bit of sunlight—that’s all it takes to turn your grocery store basil into a never-ending supply.
Final Thoughts: Grow More, Waste Less
Learning to regrow vegetables from kitchen scraps is more than just a cool gardening trick—it’s a smart, sustainable habit that pays off in more ways than one. Not only does it help stretch your grocery budget and cut down on waste, but it also offers a low-risk, low-cost way to grow your gardening skills. Whether you’re working with a windowsill in an apartment or a backyard plot, these small wins add up fast—and they’re downright fun to watch unfold.
So before you sweep those scraps into the compost or trash, take a second look. That onion base, sprouting clove of garlic, or leftover potato chunk could be the start of something pretty great. With a bit of curiosity, a splash of water, and a sunny windowsill, you’ve got everything you need to regrow a small garden right in your kitchen. It’s one of the easiest ways to connect with your food—and it just might spark a whole new love for growing your own.