
Watering your garden by hand can be peaceful—at first. There’s something satisfying about moving slowly down the rows with a hose in hand, checking on each plant as you go. But as the days heat up and your garden starts to grow into a jungle of green, that peaceful ritual can quickly turn into a daily grind. Hand watering becomes inconsistent, time-consuming, and all too easy to forget on busy mornings. That’s where a DIY drip irrigation system steps in. For small gardens, it’s more than just a time-saver—it’s a smart, water-wise upgrade that delivers moisture exactly where your plants need it: deep at the roots.
Drip irrigation systems help reduce water waste from evaporation and runoff, which is especially important in raised beds and containers where soil dries out quickly. They also minimize the risk of fungal diseases that thrive with wet foliage, because you’re not soaking the entire plant—just the root zone. And let’s be honest: they help take the guesswork out of watering. No more wondering if your tomatoes are getting enough or if your lettuce is drying out. Just consistent, steady hydration that keeps your garden healthy even during hot spells or when you’re away for the weekend.
Now, if you’re picturing a complicated web of pipes, timers, and valves, don’t worry—you don’t need a plumber’s license or a giant budget to pull this off. In fact, setting up a small drip system is one of the most beginner-friendly DIY projects you can take on in your garden. With just a few affordable components, a basic layout plan, and a little afternoon effort, you can install a system that handles the hard work for you. It’s the kind of upgrade that feels small at first but pays off big—week after week, season after season.
Why Drip Irrigation Works So Well for Small Spaces
Drip irrigation is all about precision and efficiency—two things every small-space gardener can appreciate. Unlike sprinklers, which saturate everything in their path (including weeds, walkways, and leaves), a drip system delivers water exactly where your plants need it: right at the root zone. The water is applied slowly, giving the soil time to absorb it deeply and evenly. That not only mimics the gentle soaking of a slow, steady rain, but it also dramatically cuts down on water loss through evaporation or runoff. According to research from the University of California Agriculture and Natural Resources Division, a properly installed drip system can use up to 50% less water than traditional overhead methods—and still boost plant health, yield, and disease resistance.
In small gardens where space is limited and every square foot matters, that level of control is a game-changer. Whether you’re working with a few raised beds, a collection of patio containers, or a narrow strip of backyard soil, drip irrigation lets you customize your watering setup to fit your exact layout. You can control how much water each plant gets, how often, and even adjust for sun exposure or soil type across different zones. And because you’re not soaking the entire surface, you reduce weed germination and keep pathways dry, making your garden cleaner and easier to manage. It’s smart, sustainable gardening that gives you better results—with less work and less water.
What You’ll Need for the Best DIY Setup
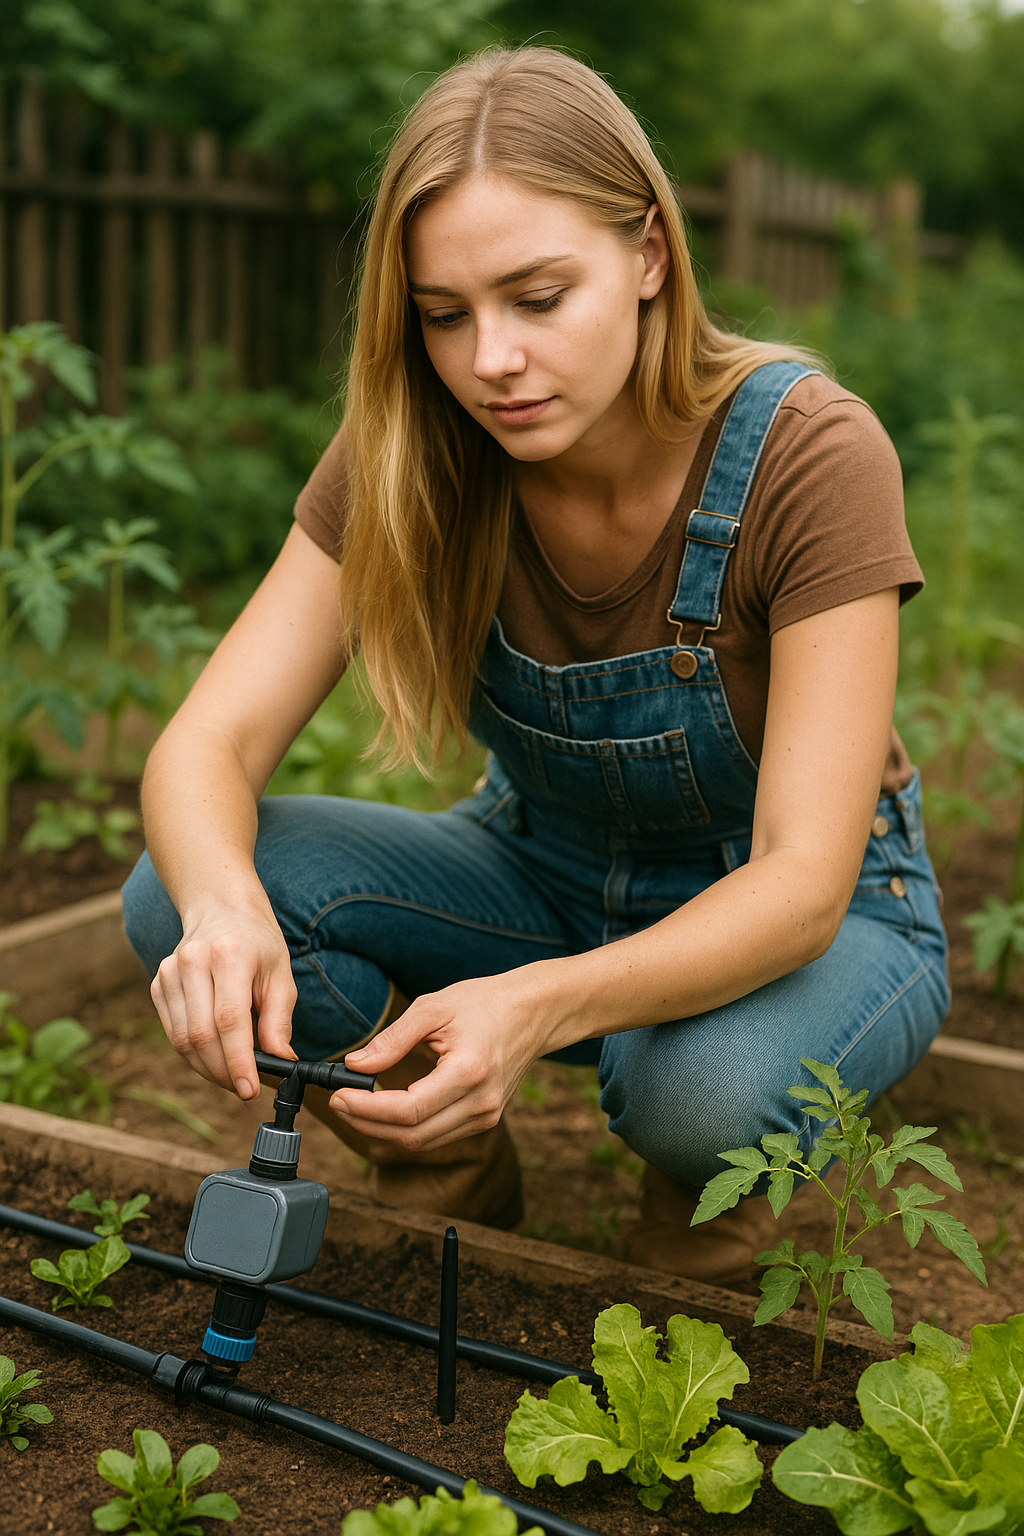
You don’t need an elaborate irrigation system or a big budget to build something that works beautifully for your garden. In fact, setting up a DIY drip irrigation system for a small space is surprisingly simple—and affordable. Most setups start with a few key components: a pressure regulator (which prevents too much force from damaging your system), a filter to catch debris before it clogs up emitters, and flexible tubing—usually ½-inch for the mainline and ¼-inch for branches that reach individual plants. Then you’ll need drip emitters or dripline (which has pre-installed emitters), and a timer if you want to automate the whole thing—which, let’s be honest, makes life a lot easier.
If you’re starting from scratch, hook everything up directly to your hose bib or outdoor faucet. The typical sequence is: backflow preventer → pressure regulator → filter → mainline tubing. From there, you can use T-connectors or elbows to direct water exactly where you need it—whether that’s looping through a raised bed, branching into container rows, or running alongside in-ground rows. Emitters can be placed at the base of each plant, or you can use dripline with pre-spaced holes to water entire rows at once. Use tubing stakes to keep everything in place, and don’t be afraid to tweak the layout as your plants grow and your needs evolve. With a little setup upfront, this system can run itself all summer long, giving you healthier plants and more time to enjoy your garden instead of watering it.
How to Maximize Efficiency and Avoid Common Mistakes
Even the most efficient drip irrigation system needs thoughtful planning to truly shine. Before you start unrolling tubing or punching holes, take a few minutes to sketch out your garden. Map out where your plants are, how close they are to one another, and where your water source is located. This small step makes a big difference, helping you avoid tangled lines and wasted water. It also lets you tailor the system to fit your specific layout—whether you’re working with symmetrical raised beds or a more organic container setup. Keep in mind that even with drip irrigation, overwatering is still a real risk, especially if you’re dealing with heavy clay soils. The best approach is to test how long it takes to moisten the soil down to the root zone—about 6 to 8 inches deep. Most garden crops only need about one inch of water per week, so set your timer or watering schedule based on that.
Another key to keeping your system running smoothly is regular maintenance, especially if you’re using well water, a gravity-fed tank, or harvesting rainwater. Clogged emitters are a common frustration and often trace back to poor filtration. That’s why installing a good inline filter is non-negotiable. It catches sediment, algae, and debris before they make it into your lines. At the start of each season, flush your system thoroughly and inspect emitters to make sure everything’s flowing freely. And finally, don’t forget to secure your tubing. A gusty day, a curious pet, or one good pull during weeding can displace your lines if they’re not properly anchored. Tubing stakes are inexpensive and make a big difference in keeping everything tidy, efficient, and frustration-free. Small details like these can turn your drip system into a smooth, hands-off operation that just works.
Why Drip Irrigation Is Worth the Effort
Once you’ve got your drip system in place, something kind of magical happens—your garden starts taking care of itself. Without you dragging a hose or juggling watering cans, your plants still get exactly what they need, when they need it. The water goes right to the roots, not the leaves or walkways, so you’re not just saving time—you’re reducing disease risk and keeping weed pressure to a minimum. And if you’ve hooked your setup to a timer? Even better. You can head out for the weekend or sleep through a hot morning without worrying that your tomatoes are wilting. It’s one of those small investments that delivers big peace of mind.
In a small garden, every inch of space—and every drop of water—matters. A DIY drip system helps you use both wisely. It doesn’t just simplify your watering routine—it elevates it. Your plants get consistent moisture, your soil stays healthier, and your harvests improve with less effort on your end. It’s a quiet, behind-the-scenes kind of upgrade that keeps paying off long after installation day. So if you’re looking for a smart, simple way to make your garden more productive and less work, drip irrigation is the kind of DIY that truly pulls its weight.