
Growing peanuts at home might seem like a quirky experiment at first, but it’s hands-down one of the most fun, unexpected, and rewarding crops you can plant. There’s something magical about how the whole process works—from the bright yellow flowers to the little pegs diving into the soil, and finally, to the moment you dig into the earth and discover clusters of peanuts hiding just below the surface. It feels a little like unearthing treasure—and honestly, it kind of is.
Unlike most garden crops, peanuts offer a unique learning experience. They show you what legumes are capable of, how underground fruiting works, and how even a humble plant can surprise you if given the right conditions. And you don’t need a sprawling backyard or perfect soil to make it happen. Whether you’re working with a full in-ground plot, a raised bed, or just a deep container on the patio, peanuts are totally within reach for beginners and experienced gardeners alike. They’re resilient, educational, and let’s be honest—pretty fun to talk about when friends ask, “Wait… you grew peanuts?”
From seed to snack, peanuts are the kind of crop that keeps you engaged from day one. You’ll watch the blooms open, the pegs form, and the plants mature, all while knowing that something delicious is developing just out of sight. And when harvest time finally comes, you’ll get a genuine sense of accomplishment—not to mention a fresh, nutty flavor that beats anything you’ve ever pulled off a grocery shelf.
So go ahead—plant those seeds, nurture your plants through the sunny season, and get ready for that first crunchy, salty bite. Whether you roast them, boil them, or turn them into homemade peanut butter, one thing’s for sure: once you grow your own peanuts, you’ll never look at a store-bought jar the same way again.
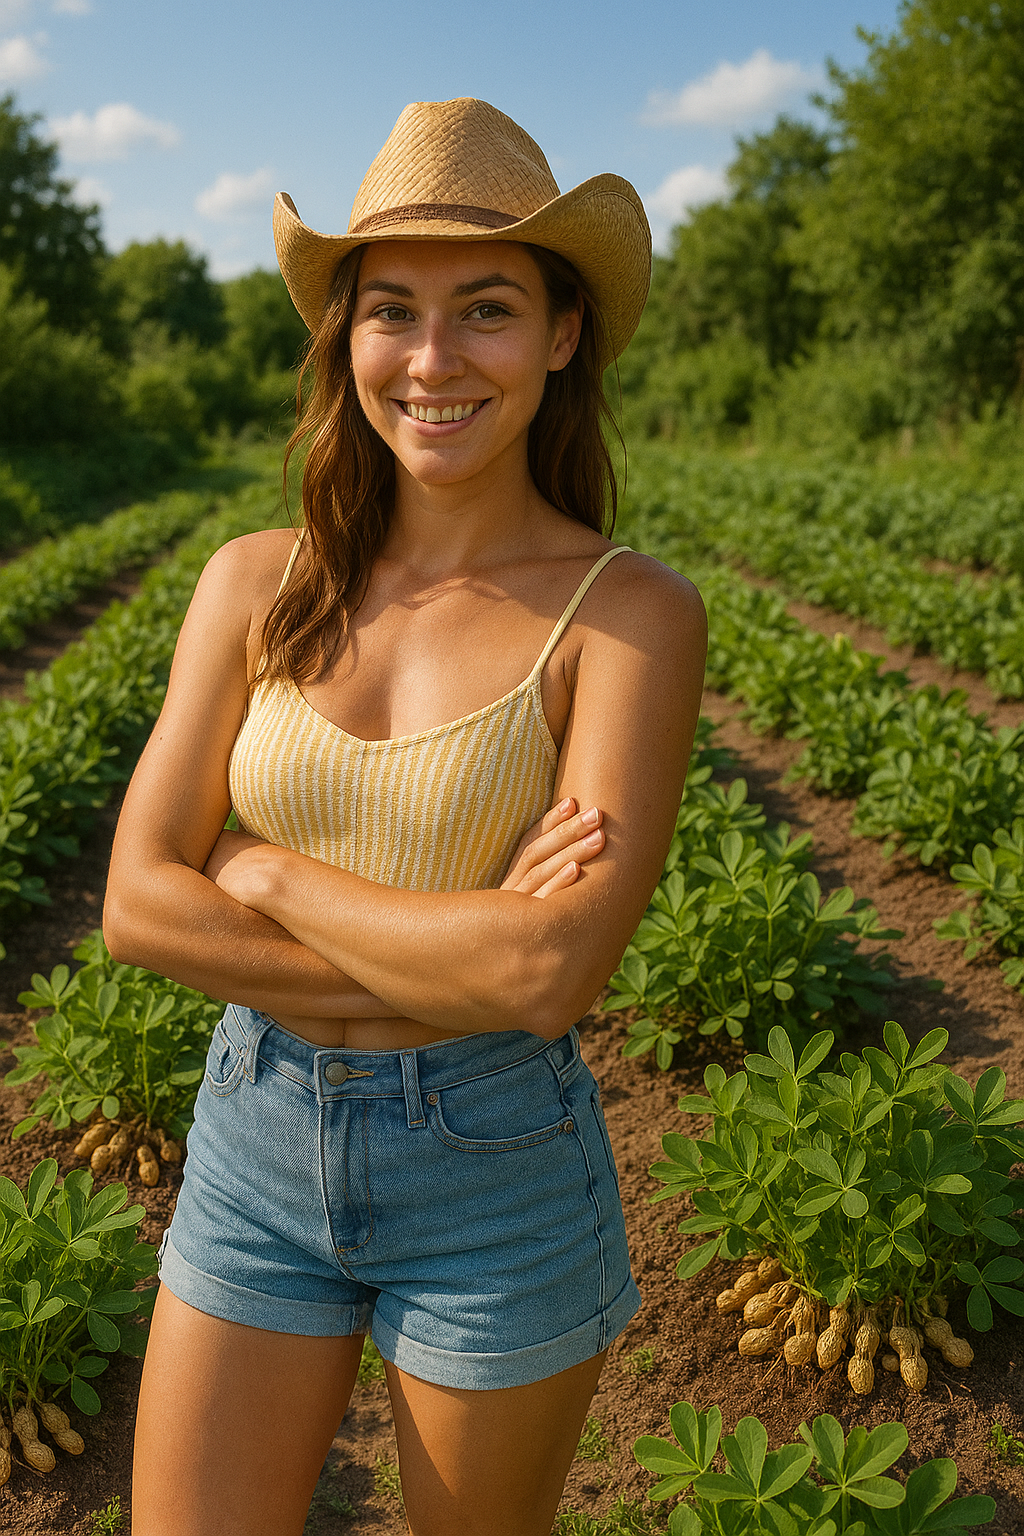
Understanding the Peanut Plant: More Than Just a Nut
Peanuts (Arachis hypogaea) might be called nuts, but technically, they’re not nuts at all. They’re legumes—right there in the same family as beans, peas, and lentils. But what really sets peanuts apart is their one-of-a-kind growing habit. Most plants produce their fruit above the soil. Not peanuts. After flowering, these clever little plants do something unique: they send down thin stems called “pegs,” which push themselves into the soil. That’s where the real action happens. Beneath the surface, each peg develops into a peanut pod—hidden underground like nature’s version of buried treasure.
This fascinating process makes peanuts both fun and a bit mysterious to grow. You don’t see the pods forming the way you would with tomatoes or peppers. Instead, you trust the plant, keep the soil loose, and wait for the moment you get to dig down and discover your harvest.
To grow peanuts successfully, you’ll need a warm, frost-free growing season—ideally between 100 and 130 days. Luckily, that’s achievable for gardeners in most of the U.S. and many parts of Europe. If your summers are on the short side, you can still get a head start by sprouting seeds indoors a few weeks before your last expected frost. Row covers, hoop houses, or even cold frames can help extend the season if needed, especially in northern zones.
Soil temperature is important too. Don’t plant your peanuts until the soil warms to at least 65°F (18°C). Warmer is better—peanuts love the heat and thrive in the kind of toasty, summer conditions that tomatoes and peppers enjoy. And once those temperatures are in the sweet spot, you’re good to go. With just a little care and patience, you’ll have your own underground crop in no time.
Choosing the Right Peanut Variety for Your Garden
When it comes to growing peanuts, not all varieties are created equal. There are four main types: Runner, Virginia, Spanish, and Valencia—and each has its own personality, flavor, and growing preferences. Picking the right one for your garden can make a big difference in both your harvest and how you’ll use it in the kitchen.
Valencia peanuts are hands-down the favorite for home gardeners—especially in cooler climates. They mature quickly, often in as little as 100 days, and grow in bunches of small, sweet peanuts wrapped in thin red skins. Their flavor is rich and natural, making them perfect for both boiling and roasting. Plus, their shorter growing window makes them ideal for northern regions where summer is a little less forgiving.
Runner peanuts are the go-to choice for folks who love making homemade peanut butter. They’re uniform in size, which makes them great for processing, and they tend to produce high yields. Runners need a longer growing season than Valencias—typically around 120 to 130 days—but they perform well in much of the southeastern U.S. where the weather stays warm deep into fall. Spanish peanuts are smaller in size and come with a higher oil content, which makes them excellent for roasting and snacking. They grow well in drier climates and are a hardy choice for gardeners who want something simple and productive. Their compact plants also make them a good option for container growing or tighter spaces.
Virginia peanuts are the giants of the group. These produce the largest pods—often two to three kernels each—and are prized for gourmet roasted peanuts and in-shell snacking. They need a longer growing season, so they’re best suited for gardeners in warmer regions with lots of sun and time to spare. If you’re gardening in the northern U.S. or anywhere with a short summer, Valencia is your best bet. It’s reliable, fast, and flavorful. If you’re in the South or anywhere with a nice long season, you’ve got options—choose based on your favorite way to enjoy peanuts, whether that’s fresh-boiled, roasted, or blended into the creamiest peanut butter you’ve ever made.
Prepping the Soil and Starting Your Seeds
Peanuts thrive in loose, well-drained soil, and sandy loam is their absolute favorite. These plants don’t do well in heavy clay, compacted ground, or areas where water tends to pool. If your soil leans toward the dense side, don’t worry—you can still grow a successful peanut crop by building a raised bed or planting in deep containers. Just be sure the soil drains easily and stays loose enough for those underground pods to form. For best results, aim for a soil pH between 5.8 and 6.5.
To get started, use raw, unroasted peanut seeds. You’ll want to gently crack the shells open, but keep the skins on the seeds themselves. Avoid using salted or roasted peanuts—they’ve been processed and won’t sprout. If you’re in a region with a shorter growing season, you can start your peanuts indoors about 3 to 4 weeks before your last expected frost date. Otherwise, wait until your garden soil has warmed up and plant directly outside.
Plant your seeds about 1 to 2 inches deep in moist soil. Germination typically takes 7 to 10 days, so keep the bed evenly watered during that period. Once your peanut seedlings reach around 4 inches tall, thin them out so each plant has 8 to 10 inches of space to grow. That room allows the pegs to reach into the soil and helps the plants develop a strong root system and healthy pods.
Caring for Your Peanut Plants All Season Long
Once your peanut plants get going, you’ll be happy to know they’re pretty low-maintenance. These sun-loving crops thrive with at least 6 to 8 hours of full sun each day, so be sure they’re planted in a bright, open area. Keep the soil consistently moist—especially during flowering and pegging—but avoid overwatering. Soggy soil can lead to root rot and poor pod development. A layer of mulch around the base of each plant helps lock in moisture and suppress weeds, making your job easier.
As your peanuts begin to flower, you’ll notice small yellow blossoms popping up. After pollination, those flowers send down pegs—little stems that grow straight into the soil. This is the most important stage of peanut production, so be sure the soil stays loose and accessible. If it’s too compacted, pegging won’t happen properly. Many gardeners mound or “hill” soil around the base of the plant at this stage—just like you might with potatoes. It gives the pegs plenty of space to dive in and form those underground pods.
When it comes to feeding your peanut plants, less is more. Because peanuts are legumes, they naturally pull nitrogen from the air and fix it into the soil with the help of beneficial bacteria. If you add too much nitrogen fertilizer, you’ll end up with lush foliage but fewer pods. A balanced organic fertilizer or a dose of compost at planting time is usually more than enough to carry them through the season.
When and How to Harvest Peanuts
You’ll know your peanuts are ready for harvest when the leaves begin to yellow and the plant starts to dry out. That typically happens about 100 to 130 days after planting, depending on your growing zone and when you got them in the ground. For most gardeners, harvest season falls in late summer to early fall—just as the weather starts to shift.
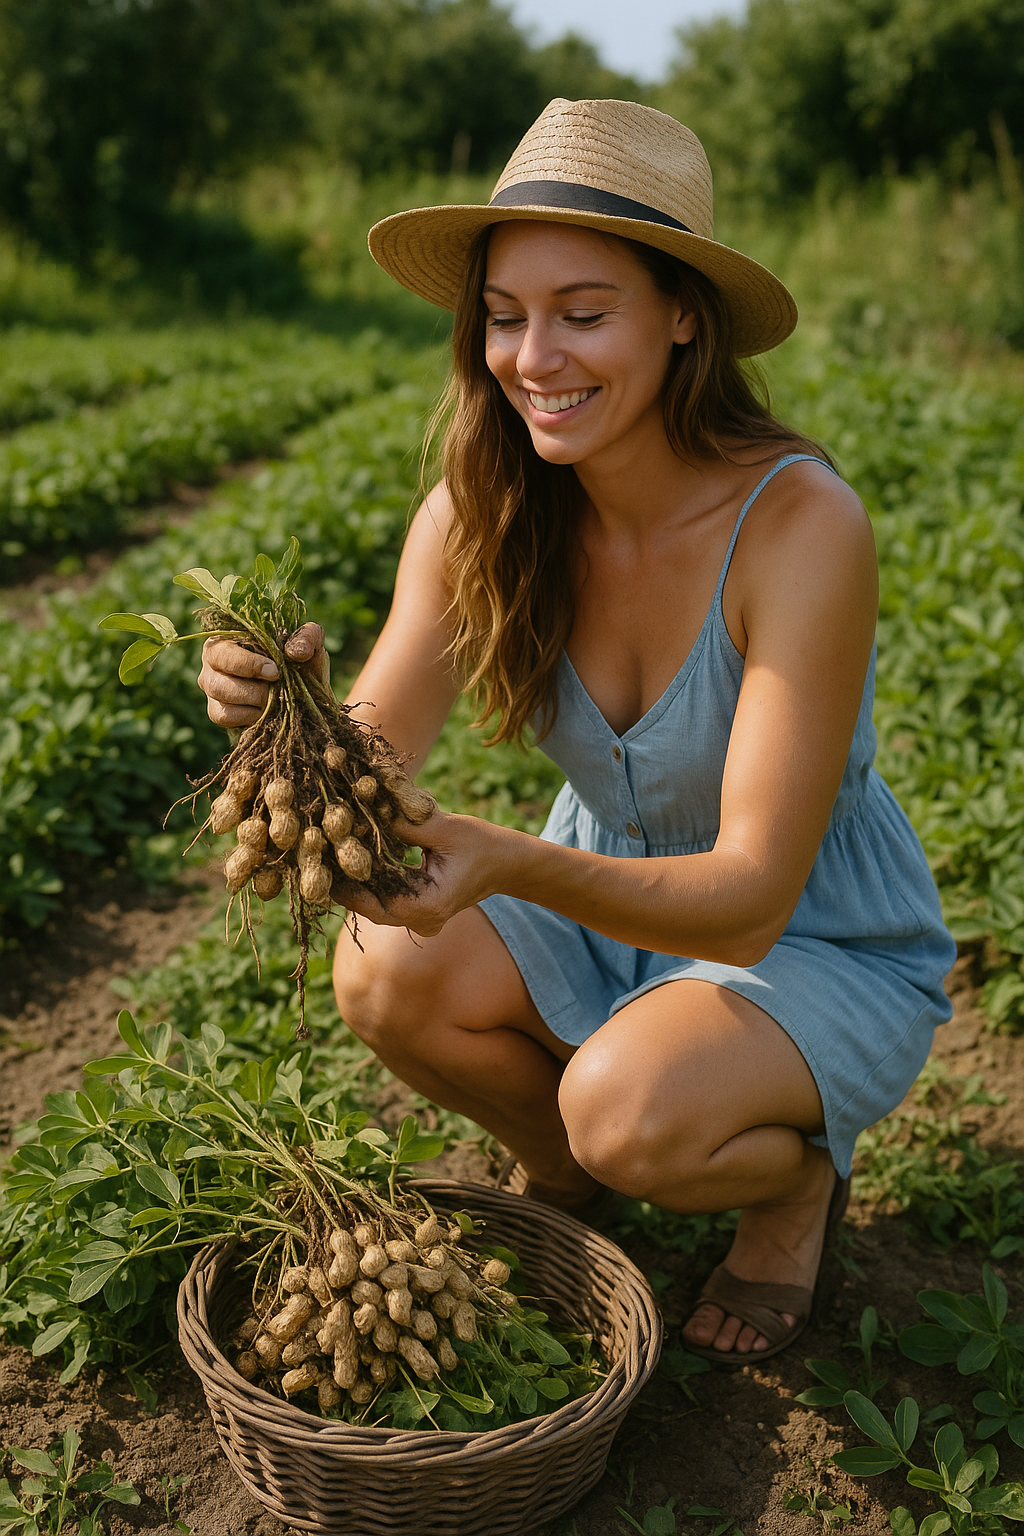
To harvest, grab a garden fork or shovel and gently loosen the soil around the base of the plant. Then, lift the whole plant out of the ground—peanuts and all. Shake off the loose soil, but don’t wash them just yet. Instead, let the entire plant dry in a warm, shaded spot for a few days. This curing process is key. It helps bring out that nutty flavor and extends how long your peanuts will last in storage.
Once the plants are dry, snap off the pods and let them finish curing indoors for another week or two. After that, you’re ready to roast, boil, or stash your homegrown peanuts in mason jars for future snacking. And let me tell you—there’s nothing quite like the crunch of a peanut you grew with your own two hands.
Enjoying Your Homegrown Peanuts
There’s something deeply satisfying about cracking open a peanut you grew yourself. After all the waiting, watering, and watching, that first crunchy bite is pure garden-grown gold. Roast your harvest in the oven at 350°F (175°C) for about 20 minutes, then toss them with a sprinkle of sea salt for a snack that’ll beat anything store-bought. Want to take it a step further? Whip up a batch of homemade peanut butter—you’ve earned it. And if you picked some early, try boiling them Southern-style. Soft, salty, and totally addictive.
To store your peanuts, make sure they’re fully cured, then tuck them away in airtight containers in a cool, dark place. Done right, they’ll keep for months without losing flavor or crunch. Got more than you can munch? No problem. Shell them and pop them in the freezer—they’ll stay fresh and ready whenever a peanut craving hits.
Final Thoughts: From Backyard Dirt to Delicious Crunch
Growing peanuts at home might seem like a quirky experiment at first, but it’s hands-down one of the most fun and rewarding crops you can plant. There’s a bit of mystery involved—since the pods form underground—and a whole lot of satisfaction when you finally dig them up and see your harvest.
Whether you’re working with a full garden bed, a sunny corner of the backyard, or just a deep container on the patio, peanuts are surprisingly beginner-friendly and always a conversation starter. So go ahead—plant those seeds, watch for those little pegs to dive into the soil, and get ready for that salty, homegrown crunch. Because once you grow your own peanuts, you’ll never look at a jar of peanut butter the same way again.