There’s something downright satisfying about growing your own garlic. Maybe it’s the bold flavor that hits different when you know it came from your own soil. Maybe it’s the almost comical simplicity of sticking a single clove in the dirt and—months later—pulling up a full, plump bulb like some kind of garden magic trick. Or maybe it’s the sheer independence of it: no chemicals, no shrink wrap, just real, honest food. Garlic isn’t fussy.
It’s hardy, low-maintenance, and one of the few crops you plant in fall, let sleep all winter, and wake up to in spring like a gift you forgot you wrapped. And the taste? Fresher, spicier, richer—it’s like your kitchen just leveled up. Whatever the reason, once you grow garlic yourself, you’ll start questioning how you ever put up with the pale, rubbery stuff from the store. So let’s roll up our sleeves and walk through exactly how to grow garlic from planting to harvest—and why it just might become your favorite thing in the whole backyard.
Why Garlic Deserves a Spot in Every Garden
Garlic isn’t just a kitchen staple—it’s practically garden gold. This humble little bulb pulls more than its weight. It’s easy to grow, forgiving for beginners, and happy to mind its own business once it’s in the ground. You don’t need a big farm to grow garlic either—raised beds, a strip of soil along the fence, or even a large container on the patio will do the trick. Garlic thrives in a wide range of climates, and it quietly works beneath the surface all winter long, waiting to burst into life in the spring.
Once harvested and cured, it stores beautifully for months, ready to spice up everything from soups to stir-fries. And here’s a bonus: garlic naturally repels common pests like aphids and spider mites, helping to protect your other garden favorites without reaching for the spray bottle. In short, it’s the kind of crop that gives and gives—and asks for very little in return.
Know Your Garlic: Hardneck vs. Softneck
Before you get your hands dirty, it’s worth knowing which type of garlic is right for your garden—and your kitchen. There are two main kinds: hardneck and softneck, and each has its own strengths. Hardneck garlic is a champ in colder climates. It produces a stiff central stalk and, in early summer, throws up curly green shoots called scapes. These scapes aren’t just fun to look at—they’re edible, with a mild garlic flavor that’s great in pesto or sautéed with veggies.
Hardneck cloves are usually bigger, bolder in flavor, and easy to peel—something any home cook can appreciate. Softneck garlic, on the flip side, prefers warmer growing zones. It doesn’t grow scapes, but it makes up for it with longer storage life and tighter, more numerous cloves per bulb. It’s also the type you’ll usually see braided and hanging in kitchens, thanks to its flexible stems. If you’re gardening in a region that falls somewhere between hot and cold, don’t stress—you can try growing both and let your soil (and your taste buds) decide what works best.
When (and Where) to Plant Your Garlic
Garlic loves the cold—but not the kind of cold that turns your soil into a brick. The sweet spot for planting garlic is in the fall, about 4 to 6 weeks before the ground freezes solid. That timing gives the cloves just enough opportunity to put down roots before winter sets in. In most areas across the U.S. and Europe, that means planting anywhere from mid-October to early November. Don’t worry if the weather seems chilly—garlic actually needs that cold spell to split into separate cloves and form full heads by harvest time.
Location is key. Garlic is a full-sun kind of crop, so pick a spot that gets at least 6–8 hours of sunlight a day. The soil should be loose and well-draining, because garlic despises wet feet. If your yard leans toward heavy clay, no big deal—just work in some compost, sand, or even a bit of aged manure to lighten things up. In fact, the richer and fluffier the soil, the better your garlic will grow. Raised beds are an excellent option, especially if you’re dealing with a wet climate or heavy soils. They offer great drainage and keep things tidy while giving your garlic plenty of breathing room underground.
How to Plant Garlic Like a Pro
Forget seeds—garlic isn’t grown like tomatoes or peppers. It starts with cloves. Each clove you plant will turn into an entire bulb, which feels a little like garden alchemy. But here’s the key: not all cloves are created equal. You’ll want to source your garlic from a reputable seed garlic supplier. Skip the stuff at the grocery store—those bulbs are often sprayed with growth inhibitors to keep them from sprouting, and they’re not always suited to your local growing conditions.
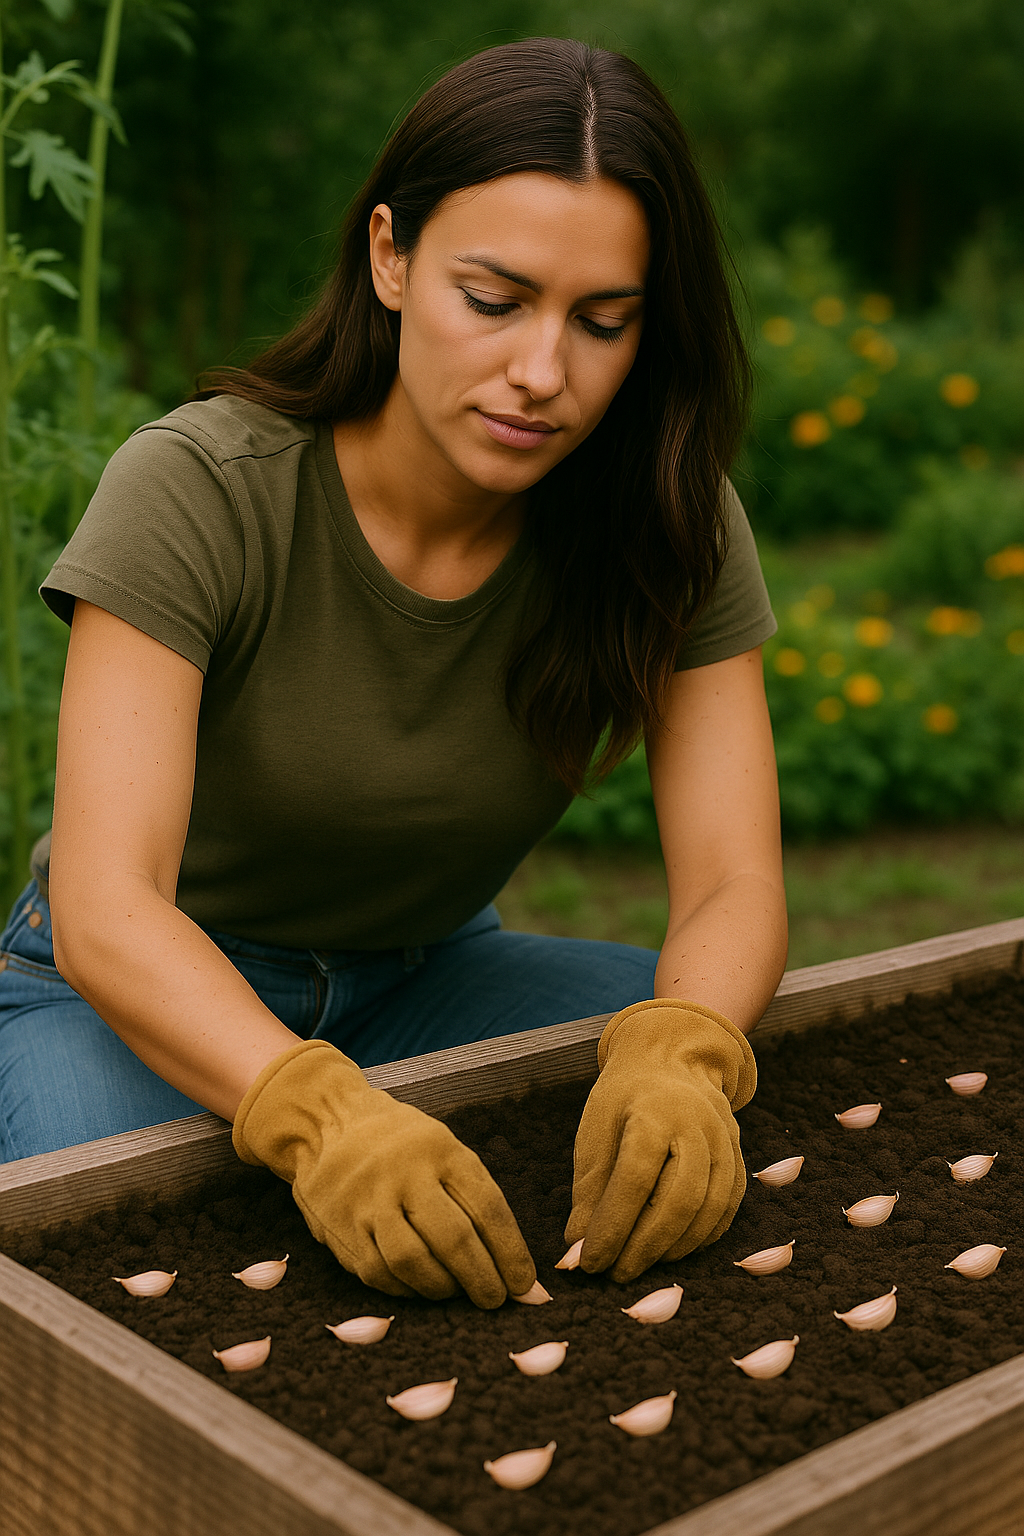
Once you’ve got your seed garlic, gently break the bulb apart a few days before planting. Don’t peel the cloves—just separate them. Select the biggest, healthiest ones for planting, and save the tiny interior cloves for the kitchen. Why? Bigger cloves grow bigger bulbs. And here’s the golden rule: pointy end up, flat root-end down. That little detail makes a big difference in how the garlic sets roots and emerges from the soil come spring.
Plant the cloves about 2 inches deep and space them roughly 6 inches apart in rows that are about a foot apart. Garlic likes room to breathe underground. Once everything’s in the ground, blanket the bed with a thick layer of mulch—straw, shredded leaves, or untreated grass clippings are perfect options. Mulch is more than just a cozy winter coat. It helps regulate soil temperature, holds in moisture, and keeps weeds at bay while your garlic sleeps through the winter chill.
Caring for Garlic Through the Seasons
Come spring, the garden wakes up—and garlic is one of the first signs that the growing season’s back in action. You’ll spot those green shoots pushing up through the mulch like little victory flags, and that’s when the magic really kicks in. At this stage, your main job is to keep the bed weed-free and make sure your garlic stays hydrated. Aim for about an inch of water per week, depending on your weather. Consistent moisture is key to good bulb development, but be careful—garlic doesn’t like wet feet. Good drainage is still the name of the game, so don’t let the soil turn swampy.
If you planted hardneck garlic, keep your eyes peeled in early summer. That’s when the garlic scapes show up—long, curly shoots that grow from the center of the plant. Once they start to coil, it’s time to snip them off. Removing the scapes helps redirect the plant’s energy underground, where you want it: in the bulb. And the best part? Scapes are a delicious little bonus harvest. They’ve got a mild garlic flavor and are amazing sautéed, tossed into stir-fries, or whirled into a fresh pesto.
When it comes to feeding your garlic, less is more—especially if you started with well-prepped, compost-rich soil. But if your soil was on the lean side, a little encouragement can help. A light feeding of compost tea or diluted fish emulsion in early spring gives your plants a nutrient nudge. Just go easy on the nitrogen. Too much of it will give you lush, green tops but smaller bulbs down below—and that’s not the kind of trade-off you want when harvest time rolls around.
When and How to Harvest Garlic
Garlic has a quiet way of telling you it’s ready—if you know what to look for. By mid to late summer, your plants will start dropping hints. When the bottom three or four leaves have turned brown and crispy but the top ones are still green and standing tall, that’s your cue. Resist the urge to wait until the whole plant dries out. If you wait too long, the bulbs can split in the ground, which shortens their storage life and makes them harder to cure properly.
Harvesting garlic is more finesse than force. Grab a garden fork or a shovel and gently loosen the soil around each bulb. Don’t yank them out by the leaves—they can snap off, and you’ll be digging with your hands to find the bulb. Once you’ve lifted them out, knock off the biggest chunks of soil but don’t wash them. Water can invite mold and rot during curing. Dirt brushes off just fine once they’re dry.
Now comes the curing phase. Lay the garlic out in a single layer in a dry, airy, and shaded spot—somewhere like a garage, barn, shed, or covered porch. The key is good airflow and protection from direct sunlight, which can actually cook the bulbs and ruin their flavor. You can lay them on mesh racks, hang them in bundles, or place them on a screen—just give them a few inches of breathing room. Let them cure for 3 to 4 weeks until the outer skins feel papery, the necks are dry, and the roots are brittle. That’s when your garlic is officially ready to trim, store, and enjoy.

Storing and Using Your Garlic Bounty
Once your garlic is fully cured, it’s time to tidy things up. Use pruning shears or scissors to trim off the roots and cut the stems down to about an inch above the bulb—unless you’ve grown softneck garlic and want to try your hand at braiding, which makes for beautiful and functional storage. Either way, you’re now holding the finished product of months of slow, steady growing.
For storage, think cool, dry, and breathable. Mesh bags, wooden crates, wire baskets, or even old onion sacks work great—just avoid anything airtight. Garlic needs airflow to stay fresh and mold-free. Keep your stash in a pantry, basement, or unheated mudroom where temperatures stay around 60°F (15°C) or lower. Properly cured and stored garlic can last up to six months—or longer—without losing its punch.
And when you finally slice into that first bulb, you’ll taste the difference right away. Homegrown garlic isn’t just sharper—it’s deeper, sweeter, and somehow just… more alive. Plus, here’s the kicker: you can save the biggest, best-looking cloves from your harvest to plant next fall. That means your garlic pays for itself season after season. Sustainable, flavorful, and practically free—this is one crop that keeps on giving.
Why You’ll Never Buy Grocery Store Garlic Again
Once you taste garlic you’ve grown yourself, there’s no going back. It’s fresher. It’s stronger. It’s just better. Store-bought garlic often travels thousands of miles, is treated with chemicals to prevent sprouting, and loses a chunk of its flavor—and soul—along the way. Homegrown garlic, on the other hand, is alive. It’s local. It’s something you planted with your own hands, watched through the seasons, and pulled from the soil when it was good and ready. And when you chop into that first clove? You’ll smell it. You’ll taste it. You’ll know it’s yours.
Whether you’re tossing it into a sizzling skillet, mixing it into a marinade, or roasting whole heads until they’re buttery soft, your garlic will elevate every meal it touches. And every time you use it, you’ll feel that quiet kind of pride that only comes from doing something start to finish—with patience, purpose, and a little dirt under your nails. You won’t just be seasoning your food. You’ll be seasoning it with something that came from your own backyard. And trust me—that makes all the difference.
Final Thoughts: A Garden Staple You Won’t Regret
Garlic’s one of those crops that makes you feel like a gardening genius, even if it’s your first time with a trowel. It’s simple, low-maintenance, and wildly rewarding. And when harvest day comes, you’ll be amazed at what a single clove can become. If you’ve never grown garlic before, now’s the perfect season to start. Pick a sunny spot, get those cloves in the ground this fall, and come summer, you’ll have a harvest that might just ruin store-bought garlic for good. So dig in, plant deep, and let your garden grow bolder—one clove at a time.