
There’s nothing quite like the look of a freshly built raised garden bed—clean lines, fresh wood, and all that promise of homegrown goodness just waiting to come to life. It’s the kind of project that gets you excited to get your hands in the dirt and start planting tomatoes, lettuce, herbs, or whatever crops make your garden tick. But then you step back and take a look inside that empty box—and it hits you: that’s a lot of space to fill. And depending on the size of your bed, filling it with bagged soil can start to feel more like a luxury expense than a DIY project.
The reality is that soil is one of the biggest hidden costs of raised bed gardening, especially if you go the route of filling the entire thing with commercial mixes. A standard 4×8 foot bed that’s 12 inches deep takes about 16 cubic feet of soil—more if your bed is deeper or if you’re adding multiple beds to your garden. That’s dozens of bags, and those costs add up fast.
But here’s the good news: you don’t need to fill that whole box with expensive, premium garden soil to get fantastic results. In fact, doing so might even be overkill. The roots of most common vegetables only grow 6 to 12 inches deep, so what’s underneath that root zone doesn’t need to be top-quality. With a little planning and a layered approach, you can fill your raised beds in a way that’s not only budget-friendly but actually enhances drainage, reduces waste, and builds long-term soil health.
This method isn’t just about saving money—it’s about working smarter with what you’ve got. Old logs, sticks, dried leaves, partially broken-down compost, and even cardboard can all become part of your bed’s foundation. These materials break down over time, feeding the soil and mimicking the natural decomposition you’d find in a forest floor. You’re not just filling space—you’re creating a living ecosystem beneath your garden.
Plus, by focusing your soil investment on the uppermost layer where your plant roots actually grow, you ensure that the nutrients are where they matter most. You’re not wasting money putting top-grade mix down where roots will never reach. Instead, you’re building a base that’s smart, strategic, and supports your garden for the long haul.
So if you’ve just finished assembling your raised bed and you’re staring at that empty space with a bit of sticker shock, don’t worry. With the right approach, you can fill it efficiently, grow a fantastic crop, and keep your budget right where it needs to be. Let’s dig into how to do just that—step by step.
Start by Understanding Your Bed’s Purpose and Depth
Before you fill anything, take a few minutes to think strategically about what you plan to grow and how much soil your plants will actually need. This is one of the easiest ways to prevent overbuilding and overspending. Most vegetables, herbs, and flowers thrive with 12 to 18 inches of quality topsoil. That depth provides ample space for root development and nutrient uptake. Shallow-rooted plants like lettuce, radishes, and onions don’t need much more than a foot of soil, while slightly deeper-rooted plants like peppers, bush beans, and kale will appreciate closer to 16–18 inches.
If you’re planning to grow deep-rooted crops like carrots, beets, parsnips, or tomatoes, a bit more depth is helpful—typically around 18 to 24 inches. But here’s the important part: you don’t need the full depth of your bed filled with expensive garden mix. These plants only use that top portion of the bed where they actually send their roots. Anything below that can be made up of lower-cost filler materials that still support healthy drainage and gradual nutrient release over time.
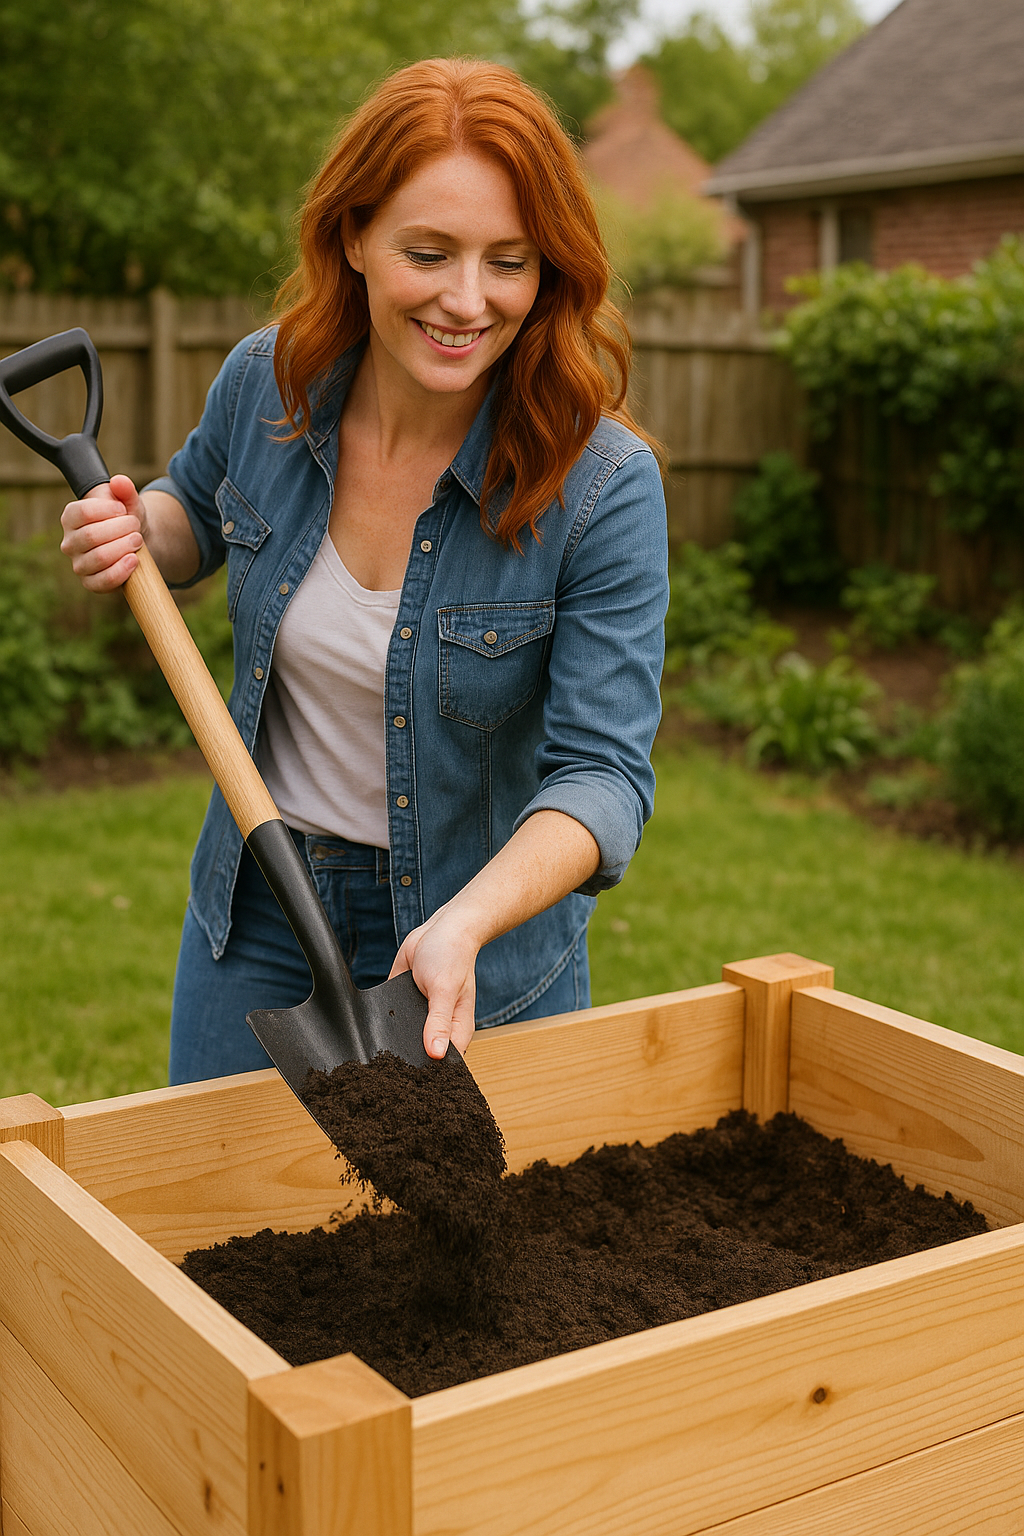
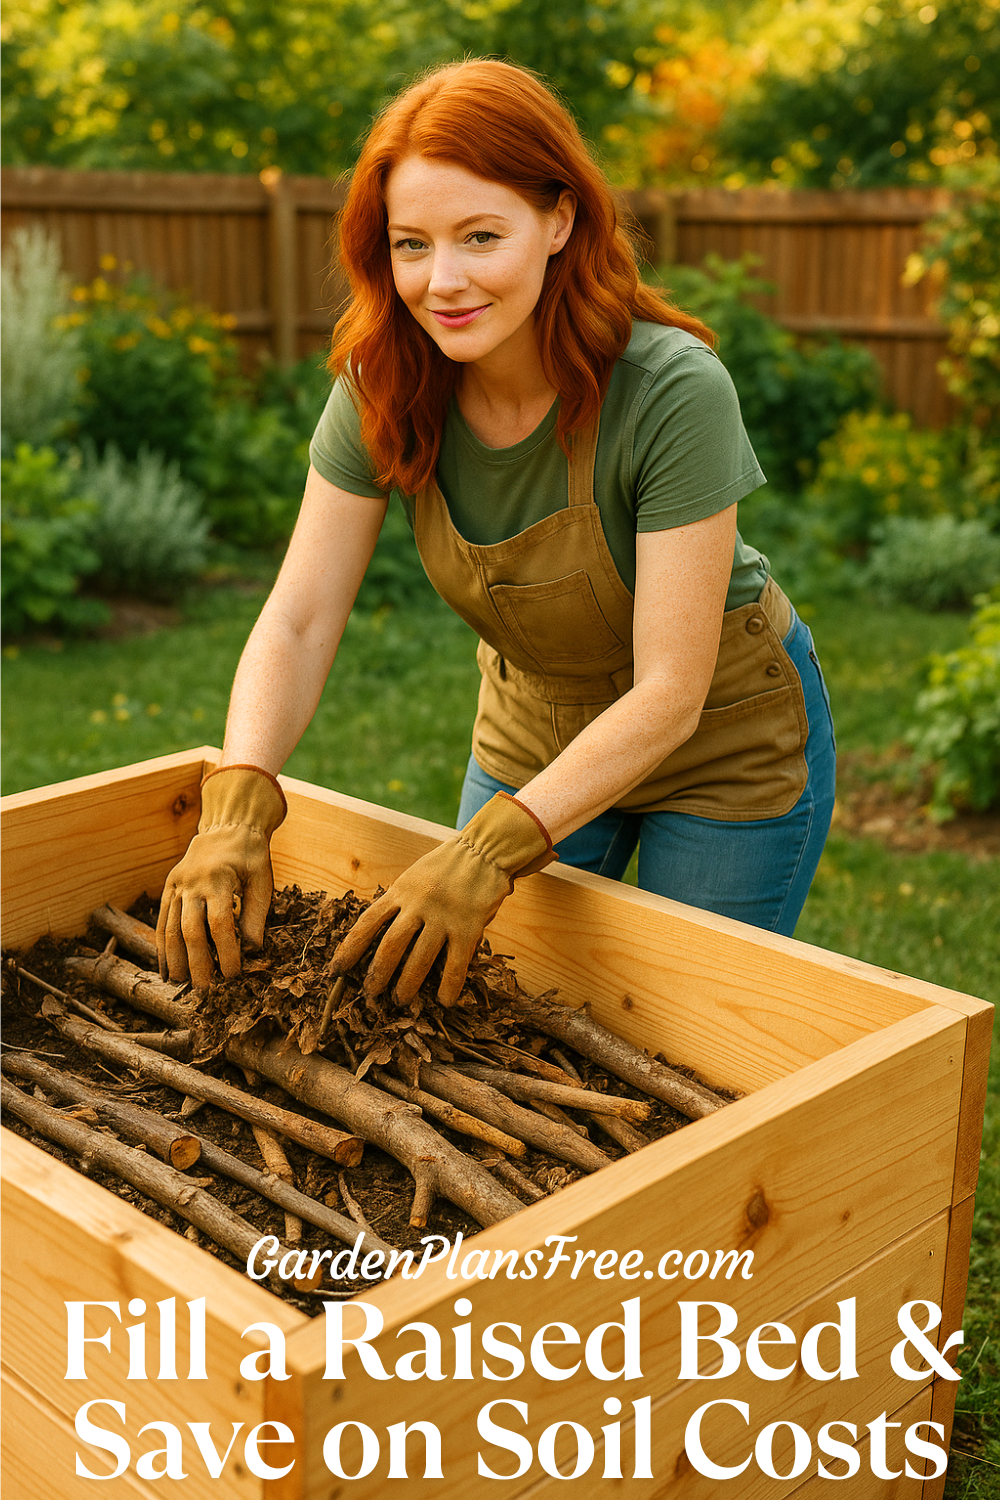
Now, if your raised bed is 24 inches deep or more, you’re in a great position to use what’s known as the “layering method” or hugelkultur-inspired filling. This is a smart, budget-conscious way to build from the bottom up—literally. Start by adding chunky organic matter like logs, branches, and thick sticks to the base. These materials slowly break down, creating air pockets and encouraging beneficial fungal activity over time.
Next, fill in around the wood with layers of biodegradable materials like grass clippings, leaves, straw, and unfinished compost. These layers not only reduce the volume of expensive soil you need but also help retain moisture and feed the soil ecosystem as they decompose. If you’ve got cardboard or newspaper on hand, add that too—it’s a great weed barrier and helps get the decomposition process started.
The final layer, and the most important one, is your high-quality garden soil or a well-balanced mix of topsoil, compost, and peat or coco coir. This should be at least 8 to 12 inches thick on top to support healthy root growth for vegetables and herbs. It’s the part of the bed your plants will grow in directly, so this is where you want to invest in good ingredients.
This method not only reduces the cost of filling your raised beds but also improves soil structure over time. As the lower layers break down, they create a loose, rich, and well-aerated growing environment that supports strong plant growth. And as a bonus, the decomposition generates a bit of warmth in the soil early in the season, which can help get your crops off to a strong start.
So, before you load up your truck with bags of soil, take inventory of what you have on hand and build your bed from the bottom up. It’s better for your plants, your wallet, and the long-term health of your garden.
Use the Hugelkultur Method to Fill the Bottom
One of the best soil-saving strategies you can use in a raised bed is based on an old, proven method known as Hugelkultur. It’s a traditional gardening technique that’s been practiced for centuries in parts of Eastern Europe and Germany, and it works beautifully for modern raised bed gardens too. Hugelkultur translates to “mound culture,” and the idea is simple: fill the bottom of your bed with large, woody organic materials—think logs, branches, and thick sticks—and then layer on progressively smaller organic matter until you top it off with quality planting soil.
This approach has some serious benefits. First, it saves money—lots of it—because you’re not filling the entire bed with expensive garden mix. But it also makes ecological sense. As the woody materials break down, they create air pockets and a slow-release nutrient supply for your plants. That means better drainage, moisture retention during dry spells, and a long-term boost to your soil structure. Over time, those logs and sticks become rich, spongey organic matter that helps feed your garden naturally, no synthetic fertilizers needed.
Once you’ve placed the largest pieces of wood at the bottom, start layering in smaller debris like twigs, branches, and dried stems. This acts as the mid-layer. From there, pile on organic waste—think shredded leaves, grass clippings, straw, partially finished compost, or even kitchen scraps like banana peels and coffee grounds (as long as they’re not greasy or oily). If you’ve recently cleaned out chicken coops or rabbit hutches and have access to bedding material, that can go in too. These organic layers will settle as they decompose, and that’s perfectly normal—just plan your fill accordingly.
Be sure to leave about 8 to 12 inches of high-quality soil at the top of the bed. This is where your plants’ roots will grow, so this top layer should be rich, well-drained, and full of nutrients. You can use a mix of screened compost, topsoil, peat or coco coir, and a little perlite or vermiculite if you want to boost drainage. If you’ve got worm castings or a trusted organic fertilizer blend, mix it in to give your plants a healthy head start.
With Hugelkultur-style layering, you’re not just saving money—you’re building a garden bed that improves year after year. The breakdown process underneath mimics the forest floor, creating a self-sustaining environment that gets richer with time. It’s one of the smartest, most practical ways to fill deep beds, especially if you’re working on a budget or want to put garden waste to good use.
Top It Off with High-Quality Growing Soil
While it’s smart to save money on the bottom layers of your raised bed, the top layer is where you absolutely want to invest. This is the active root zone—where your plants will take up water, nutrients, and oxygen—so cutting corners here can lead to weak growth and disappointing harvests. Think of it like the surface of a cake: no matter what’s underneath, it’s that top layer that makes or breaks the final result.
Ideally, your top 8 to 12 inches should be filled with a high-quality growing medium that balances structure, drainage, and nutrition. The gold standard for raised beds is a blend of roughly one-third compost, one-third peat moss or coconut coir, and one-third vermiculite or perlite. This combo holds moisture without becoming waterlogged, allows roots to breathe, and offers a steady supply of nutrients.
You can purchase pre-mixed raised bed soil in bags from garden centers, but mixing your own is often more economical—especially if you’re filling multiple beds. Look for screened compost or aged manure that’s been fully broken down to avoid burning plants. If your compost is homemade, be sure it’s mature and free of weed seeds or large chunks. Peat moss is widely available, but if sustainability is a concern, coconut coir is a great alternative that offers similar moisture retention without the environmental cost of peat harvesting.
To take your soil blend up a notch, consider mixing in a few handfuls of worm castings or a scoop of aged chicken or cow manure. These organic amendments add beneficial microbes and trace nutrients that help jump-start plant growth. Slow-release organic fertilizers, like bone meal or kelp meal, can also be incorporated into the mix at planting time to support long-term fertility.
It’s also worth doing a quick soil pH test if you’re growing crops like blueberries or potatoes, which prefer more acidic conditions. Most vegetables thrive in a slightly acidic to neutral pH (around 6.0 to 7.0), and you can adjust your mix with lime or sulfur if needed.
At the end of the day, your raised bed will only be as productive as the topsoil you give it. Even if the top layer is relatively shallow, a well-balanced, nutrient-rich blend will support a healthy, vigorous garden. Spend a little extra effort here, and your plants will thank you all season long with bigger yields, better flavor, and fewer problems.
Let the Soil Settle Before Planting
Once your raised bed is filled and leveled, it’s important to give it a good, thorough soaking. This initial watering does more than just hydrate the top layer—it helps settle the entire mix, from the organic base materials to the uppermost soil. Water works its way through the different layers, compacting any loose air pockets and helping everything start to integrate. After soaking, you might notice the soil level drop slightly, especially if you used fluffy or lightweight materials like straw, dry leaves, or wood chips underneath. That’s completely normal.
Expect to add a bit more soil after a day or two. Don’t rush this step—settling is part of the natural process, and it’s better to top off now than to have your plants sink mid-season. This also gives you a chance to make sure the top layer is still even and level, which is important for water distribution and root development.
If you’re preparing your beds in the fall or early spring, letting them sit for a few weeks before planting is actually ideal. It allows the organic matter underneath to begin breaking down and creates a more stable growing environment by the time you’re ready to add plants. Decomposition also generates a little heat, which can warm up your soil earlier in the spring and give seeds or young plants a better start.
If you’re planting immediately—maybe you’re on a tight schedule or the season is already rolling—make sure the top layer is level, well-moistened, and slightly compacted (but not hard-packed). You should be able to press your hand gently into the surface without it sinking too deeply. That firmness gives roots something to grip and ensures they won’t be disturbed as the lower layers settle further.
This final prep step—watering, topping off, and allowing time to settle—is often overlooked, but it makes a big difference in how smoothly your raised bed garden gets started. Taking a little extra time here sets you up for healthier plants and fewer surprises down the road.
Keep Building Soil Year After Year
One of the best parts of raised bed gardening is how simple and effective it is to build better soil with each passing season. Unlike traditional in-ground beds that often require heavy tilling or amendments across a wide area, raised beds give you a contained, manageable space where every handful of compost or mulch makes a noticeable difference. Over time, that effort adds up—and your soil becomes richer, more fertile, and teeming with beneficial life.
At the end of each growing season, take a moment to assess your soil. You don’t need to dig it all out or start over. Instead, top-dress the bed with an inch or two of compost, aged manure, or leaf mold. These materials feed the soil microbes that, in turn, help feed your plants. As organic matter breaks down, it improves structure, boosts water retention, and increases the availability of nutrients. Beds that are tended this way year after year often outperform brand-new ones because they’re biologically active and well-balanced.
Adding mulch during the growing season—like shredded leaves, straw, or grass clippings—helps protect that top layer from drying out and keeps weed pressure low. During the off-season, consider sowing cover crops like crimson clover, vetch, or winter rye. These plants not only prevent erosion and crowd out weeds, but they also fix nitrogen and add biomass when cut and turned back into the soil. Even letting fall leaves collect on top of an empty bed can serve as a natural mulch and compost in place.
Think of your raised bed as a living, breathing system that evolves with you. The more consistently you add organic matter, manage moisture, and avoid disturbing the soil structure, the better your garden will grow. It’s not about achieving perfect soil all at once—it’s about building it slowly, season by season, into something that practically grows food for you. With care and patience, your raised bed will become one of the most productive, low-maintenance parts of your entire garden.
Final Thoughts: Save Smart, Grow Strong
You don’t need a truckload of expensive bagged soil to grow great vegetables. By using what you have—branches, compostables, old leaves—and investing in quality only where it really counts, you’ll build a raised bed that’s productive, sustainable, and much easier on your wallet. Filling your raised bed doesn’t have to be overwhelming. With a little strategy and some layered love, you’ll be off to a great start and harvesting in no time.
So roll up your sleeves, grab that shovel, and get to filling. Your future garden is just waiting to grow.