Gardening is incredibly rewarding, but keeping plants hydrated can feel like a never-ending chore for beginners. Watering by hand every day or dragging hoses around gets old fast. Even worse, inefficient watering can waste water, encourage weeds, and eat up your free time. The good news? With a few smart strategies, you can create a watering setup that practically takes care of itself – saving you time, conserving precious water, and smothering those pesky weeds before they sprout.
This comprehensive guide will walk you through efficient watering solutions for a variety of gardening situations: from greenhouses to outdoor garden beds, container gardens, and general yard spaces. We’ll also dig into rainwater harvesting and the magic of mulch for conserving moisture. The tone here is friendly and DIY-focused – think of it like gardening alongside a handy friend – so you’ll get plenty of practical tips and encouragement along the way!

Why Efficient Watering Is a Game-Changer
Efficient watering isn’t just about saving water (though that’s a big win) – it also means healthier plants and fewer weeds. When you water smart, you deliver moisture directly to plant roots instead of spraying everything in sight. This targeted approach ensures up to 90% of the water you apply actually gets used by your plants, unlike overhead sprinklers that may only be 65–75% efficient. In other words, efficient methods like drip irrigation and soaker hoses drastically reduce evaporation and runoff, so less water is wasted.
Just as important, watering only where it’s needed keeps the rest of your soil dry, which means weed seeds don’t get the water they need to germinate. If you’ve ever overhead-watered a garden bed, you’ve probably seen a flush of unwanted little weeds pop up everywhere. By contrast, a drip line or soaker hose placed near your veggies will leave the bare soil in between dry and weed-free, focusing moisture at the base of your plants. Less weeding for you to do later! Efficient watering also tends to keep foliage dry, which can reduce plant diseases (many fungal issues thrive on wet leaves). All this adds up to stronger, happier plants and a gardener (you!) with more free time and a lower water bill.
Finally, using water wisely is simply good eco-friendly practice. Whether you live in a drought-prone area or just want to be sustainable, every drop you save counts. Smart watering habits can cut your garden’s water use significantly – sometimes by 50% or more – and you likely won’t even notice a difference in your plants except that they’re healthier. It’s truly a win-win for you and the environment.
Overview of Common Watering Methods
Before we dive into specific garden setups, let’s do a quick overview of various watering methods – from old-school watering cans to automated drip systems – and how they stack up in terms of efficiency, effort, and weed control. Later on, we’ll see which methods make sense for greenhouses, raised beds, containers, and so on. Here are the main ways gardeners water their plants:
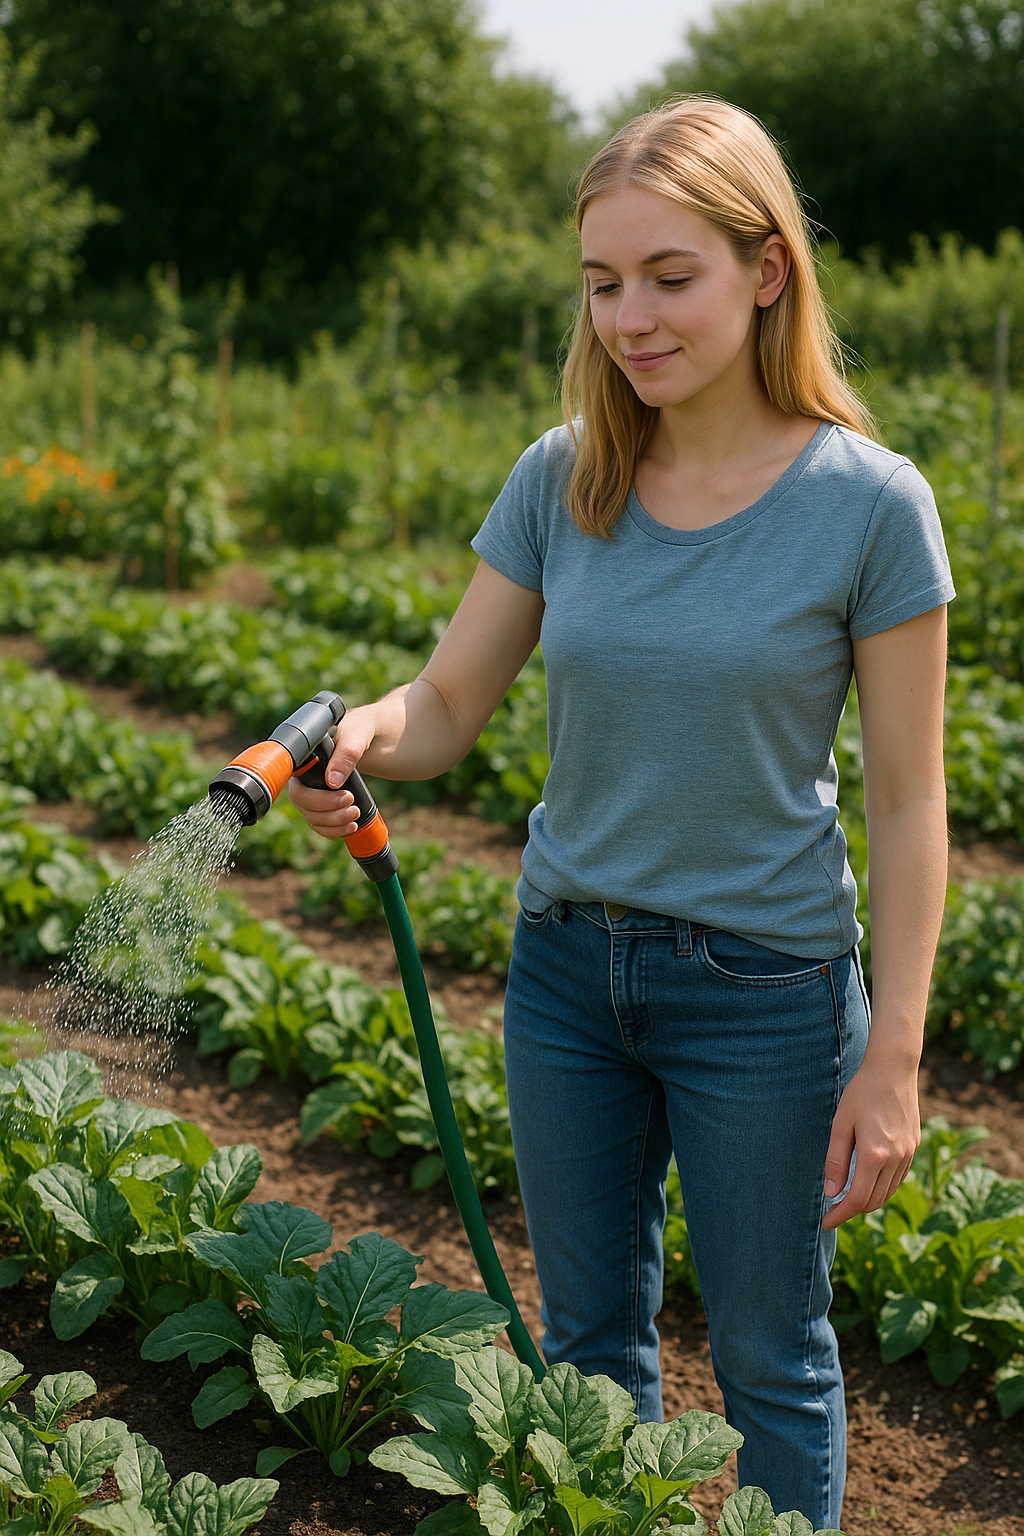
- Hand Watering (Hose or Watering Can): The traditional method – simply pouring water at the base of plants using a hose nozzle or a watering can. This gives you direct control and requires no setup, but it’s time-consuming for large gardens. It’s also easy to accidentally overwater or miss spots. Efficiency is moderate at best; some water can splash away or evaporate, and if you spray the whole bed, you’ll also water the weeds. Hand watering is fine for small gardens or potted plants, but most beginners quickly tire of the daily routine.
- Sprinklers (Overhead Watering): Sprinklers include oscillating sprinklers, rotating sprinklers, or in-ground pop-up systems. They cover large areas easily and are great for lawns, but for garden beds they’re generally water-wasteful. A lot of water evaporates or lands on plant leaves and open soil rather than the roots. Sprinklers can encourage more weeds by wetting everywhere, and water on leaves can lead to mildew or fungus. They also tend to require watering in early morning or late evening to minimize evaporation loss. Overhead sprinklers are best reserved for lawns or big open plantings – we’ll mostly avoid them in pursuit of efficiency.
- Soaker Hoses: A soaker hose looks like a regular hose but is made of porous material (often recycled rubber) that weeps water slowly along its length. You snake it through your garden bed around plants, and water seeps directly into the soil at ground level. Soaker hoses are cheap and easy to use – just attach to a hose and turn on the tap. They deliver water close to the roots with minimal evaporation, similar to drip irrigation. However, they can have uneven distribution (more water near the hose start, less at the end) especially if a hose is very long or water pressure is low. They also benefit from a filter (to avoid clogs) and pressure regulator, but these are simple add-ons. Soaker hoses are fantastic for small to medium garden beds, rows of shrubs, or even coiled in large planters. They do eventually degrade (expect a few seasons of use) and can clog with mineral deposits over time. But for the low cost and effort, soaker hoses are a popular first step into automated watering. We’ll discuss how to set them up with timers for a truly hands-off approach.
- Drip Irrigation: Drip irrigation is like the big sibling of soaker hoses – a more engineered watering system that uses plastic tubing and emitters to drip water exactly where you want it. A basic drip system consists of a main poly tubing line (often 1/2 inch diameter) running from your water source, with smaller emitter lines or drip nozzles staked near each plant or spaced at set intervals. The emitters release water at a slow, controlled rate (e.g. 1 gallon per hour), ensuring deep penetration into the soil with almost no waste. Drip systems can be customized to any garden layout – you can get pre-made emitter tubing that drips at fixed spacing, or punch your own emitters into the main line wherever needed. They do require a bit more planning and assembly than soaker hoses, but the effort pays off in extremely efficient watering and scalability. Drip irrigation is about as efficient as it gets, with some systems allowing 90% or more of the water to be used by plants. Because the water is so targeted, weeds between plants receive little to no water, and you avoid wetting leaves. Drip tubing also lasts many years (often 10+ years with good care), making it a durable investment. We’ll cover a DIY-style approach to setting up drip irrigation in a later section – it’s easier than it sounds, especially with widely available kits.
- Self-Watering Containers / Wicking Systems: These are specialized solutions mostly for container gardening. Self-watering planters have a water reservoir at the bottom and deliver moisture to plant roots via capillary action (the soil “wicks” water upward as it dries). You simply fill the reservoir and the plant drinks over several days. DIY versions include using a double-pot system or placing a wicking material (like a strip of cotton or nylon rope) from a water container into the plant pot. Another old-school method applicable to both containers and garden beds is using ollas – porous clay pots buried in the soil that slowly release water to the surrounding plants. You fill the olla every few days, and the water naturally seeps out as the soil dries. These self-watering or wicking methods are extremely water-efficient and can sustain plants for days or weeks without attention. They’re perfect for busy gardeners or for plants that like consistent moisture. The downside is the initial setup or cost (self-watering planters can be pricey, ollas or large clay pots require installation). We’ll talk more about container-specific watering tricks in the container gardening section.
- Rainwater Harvesting Systems: This isn’t a watering method per se, but an alternate water source that pairs beautifully with the methods above. Rainwater harvesting usually means collecting rain from your roof (via gutters and downspouts) into barrels or tanks, then using that water for your garden. It’s free natural water that would otherwise drain away, and plants tend to love rainwater (it’s free of chlorine and chemicals found in tap water). We’ll dedicate a section to rainwater harvesting with tips on setting up a simple rain barrel system and integrating it into your garden watering. Using stored rain can significantly cut your use of municipal or well water, which is great for the environment and your wallet.
Now that we’ve covered the basics, let’s explore how to apply these methods in different gardening environments you might have. Feel free to mix and match solutions – for instance, you might use drip irrigation in your veggie bed, a soaker hose for the flower border, and self-watering pots for your patio tomatoes. The right solution often depends on your garden’s layout, your local climate, and how much time or money you want to invest upfront. We’ll keep things low-cost and DIY-friendly wherever possible.
Efficient Watering in Greenhouses
Greenhouses and polytunnels create a special microclimate for plants – warm and sheltered, which is great for growth but can also lead to quick drying of soil on hot days. Because rain can’t reach inside, greenhouse plants rely entirely on you for water. Let’s look at efficient ways to keep a greenhouse garden watered with minimal hassle.
Inside a greenhouse, hand watering can become a daily job, especially in summer. Instead, many greenhouse growers turn to automated drip irrigation or soaker setups to maintain consistent moisture. A simple solution is to run a 1/2 inch main drip line down the length of your greenhouse bench or along each row of plants. From this main line, use 1/4 inch tubing pieces with emitters or stakes that go into each pot or at the base of each plant. Attach the system to a timer (more on timers in a bit) and you’ve got yourself an automated greenhouse watering system! For example, you might program the timer to water for a few minutes every morning – just enough to keep soil damp without overwatering. This ensures your plants never dry out, even if you forget to check on them during a busy week.
Why drip or soaker lines work well in a greenhouse: They deliver water directly to the soil in each pot or planting bed, which avoids splashing water on leaves (a big plus in the humid greenhouse environment where wet foliage can invite disease). It also prevents watering the greenhouse floor or unused areas – no sense raising the humidity or growing algae on paths. You might also consider capillary mats for seedling trays or potted plants: these are absorbent mats that you keep wetted; the pots sit on the mat and suck up water from below as needed. It’s an easy way to bottom-water many small plants at once with no labor (just re-wet the mat every few days).
Don’t forget the value of mulch in a greenhouse too! It might sound odd to mulch inside a greenhouse, but covering the soil in pots or beds with a thin layer of organic mulch (even just spare leaves or compost) can help reduce evaporation and keep soil evenly moist. Mulch also moderates soil temperature – useful in a greenhouse that might overheat during the day and cool down at night.
A greenhouse watering system is often best run off an indoor tap or a rain barrel with a pump, since winterizing it (if you have freezing winters) is simpler than in-ground pipes. You can simply disconnect and drain the hoses in winter when the greenhouse is not in use or when plants need much less water. In summary, treating your greenhouse to a small drip irrigation kit or soaker hose loop on a timer can be life-changing for your routine – no more twice-daily watering runs, and your plants will thrive on the consistency.
Tip: Group plants by water needs in your greenhouse. Keep thirstier plants (like cucumbers or peppers) together on one drip line zone and more drought-tolerant plants (like succulents or herbs) on another. This way you can adjust the watering frequency or emitter flow rate for each group, rather than overwatering one plant to satisfy another. Many timer units allow two or more separate lines (zones) to be scheduled, which is handy in a diverse greenhouse collection.

Outdoor Garden Beds: Low-Maintenance Watering for Veggies and Flowers
Whether you have a tidy raised bed, a traditional in-ground vegetable patch, or a decorative flower border, watering can be one of the most time-consuming tasks in the garden. Luckily, outdoor garden beds are perfect candidates for drip irrigation or soaker hose systems that save time and water.
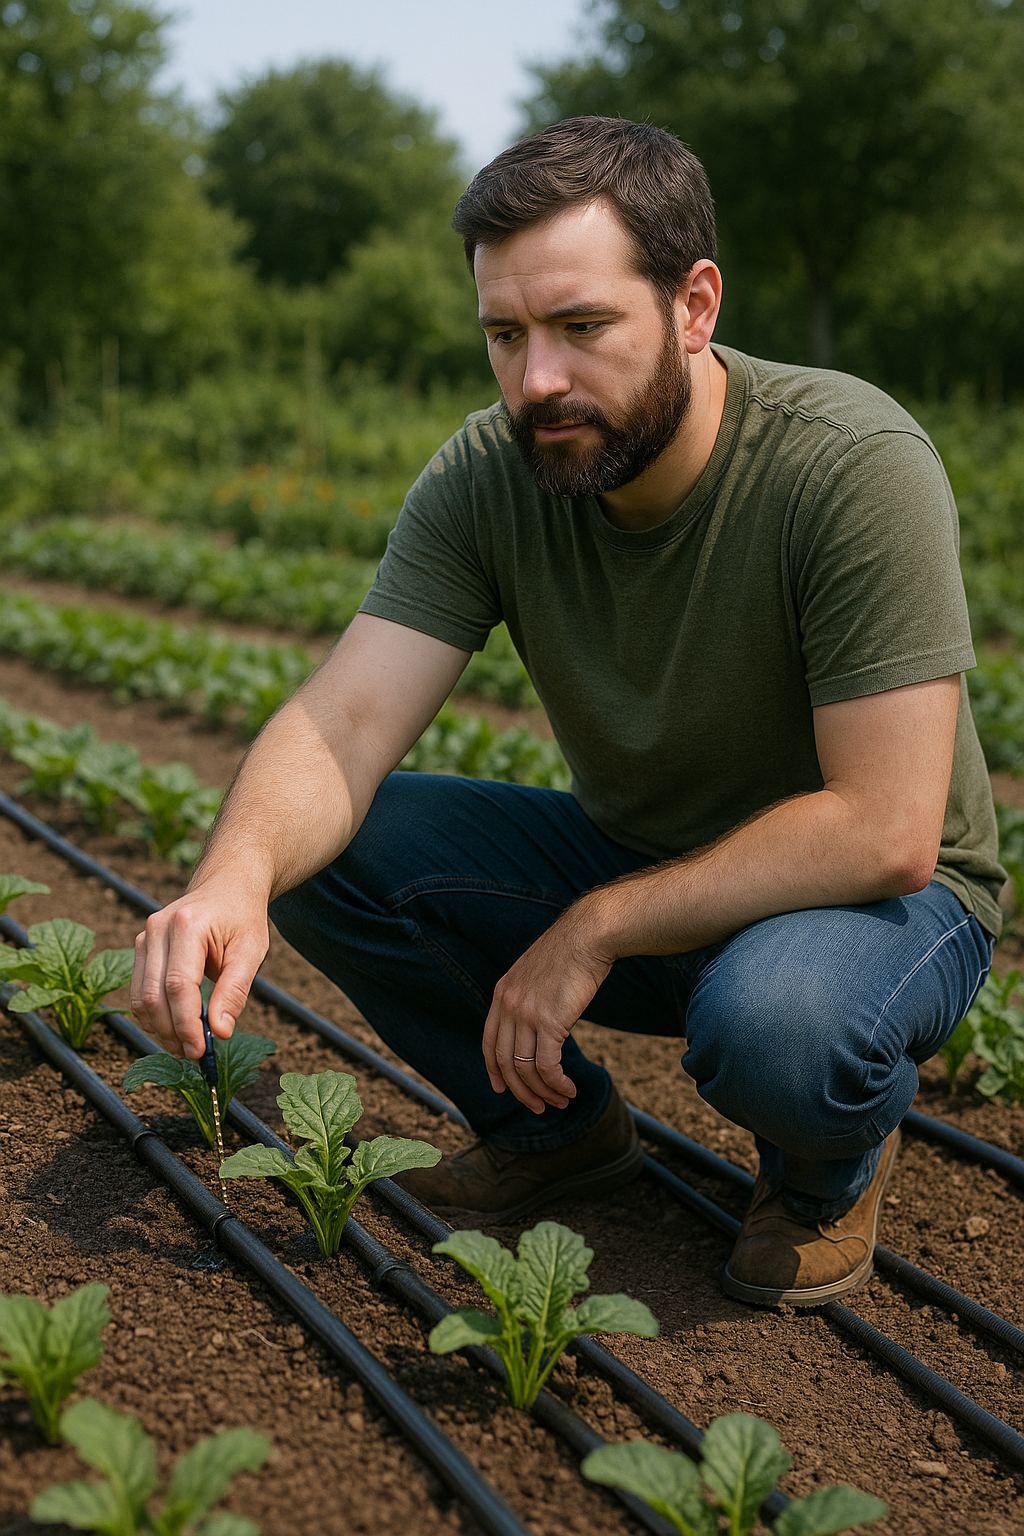
Step 1: Choose Drip or Soaker (or Both). If you have a larger garden bed or multiple beds, a drip irrigation system offers the most customization and efficiency. You can run a main line around the perimeter of your beds, then run emitter tubing or drip lines into each bed to water rows of plants. Each emitter or drip outlet can be placed exactly where you need it – at the base of a tomato plant, along a row of carrots, weaving through a cluster of flowers, etc. If your garden is small or fairly uniform, a simple soaker hose weaved through the bed can do the job with even less setup: lay the hose about 1–2 feet away from plants (or closer for densely planted areas), cap the end, and it will seep water all along its length.
Both drip and soaker methods will keep plant foliage dry and target the soil. This means you’re not watering the empty spaces or paths, which helps control weeds and save water. In fact, you might notice areas just a few inches away from the drip line stay completely dry – that’s a sign your system is efficiently pinpointing the watering zone. For context, many gardeners find that converting from hand watering or sprinklers to drip cuts down their weeding significantly, because weed seedlings no longer get the sprinkle of water they used to.
Step 2: Set Up Your System (DIY-Friendly!). Setting up a basic garden bed irrigation system is easier than it sounds and doesn’t require any special skills – if you can assemble LEGO pieces, you can assemble drip irrigation. Most home improvement stores or garden suppliers sell drip irrigation kits that include 1/2″ tubing for main lines, 1/4″ tubing for branch lines, various emitters or drip nozzles, connectors, and end caps. You’ll also want a backflow preventer (to stop garden water from siphoning back into your home water supply), a pressure regulator (drip systems run best at lower pressure ~10-30 PSI), and a filter (to keep sediment from clogging emitters). These sounds technical but they simply screw onto your faucet in that sequence: faucet -> backflow preventer -> pressure regulator -> filter -> tubing.
Now run the tubing to your garden bed(s). Use the connectors to branch off smaller lines or to loop the tubing as needed around plants. Plug emitters into the tubing near the base of each plant or at set intervals for closely spaced plants. There are also pre-emitter tubing options (for example, 1/4″ tubing with built-in drip holes every 6 or 12 inches) – these are great for evenly spaced plants or lining a long row of veggies. Secure the tubing with garden stakes so it stays near the soil. Cap off the end of each line with an end plug or figure-eight clamp to prevent water from just flowing out. That’s it – you’ve laid a drip system! When you turn on the water (gently), it will drip out at all those targeted spots.
For soaker hoses, setup is even simpler: attach the soaker hose to your water source (faucet or rain barrel spigot), snake it through the bed in a rough S-shape or loop so it passes by all plants, and cap the far end. You might bury the soaker hose under a light layer of mulch (more on mulch soon) to hide it and keep the moisture in the soil. Burying also protects the hose from sun damage, extending its life. Just be careful not to pinch the hose; gentle curves are better than sharp bends.
Step 3: Automate with a Timer (Optional but Awesome). Once your drip or soaker system is in place, you can attach a hose timer at the faucet to automatically turn the water on and off on a schedule. This is a huge time-saver and ensures consistent watering. For example, you might set it to water every other day at 6 AM for 20 minutes – no more forgetting to water or accidentally leaving the hose running! Basic mechanical timers are inexpensive and easy (you twist a dial to water for X minutes and it counts down), while digital timers allow more fine-tuned scheduling (multiple times a day or different days of the week). A timer prevents overwatering by delivering just the right amount – you’ll never inadvertently leave the water running for an hour again. It also waters at the optimal times (early morning, when evaporation is low). Many gardeners report that after putting their irrigation on timers, their water usage dropped noticeably and plants were less stressed, since they got water consistently. It’s like putting your garden on autopilot – highly recommended if you want truly low-maintenance beds.
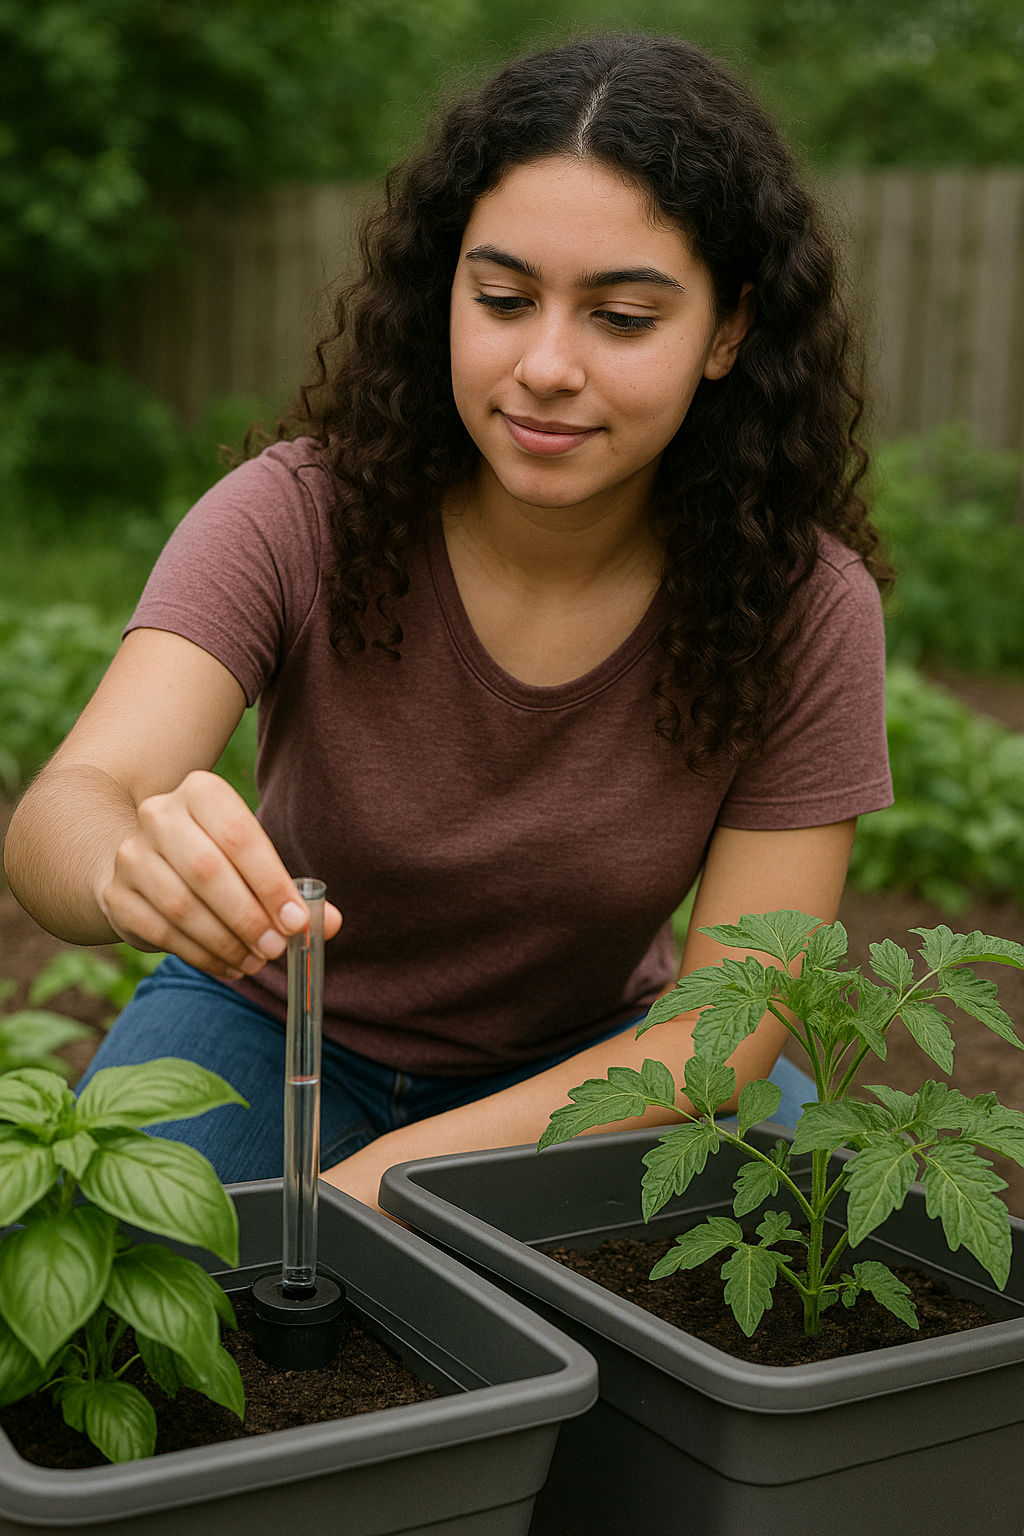
Step 4: Monitor and Adjust. Even with an automated setup, it’s wise to keep an eye on your garden the first week or two and during weather extremes. Check that all emitters are dripping and not clogged (if one is clogged, plants nearby may wilt – you can usually fix clogs by flushing the system or poking the emitter clean). Also observe how wet the soil is getting with your schedule – you might need to increase or decrease the watering duration based on your climate and plant needs. One handy tool is a soil moisture meter (a probe you stick in soil to get a rough reading of wetness) or simply use the old finger test (poke your finger into the soil 2 inches deep; if it’s dry at that depth, time to water). As seasons change, adjust the timer – e.g. watering more often during peak summer, and much less or not at all during rainy periods or cool seasons. The flexibility of having your own drip/soaker system is you can tweak it anytime.
Soaker vs. Drip – Which to choose? For many beginner gardeners, I actually recommend starting with soaker hoses if your garden beds are small, and especially if they’re straight rows or rectangular beds. Soaker hoses are inexpensive and give you immediate improvement in watering efficiency with almost no setup fuss. You can always upgrade to drip later if you find the soakers aren’t meeting your needs. Drip irrigation shines when you have a bigger area or very varied plant spacing, or if you plan to expand your garden. It’s more scalable and precise – for example, you can run a drip line to hanging baskets or distant garden beds from the same system, something hard to do with soaker hoses alone. Drip lines also last longer; soaker hoses often need replacement every few years, whereas good drip tubing can last a decade or more. If you’re feeling adventurous, you can even combine them: some gardeners connect a soaker hose as a “branch” off a main drip line to water a particular section. The bottom line is both will significantly improve your watering efficiency and reduce manual work. They keep water on the ground (not in the air or on leaves), so evaporation drops and weeds struggle.
Real-world example: Suppose you have two raised beds of vegetables. You could lay one 50-foot soaker hose through both beds, zig-zagging around plants, and attach it to a faucet timer. Each morning, the timer waters the beds for 15 minutes while you’re eating breakfast. The water slowly seeps into the soil right around your veggies. The soil under your squash and tomatoes stays nicely damp, but the pathways and open areas remain dry. You end up using far less water than hand watering with a sprinkler nozzle (since you’re not wetting all the empty space), and the weeds that do sprout are mostly at the edges where the hose might have been nearby – not everywhere. Meanwhile, your neighbor still spends half an hour every evening watering by hand and battling weeds that spring up from all the extra water. This scenario can be yours with just an afternoon of set-up and a relatively small investment in hoses or drip parts!
Container Gardening: Keeping Potted Plants Hydrated (Without Hourly Watering)
If you grow plants in containers, whether it’s patio planters, hanging baskets, or window boxes, you’ve probably noticed they can dry out quickly. Soil in pots has a limited volume and is exposed to more air, so it can sometimes need daily watering in hot weather – a tough task if you’re busy or away. Fortunately, there are some clever techniques to make container watering much more efficient and infrequent.
1. Use Self-Watering Containers or Reservoirs: One of the best solutions for containers is to use self-watering planters or add a reservoir to your pots. Many pots are sold with built-in reservoirs at the bottom – you’ll see an opening to pour water in, which fills a chamber below the soil. The soil “wicks” up water via capillary action as it dries, keeping a relatively steady moisture level. If you don’t have these specialty pots, you can DIY it: for example, take a large pot and place a smaller plastic pot upside-down inside it (to occupy space) and a piece of fabric or wicking rope from the bottom up into the soil. When you water, the bottom area holds extra water around that upside-down pot, and the wick draws water into the soil over time. Another DIY hack is using a water bottle as an slow-release irrigator – poke a few tiny holes in the cap of a plastic bottle (or in the sides near the top), fill the bottle with water, and bury it upside down in the pot’s soil. The water will slowly drip out near the roots. It’s like a mini version of a drip system with almost no cost. These methods can extend watering intervals from daily to every 3–7 days depending on pot size and weather.
2. Group Containers Together: A single pot on a sunny patio will get baked by the sun and dry out fast. If you cluster your pots together (or even better, set them in a tray with some gravel and water in it), they create a bit of a microclimate and shade each other’s soil. The humidity around them will be slightly higher than if they’re all alone, which reduces evaporation. You can run a small drip irrigation line or soaker hose through the cluster of pots as well – there are micro-drip emitters specifically made for containers (some look like small stakes you stick in the pot, attached to thin tubing). Hook these to a main line or even to a rain barrel. By grouping pots, one drip splitter can feed several plants. It’s much easier to automate watering for a group than for scattered individual pots all over the yard.
3. Mulch the Pots: Yes, you can mulch in a pot too! Add a 1-inch layer of mini bark chips, straw, or even pebbles on top of the soil in larger containers. This acts just like mulch in the garden – it shades the soil, keeps moisture in, and even looks decorative. Just keep the mulch an inch away from the plant stem to prevent rot. Mulched pots lose far less water to evaporation than bare soil pots sitting in the sun.
4. Choose the Right Pot and Soil: While not a watering method per se, it’s worth noting that the type of container and potting mix you use will affect water efficiency. Large pots dry out more slowly than small pots (because they hold more soil volume and resist temperature swings). If possible, use the biggest pots that make sense for your plants. Unglazed terracotta pots are charming but tend to wick water out through their walls, causing faster drying – consider sealing them or using them for plants that prefer drier conditions. Plastic, glazed ceramic, or composite pots retain water better. Regarding soil, most bagged potting mixes have good water-holding capacity, but you can also mix in ingredients like coconut coir or water-retaining crystals (in moderation) to increase moisture retention. Just be cautious with water crystals (they swell with water); some people find they can lead to overly soggy or oddly textured soil if overused. Often, simply adding 10-20% compost to your potting mix helps it hold water longer and re-wet better if it dries.
5. Consider Drip for Container Rows: If you have a long row of planters (say, along a fence or balcony), you can absolutely use a 1/4″ drip line to water them all. Snake the line through each pot, and either use an emitter in each or just a tiny outlet hole. This can hook into your main drip irrigation system or a dedicated timer on an outdoor faucet. Many urban gardeners use this trick for balcony gardens or rooftop container gardens – essentially automating their container watering just like a garden bed. It’s a bit of upfront work to run the tubing, but it beats carrying a watering can up and down daily.
Finally, for containers in general, remember that plants in pots need more frequent feeding (since nutrients wash out with all that watering). If you’re watering efficiently you might not need to water as often, but when you do water deeply some nutrients drain out the bottom. Plan to fertilize container plants periodically, or mix slow-release organic fertilizer into the soil, to keep them happy with all that growth that efficient watering will support.
General Outdoor Spaces: Lawns, Trees, and Landscapes
Up to now we’ve focused on veggies, flowers, and potted plants, but what about lawns, shrubs, and trees in your landscape? These larger-scale plantings can drink a lot of water if not managed carefully. Here are some time-saving, water-efficient tips for general yard watering:
Lawns: Lawns are one of the thirstiest landscape features. If you have a lawn and want to conserve water, consider adjusting your sprinkler strategy. The most efficient time to water a lawn is early morning (around sunrise). Watering in the heat of midday wastes water to evaporation, and watering late evening can leave grass damp all night, inviting disease. If you use portable sprinklers, get a simple timer attachment so you don’t forget it on – even a mechanical countdown timer will do. Set it to water deeply but infrequently. A typical rule is to give lawns about 1 inch of water per week (including rainfall). Rather than a little every day, water perhaps once or twice a week deeply. This encourages grass roots to grow deeper (making the lawn more drought-tolerant) and you lose less to evaporation than with daily shallow watering. You can measure that “1 inch” by placing a tuna can or rain gauge on your lawn while watering – when it fills to 1 inch, you’ve applied that much water. If you have an in-ground sprinkler system, adjust the zones and timing with the season and consider installing a rain sensor or smart controller that skips watering when nature has already done the job. Upgrading sprinkler heads to newer efficient models (like rotary nozzles or drip-line style subsurface irrigation for lawns) can also improve water delivery. And of course, if you’re open to it, you could replace or reduce lawn areas in favor of less water-intensive plants or groundcovers – but that’s another topic!
Trees and Shrubs: For young trees or shrubs (those planted in the last few years), efficient deep watering is key to help their roots establish. One clever solution is a Tree watering bag – a slow-release water bag you fill up and wrap around the trunk, which drips water out over 4–8 hours. This targets the tree’s root zone without any runoff. You can DIY a similar approach with a 5-gallon bucket: poke a few small holes in the bottom of a bucket, place it near the tree, and fill it with water. It will trickle out slowly and deeply soak the ground. Do this once a week (or more in hot weather) and you’ll use less water than sprinkling a tree for 10 minutes (much of which just runs off). For shrub beds, soaker hoses or drip lines work great just like in veggie beds. Loop a soaker hose around the base of shrubs or run drip emitters to each plant. Mulch around the base of trees and shrubs is especially beneficial – a wide mulch ring (keep it a few inches away from the trunk) will reduce how often you need to water and will suppress weeds around the plant. Mature, well-established trees often don’t need any watering except in extreme drought, especially if mulched; they usually find water deep in the soil.
Flower Beds and Borders: Your ornamental landscape beds with perennials or annual flowers can also benefit from the same drip or soaker techniques we discussed. In fact, many public gardens and city landscapes now use drip irrigation under the flowerbeds to conserve water. If you have a long hedgerow or border, consider running a soaker hose the length of it, hidden under mulch. Connect it to a faucet timer, and your flowers will quietly get watered early in the morning without you having to drag a hose out. If the border is near your lawn, you might be tempted to just let the lawn sprinkler water it. While that does get some water on the bed, it’s not very efficient – typically only a fraction of sprinkler water lands in the root zone, and you’ll get more weeds. You’re better off running a dedicated line for the bed or hand watering occasionally with a focused hose wand if it’s small.
Climate Considerations: Here’s where we note that your local climate will influence how you apply these methods. In hot, arid regions (say Arizona or southern Spain), water is precious – drip irrigation and heavy mulching are almost essential to keep gardens alive without astronomical water use. You’ll want to water in the coolest parts of day and perhaps give extra attention to shading soil (via mulch or even shade cloth) to reduce evaporation. In such climates, you might even collect greywater (like used household water) to irrigate ornamental plants – though that’s beyond our scope here. Conversely, in rainy or mild climates (like the UK, Pacific Northwest, or northern Europe), you may rarely need an irrigation system at all except for periods of drought. But efficient watering practices still help – when it hasn’t rained, using a soaker or drip will make the most of the small amount of water you provide. And rainwater harvesting can be useful even in a rainy climate to store excess for the dry spells or to have soft (non-chlorinated) water for delicate plants. The big takeaway is to adjust your watering schedule to the weather: all the automation in the world won’t help if you leave it running during a week of rain! Most timers let you skip or pause watering if it’s wet – use that feature or simply turn the system off when nature is handling the watering. Likewise, be ready to give extra water during heatwaves – even automated systems might need longer run times then.

Rainwater Harvesting: Harness Nature’s Free Water
Imagine being able to water your garden with free water, even during dry spells, and reduce runoff from your property at the same time. That’s what rainwater harvesting is all about. For beginner gardeners, the easiest way to start harvesting rain is with a rain barrel (or two or three!).
A rain barrel is typically a 50- to 100-gallon container placed under a downspout of your roof gutter system. When it rains, the barrel fills with water that you can later use to water your plants. It’s astonishing how much water you can collect: for example, a moderate rain storm dropping 1 inch of rain on a 1,000 square foot roof will yield around 620 gallons of water running off! Even a small shed or greenhouse roof can fill a 50-gallon barrel with just an inch or two of rainfall. Instead of letting that water gush away into a storm drain or puddle in the yard, why not catch it and put it to use in the garden?
Setting up a rain barrel: You can purchase a ready-made rain barrel (often with a spigot and overflow outlet built in) or repurpose a large food-grade barrel or garbage can. Locate it under a downspout – usually at a corner of your house or garage. Ideally, place the barrel on a small raised platform (cement blocks or a sturdy wooden stand) to give you some height; gravity will make it easier to fill a watering can or to hook up a hose. There are two common ways to direct water from the gutter into the barrel:
- Use a downspout diverter kit: This is a device you install into the downspout that channels water into the barrel once the water reaches a certain level in the downspout. It usually has a hose that leads to the barrel’s lid. Diverters are nice because when the barrel is full, they automatically send excess water down the normal path in the downspout, preventing overflow next to your foundation.
- Direct-cut the downspout: This DIY method involves cutting the downspout and inserting a short elbow piece so that it empties directly into the open top of the barrel. You’ll want a screen or filter at the top to catch leaves and debris (and to keep mosquitoes out). Also, you must have an overflow hose near the top of the barrel or else when it’s full, water will just spill over the sides. The overflow can be a hole with a hose fitting that you attach a hose to, leading excess water away from the house (some people direct it to a second barrel, or to a garden bed a few feet away).
Once your barrel is in place and connected, the next time it rains you’ll be delighted to see how quickly it fills up. Most barrels have a spigot at the bottom; you can attach a garden hose to this spigot. Keep in mind, gravity is what will push the water through that hose – so if you want to water directly from the barrel through a hose, the barrel needs to be higher than the area you’re watering, and only short, low-level hoses (soaker hoses, for instance) will work well. A common method is to simply fill a watering can from the barrel’s spigot and hand-water your plants with the collected rainwater. (It’s great for container plants or acid-loving plants like blueberries that prefer the chlorine-free, slightly acidic rainwater.)
Maintenance and tips: To keep your rainwater system happy, ensure that the top opening is covered with a fine screen – this prevents mosquitoes from breeding in the barrel (standing water can become a mosquito nursery if not screened). Many barrels come with such a screen or a tight-fitting lid with a small inlet. You can also drop a mosquito dunk (a small tablet of Bt bacteria safe for everything except mosquito larvae) into the barrel water as a preventative, if needed. During winter in cold climates, it’s important to winterize your rain barrel: drain it completely and either remove it or leave the spigot open so it doesn’t hold water that can freeze. Freezing can crack the barrel or fittings. Some folks in freezing zones simply disconnect the barrel and reconnect their downspout for the winter months, then set it up again in spring. If you have multiple barrels, you can link them with hoses or pipes so that once one fills, it overflows into the next. This is an easy way to increase capacity without a huge tank – for instance, 4 barrels of 50 gallons each gives you 200 gallons of storage.
Using rainwater in your efficient watering setup is the cherry on top: you could have a drip irrigation system hooked to a timer that draws from a rain barrel (it usually requires a pump unless the barrel is significantly elevated, because drip emitters need a little pressure). Or simplest of all, just use your stored rainwater with a watering can on days you need to hand-water – that still saves a ton of tap water over a season. Rainwater harvesting is especially useful in areas with summer water restrictions or where tap water is costly. And even if neither is a concern, there’s just something satisfying about using natural rain you harvested; your plants will likely agree!
Note: Check your local regulations regarding rainwater harvesting. In some regions it’s encouraged with rebates on barrels; in a few places (formerly parts of Colorado, for instance) there were restrictions, though those have eased. The vast majority of places allow and promote rainwater collection now.
Mulching: The Secret Weapon for Moisture Conservation and Weed Control
If there’s one thing every efficient garden should have, it’s mulch. Mulch is any material (usually organic) that covers the soil surface. Gardeners use mulch to suppress weeds, retain soil moisture, and regulate soil temperature. A good layer of mulch is like a protective blanket for your soil – and it’s a beginner gardener’s best friend because it reduces both watering and weeding chores dramatically.
When you cover your garden beds with mulch, you’ll water much less often. That layer blocks the sun and wind from directly hitting the soil, so evaporation drops significantly. According to gardening experts, keeping soil covered with 2–3 inches of organic mulch can reduce moisture loss and cut your watering needs by a huge margin, while also preventing new weeds from sprouting. The mulch keeps the soil beneath cooler and moist. You might have noticed that after a rain, bare soil becomes dry on top within a day or two, but soil under mulch stays damp much longer – that’s proof of mulch at work.
Mulch also is superb at weed suppression. A thick layer blocks light from reaching weed seeds in the soil, stopping their growth cold. Any weed seeds that do manage to germinate are often smothered under the mulch or have very weak, leggy growth that’s easy to pull. This means you spend far less time weeding, which is great for any gardener. (Do note: if you already have established weeds, you should remove or heavily smother them with layers of paper or cardboard before mulching, for best results.)
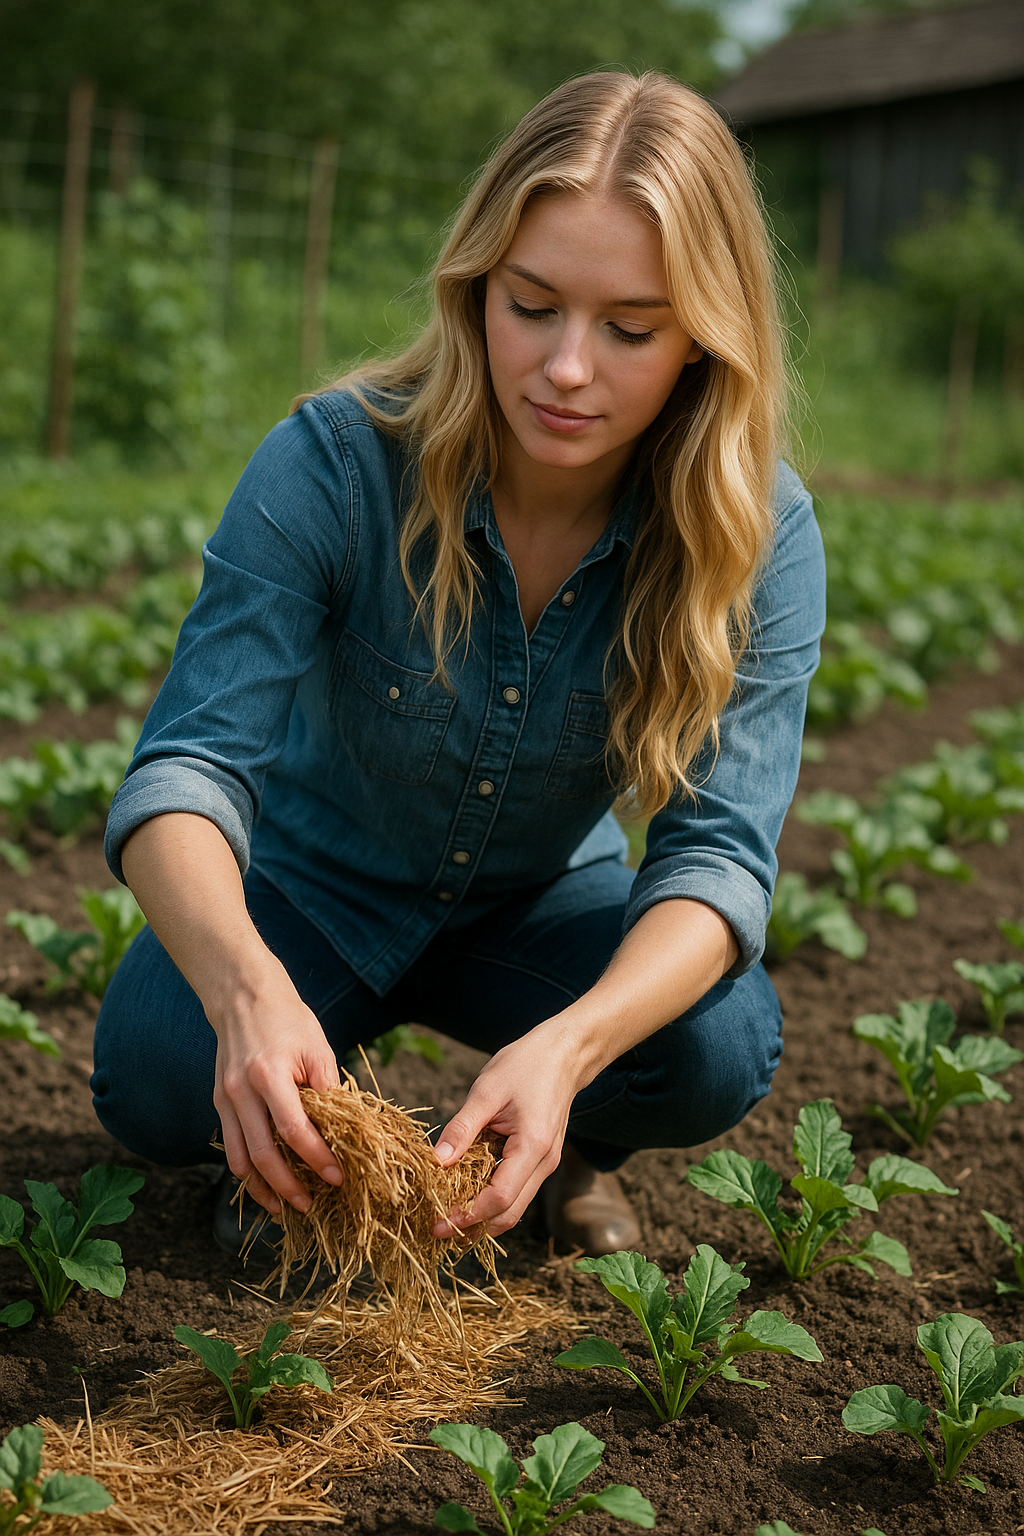
Types of mulch: For vegetable gardens and general use, organic mulches are popular – things like straw, grass clippings, shredded leaves, compost, wood chips, or bark chunks. Straw is a favorite in veggie patches (especially around things like strawberries, squash, and tomatoes) because it’s lightweight, easy to spread, and at the end of the season you can till it in to add organic matter. Composted leaf mulch or leaf mold is fantastic for moisture retention and soil health if you have access to it (either make your own pile of leaves or some municipalities give away leaf compost). Wood chip mulch (often available from tree trimming companies or city yard waste facilities) is excellent around perennial plants, shrubs, or pathways. It breaks down more slowly, lasting perhaps a year or two. Wood chips are great for weed suppression and decent for moisture, though something like compost or straw actually holds moisture a bit better. Bark nuggets or decorative bark mulch from garden centers work similarly – good for covering ground, though larger bark pieces are best used in ornamentals or paths rather than around tender annuals.
One thing to be cautious about: if you use fresh wood chips or sawdust-like material, it can temporarily lock up nitrogen in the soil surface as it decomposes (making the nitrogen less available to your plants). This is why many gardeners prefer “composted mulch” – mulch materials that have been partially decomposed already, so they won’t rob nutrients. For example, composted bark mulch or aged wood chips have been allowed to sit and break down a bit, making them darker, more crumbly, and safer to use around vegetables and flowers. If you only have fresh wood chips, it’s not a dealbreaker; just keep them a couple inches away from plant stems and consider adding a bit of extra nitrogen fertilizer (like diluted fish emulsion) to compensate if you notice any plant yellowing. Using compost itself as a mulch is another strategy – a 1-inch layer of finished compost topped with 2 inches of straw gives you both nutrition and moisture savings.
In containers, as mentioned earlier, you can mulch with smaller materials like compost, cocoa husks, or small bark to keep pot soil moist. In greenhouses, you might use straw or leaf mulch on the soil beds or simply keep the soil covered with something like burlap in winter.
How to apply mulch: First, prepare the ground – pull or smother any large weeds. If the soil is bone dry, water it deeply before mulching (you want to lock that moisture in). Then spread your mulch of choice evenly over the soil surface about 2–3 inches thick. For fine mulches (like compost), you might go a bit less, 1–2 inches, so you don’t smother small seedlings. Keep mulch a couple of inches away from the stems of plants or the trunks of trees/shrubs to prevent rot or rodent issues (mulch right up against a stem can hold too much moisture against it and invite fungus, plus voles might hide in mulch around a trunk). In vegetable beds, you can mulch around established plants; if you’re sowing seeds, wait until the seedlings are up a few inches tall before mulching between rows, because a heavy mulch could hinder tiny sprouts pushing through the soil. Alternatively, you can use a very light mulch (like a thin scatter of straw) over sown seeds just to keep them moist, then add more once they’re up.
Mulch maintenance: Mulch isn’t set-and-forget forever; organic mulches decompose over time (which is great for your soil). You’ll need to replenish mulch annually or as needed to maintain that 2–3 inch layer. In vegetable gardens, you might rake aside old mulch at planting time, incorporate some of the decayed bits into the soil, and then put down fresh mulch after planting. In perennial beds, just add a new top-up layer each spring or fall. The decomposed mulch turns into rich humus in your soil, improving its structure and nutrient content. Worms adore mulch too – you’ll find them right under a mulched layer, working the soil for you.
To sum up, mulching is one of the simplest and most effective practices to conserve water in your garden. It pairs perfectly with drip or soaker irrigation: the mulch keeps the water in the soil rather than evaporating, and the drip lines underneath deliver water right to the roots. You’ll find that with mulch, your soil stays damp like a wrung sponge, weeds are few and far between, and your plants experience less stress. Plus, less frequent watering means less work for you – your efficient watering system just got even more efficient!
Comparing Watering Methods: Cost, Effort, and Efficiency
We’ve talked about a lot of methods – now let’s lay them out side by side. The table below summarizes some common watering systems, comparing their approximate cost, setup effort, maintenance needs, and water efficiency for a typical small garden. This can help you decide which solution(s) fit your budget and lifestyle. (Note: “Efficiency” here considers how well the method delivers water to plants versus losing it to evaporation or runoff, and how it affects weed growth.)
| Watering Method | Up-Front Cost | Setup Time & Difficulty | Maintenance | Water Efficiency & Weed Control |
|---|---|---|---|---|
| Hand Watering (hose or can) | Very low (cost of a hose and nozzle, or watering can) | None to low – just fill and water manually. Easy but labor-intensive for large areas. | Low maintenance (just coil your hose). Labor is the main “maintenance.” | Low–Moderate. Easy to overwater or miss areas. Waters weeds if you’re not precise. Lots of evaporation if using spray nozzle. |
| Sprinklers (portable or in-ground) | Moderate to high. Basic portable sprinklers are cheap; in-ground automated systems are expensive (installation & equipment). | Low for portable (just placement); High for in-ground (planning trenches, installation or contractor needed). | Moderate. Portable sprinklers need positioning each use. In-ground need seasonal maintenance (blow out for winter, repairs). | Low efficiency for gardens. High evaporation and non-targeted (waters everything, including weeds). Okay for lawns, but not water-saving. |
| Soaker Hoses | Low. ~$20–$40 for a typical 50 ft soaker hose. Multiple hoses can be joined for larger areas. | Very low. Lay the hose through the garden and cap the end. Easy DIY. | Low. Check for clogs or cracks occasionally. Replace after a few years when it degrades. | High efficiency. Waters at soil level with minimal evaporation. Good weed control (waters mostly near plants). Can be less uniform on long runs. |
| Drip Irrigation | Moderate. DIY kits for small gardens ~$50–$100; larger setups higher. Still affordable per square foot over time. | Moderate. Requires planning layout and connecting tubes/emitters. DIY-friendly with a bit of time (a few hours for a small garden). | Low–Moderate. Occasionally flush lines or replace emitters if clogged. Tubing generally lasts years. | Very high efficiency. Pinpoint watering with almost no evaporation ( Drip Irrigation). Excellent weed control since bare soil stays dry ( Drip Irrigation). |
| Self-Watering (containers, ollas) | Low–Moderate. DIY tricks like bottles are negligible cost; commercial self-watering planters or ollas can be moderate. | Low to moderate. Setting up ollas (burying pots) or prepping self-watering pots takes some initial work. | Low. Refill reservoirs or ollas periodically. Not much can go wrong. | High efficiency. Water released slowly right to roots, very little waste. Weed impact not applicable (containers have potting mix; ollas in ground target specific plants). |
| Rainwater Harvesting (rain barrels) | Moderate. Many barrels $50–$150 each. DIY with repurposed barrels can be low cost. Diverter kits ~$30. | Low–Moderate. Setting up a barrel and diverter is a one-time project (maybe an afternoon). | Low. Keep debris out, clean annually. Drain before freezing. | High benefit (saves tap water). Pairs with other methods (use rainwater in your drip system or watering can). Doesn’t directly affect weed growth, but using it with targeted watering still limits weeds. |
Note: Costs are approximate and in USD; they can vary by region. “Efficiency” assumes proper use of the method. For example, a sprinkler can be slightly more efficient if used at night with low wind, but still far less efficient than drip irrigation overall.
From the table, you can see that drip irrigation and soaker hoses shine in efficiency and aren’t terribly expensive, especially considering the water savings long-term. Hand watering is cheap but very time-intensive (and remember, your time is valuable too!). Sprinklers have their place, particularly for lawns, but in a garden they’ll cost you more in water and weeding. Rain barrels are a bit of an investment up front but can pay off by reducing water bills and helping your plants during droughts. Most gardeners find an ideal setup is a combination: for example, rain barrels feeding a soaker hose system, or drip lines on a timer for garden beds while using hand watering just for a few patio pots and new transplants.
Final Tips and Encouragement for Beginners
Designing an efficient watering system may seem complex at first, but start small and you’ll quickly get the hang of it. Here are a few parting tips and encouragement as you implement these ideas:
- Start with one improvement. You don’t have to overhaul everything at once. Maybe begin by laying a soaker hose in your most time-consuming garden bed, or set up one rain barrel this season. Even a small change will make a noticeable difference. You can always expand your system later – add another hose, more drip lines, or more barrels as you gain confidence.
- Embrace the DIY spirit. Setting up a watering system is a fantastic DIY project. It’s a bit like crafting a custom solution for your garden’s needs. Don’t be afraid to cut tubing, try a different emitter, or adjust your layout. If something isn’t working perfectly (e.g., one plant still seems dry), you can tweak the system – move an emitter closer or increase watering time. DIY also means you can save money; for instance, you might use an old soda bottle with holes for a slow drip irrigator instead of buying fancy spikes. Every garden and water source is a little different, so think of it as an experiment to see what works best for you.
- Monitor and learn. In the first season of using any new method, keep an eye on your plants and soil. They will “tell” you if they are happy – perky leaves and steady growth – or if they’re getting too much or too little water. If something’s off, adjust your schedule or method. Maybe 20 minutes every day is too much; try 30 minutes every other day. Perhaps your containers still dried out in a heatwave; that might be the week you water manually once extra. Over time, you’ll dial in the perfect routine and it will become second nature.
- Climate and seasons matter. As mentioned, always adjust for weather. Efficient watering doesn’t mean rigid watering. If rain is forecast, you can turn off the automatic system for a couple of days. If an unusual hot spell hits, give an extra boost. In winter, you’ll likely water very little, if at all, for outdoor gardens (except maybe greenhouse or houseplants). Seasonal shut-down of systems (like draining drip lines or barrels) is important in cold regions – but once you do it the first time, it’s easy next time. Many timers have a “rain delay” button or off switch that’s easy to use when needed.
- Enjoy the benefits. Once your efficient watering setup is running, enjoy the extra free time and the healthier garden. Instead of being a servant to the hose every evening, you can spend that time harvesting veggies, pruning, or just relaxing in your garden. You’ll likely notice your plants respond well to consistent watering – fewer wilted afternoons, better yields, and blooms that last longer. You might also notice, happily, that your garden has fewer weeds and pests. Stressed plants (too dry or too wet) are more prone to attack; your well-watered, mulched, happy plants will be more resilient.
- Stay frugal and eco-friendly. Efficient watering aligns with both saving money and being kind to the environment. You’ll use less water from the tap (perhaps even none at times if your rain barrel is full). Your water bills could drop, or at least not spike in summer. You’re also reducing runoff and soil erosion by watering slowly and deeply. If you use solar-powered pumps or gravity for rainwater, you’re even saving energy. Pat yourself on the back for these green gardening practices!
The first time you hook up a drip line or install a rain barrel, it might feel unfamiliar – but before long, you’ll wonder how you ever gardened without these tricks. So roll up your sleeves, pick one project to try, and go for it. Your future self, relaxing in a chair instead of lugging watering cans, will thank you. And your plants will reward you with lush growth for the consistent care.
Happy gardening, and may your garden flourish with less work, less water, and far fewer weeds – thanks to your new efficient watering solutions!